

How to reupholster a chair
This is my post on how to reupholster a chair, and generally upcycle it. If you can’t see the video please click here. It was taken from a Facebook live stream so apologies for the poor quality.


The dining room has been one of the final rooms to receive its finishing touches. One thing for sure was that the furniture was going to have to go.
I sometimes wish I was the kind of person that could just pop along to a shop that sells new stuff and buy something!
Alas, instead I spent weeks searching Ebay and Gumtree for the perfect set.
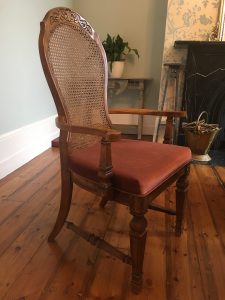
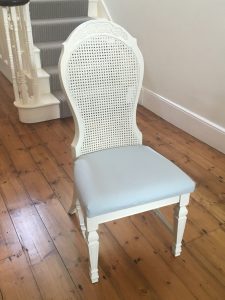
I couldn’t resist these chairs as I immediately saw their potential.
At £100 for eight what was there to resist anyway?!!! Oh maybe the fact I was going to have to spend days painting them…
Anyway, I thought you might all like to see how easy it is to upholster dining chairs. Painting was a necessary part of the upcycling process as well.
I’ve been there and done that with kitchen chairs though so I was keen to find a quicker method this time.
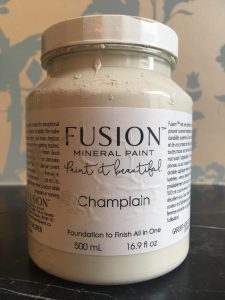
I was thrilled to discover a paint I hadn’t come across at my local Vintage Attic shop.
The great thing about this acrylic based paint is that it doesn’t need waxing like chalk paint, but you still get a really nice matte finish.
You also have minimum prep time – no need for sanding. I just used sugar soap to remove any grease beforehand.

I then went for Champlain for the top coat as it went really nicely with the duck egg of the walls.
This stuff is great to work with. It’s a lot more fluid than chalk paint so kinder on the arms and wrists.
It also self levels, so you need to make sure the base coat is neat.
I was satisfied with one base coat, one top coat and one set of touch ups in the odd area.
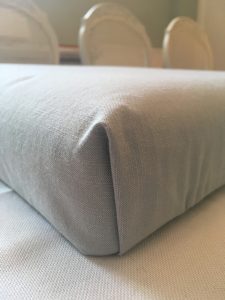
Pad it out
The pads were a ghastly shade of faded red. They were still in fairly good condition though so I decided to just reupholster them.
Here’s how: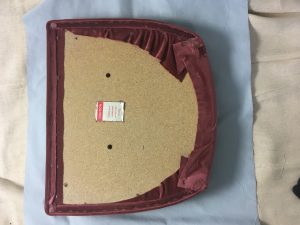
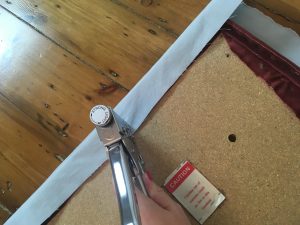
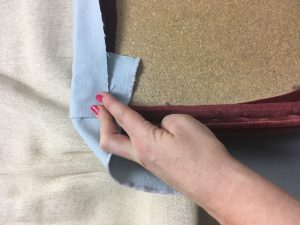
- Place pad in the centre of your fabric. Allow for about 10cms of excess.

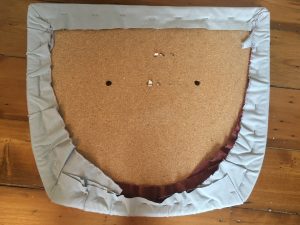
I was really thrilled by the end result and think they look like really expensive, chic chairs now.
If your house is overrun with kids or animals you could always use waxed fabric as well.
If you’ve done your chairs and want ideas for a table here’s my post on upcycling a pine table.
reupholster dining chairs
Why not subscribe for free so you never miss a post or video?
For daily posts and live demos come and chat with me on The Home Genie TV Facebook page.
How to reupholster a chair How to reupholster a chair How to reupholster a chair