

How to make a cushion cover out of a designer shirt
This is my post on how to make a cushion cover out of a designer shirt. If you can’t see the video please click here.
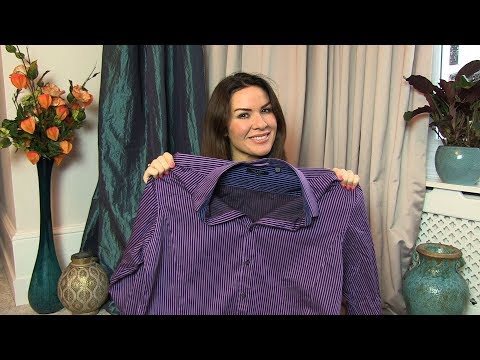
Stop the press!
Did you know that Ted Baker make cushions?

This is definitely the most easy peasy way to create one too. It’s so quick and simple I even sewed it by hand and it took just half an hour.
If I’d used a machine it probably would have only taken 10 minutes.
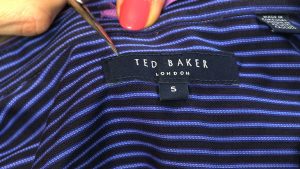

- First remove the label using a seam ripper or small scissors.
2. Next measure the cushion inner you will be using.
Buy the inner first, by the way, because sometimes the measurements can differ marginally.
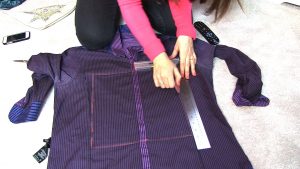
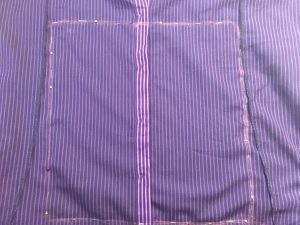
4. Next you draw the shape of the cushion with dressmaker’s chalk. This can be bought from any haberdashery or online.
Depending on the colour of the fabric, you could also use pencil or crayon. Blackboard chalk doesn’t give you a sharp enough line though.
If you’re desperate an eye-liner pencil will do!

It’s important there is no bunching here – so it’s worth taking your time over this step.
You can have the buttons down the centre, off-centre, or even diagonally. This is where you can put your own stamp on it!
6. Cut around the chalked shape, leaving space for a 2cm seam. It’s also worth snipping the corners off diagonally as well, but not too close to your chalk line – best to leave at least half a centimetre.
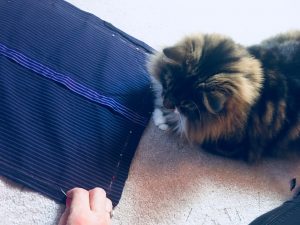
7. Now sew around the shape of the cushion. This is a matter of a few minutes with a machine, but is still very quick and easy by hand whilst you’re watching Eastenders!
It really helps if you have a cat about to pounce on you whilst doing this bit…
8. Unbutton it and turn the right way around and push out the corners.
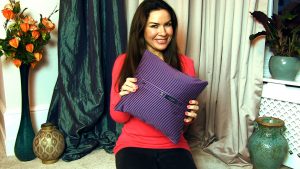

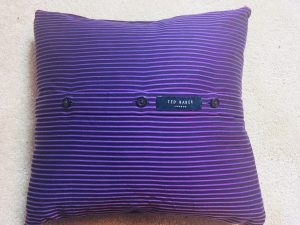
10. And finally, put your cushion inner inside and do up your buttons.
And that’s how to make a cushion cover out of a shirt. How easy was that?!!!
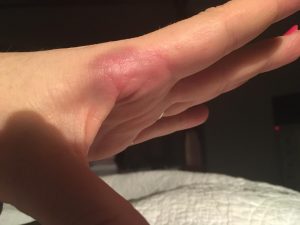
Permission granted to laugh at my misfortune.
What I love about this idea is that if you have a piece of clothing you love, you don’t want to throw it away do you – even if the armpits have gone a bit funky?!
This way you can keep it as a momento (minus the pits!).
After all, interiors should always evoke the right feelings, as I explain in my post about the psychology of colour.
Please leave a comment to let me know what you think and when you make your own cushion I’d love to see a picture.
Why not subscribe for free so you never miss a post or video?
For daily posts and live demos come and chat with me on The Home Genie TV Facebook page.