How to make a cushion
Here is my post on making a simple cushion to transform the look of a room. If you can’t see the video please click here.
Cushty accessories
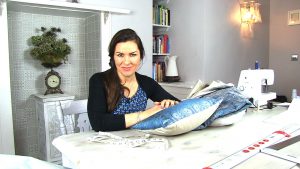 Do you have a room that feels a bit bland and bleugh?
Well don’t fret, there’s no need to break the bank to fix it. Simply add some clever and colourful accessories and that room will be singing a whole different tune.
Cushions are a great start. To get the ideal size, colour and fabric though can take a lot of time and money.
They are so simple to make though, so I thought I’d show you how. Forget about zips, piping and the rest, this is just a very simple way to make a cushion.
I’m using a machine – because I have one, but it wouldn’t take long to hand sew. In fact manual sewing can be very therapeutic!
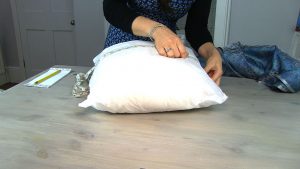 To be cost effective why not use off-cuts which are often cushion size, or even buy a dress or shirt from a charity shop and repurpose that fabric.
You could also use a more expensive fabric on the front and a cheaper one on the back to save money.
Measure up
- Measure your cushion inner.
 So as to get the most out of your fabric it’s worth drawing a diagram to see the most efficient way of cutting it. Can you get two out of the width, for example?
- For the front you want the width and length of the cushion inner plus 1.5cm per seam, so that’s 3cm to the width and length. I chose this gorgeous fabric from Misan, one of my favourite shops on Berwick Street in London.
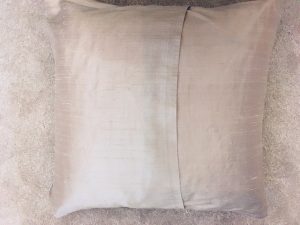
 For the back you have two fold-over flaps. So you need 6cm for the 4 seams but 12cm for the fold over and then 3cm for the seams of the width. Complicated I know, but this image and the video should help you visualise it.
- If you use one piece of fabric for the whole cushion you won’t need as many seams so adjust accordingly.
- If you are making a few, it’s worth creating a template with pattern paper as this is the most painstaking part of the process.
- You can then either pin the paper to the fabric and cut around or draw a guide using a dress maker’s chalk.
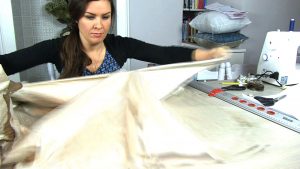
 A little tip for cutting longer lengths is to snip and tear. This way you will get a straight line, but it doesn’t work width ways and you need to allow for a bit more fraying.
- Take the back piece of fabric and cut the length in half.
- Iron one seam along the width of each of these.
-
Get sewing!
- Sew these two seams.
- This bit is important! place the front piece of fabric so the good side is up – this is now the basis of your cushion. Place one of the back pieces so the good side is down and then overlap with the other back piece – good side down. Basically the cushion is inside out.
 Pin or tack all three pieces together.
- Sew a 1.5cm seam around the edge.
- Snip diagonally along each corner so the corners are sharp.
- Turn inside out and put the cushion inner inside and hey presto your room makeover has already begun!
The great thing about adding cushions is it doesn’t have to be expensive so if you want to change the colour scheme in the future it’s no big deal.
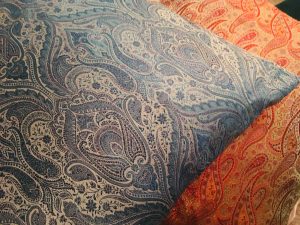
If you want to see my mood board for this room have a look at this post.
Fancy upcycling other items to add more colour to a room check out this post.
Why not subscribe for free so you never miss out?
For daily messages and live demos come and chat with me on The Home Genie TV Facebook page.
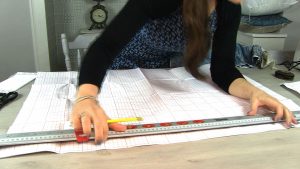 So as to get the most out of your fabric it’s worth drawing a diagram to see the most efficient way of cutting it. Can you get two out of the width, for example?
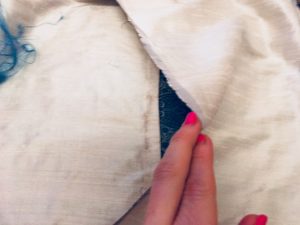 For the back you have two fold-over flaps. So you need 6cm for the 4 seams but 12cm for the fold over and then 3cm for the seams of the width. Complicated I know, but this image and the video should help you visualise it.
 A little tip for cutting longer lengths is to snip and tear. This way you will get a straight line, but it doesn’t work width ways and you need to allow for a bit more fraying.
 Pin or tack all three pieces together.
I was really interested how you made the cushion, with you you explain very detail of the cushion. Thank you love.
Thanks Keith glad you enjoyed it