How To Upcycle A Pine Table
How to upcycle for cheapskates

For someone like me the fashion to upcycle is a dream come true. I've been doing it since I was old enough to hold a paint brush anyway, so the fact my passion now makes me ‘on trend’ as opposed to a cheapskate is quite exciting.
Secondhand furniture shops have always thrilled me more than they probably should. As I enter I can smell potential in the air. I think if I had a perfume that is what it would be called 'Potential' and it would be a combination of stale smoke, mustiness and general damp… gap in the market right there.
The idea of picking up something for next-to-nothing and perhaps even haggling to get it for even closer-to-nothing is way too much excitement. I have to have a word with myself in case my lack of poker face just gives too much away and I end up paying further-away-from-nothing.
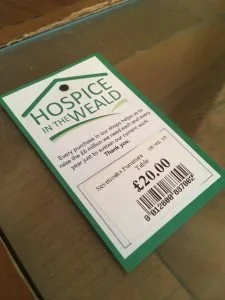
I must point out that I do draw the line at haggling at charity shops…
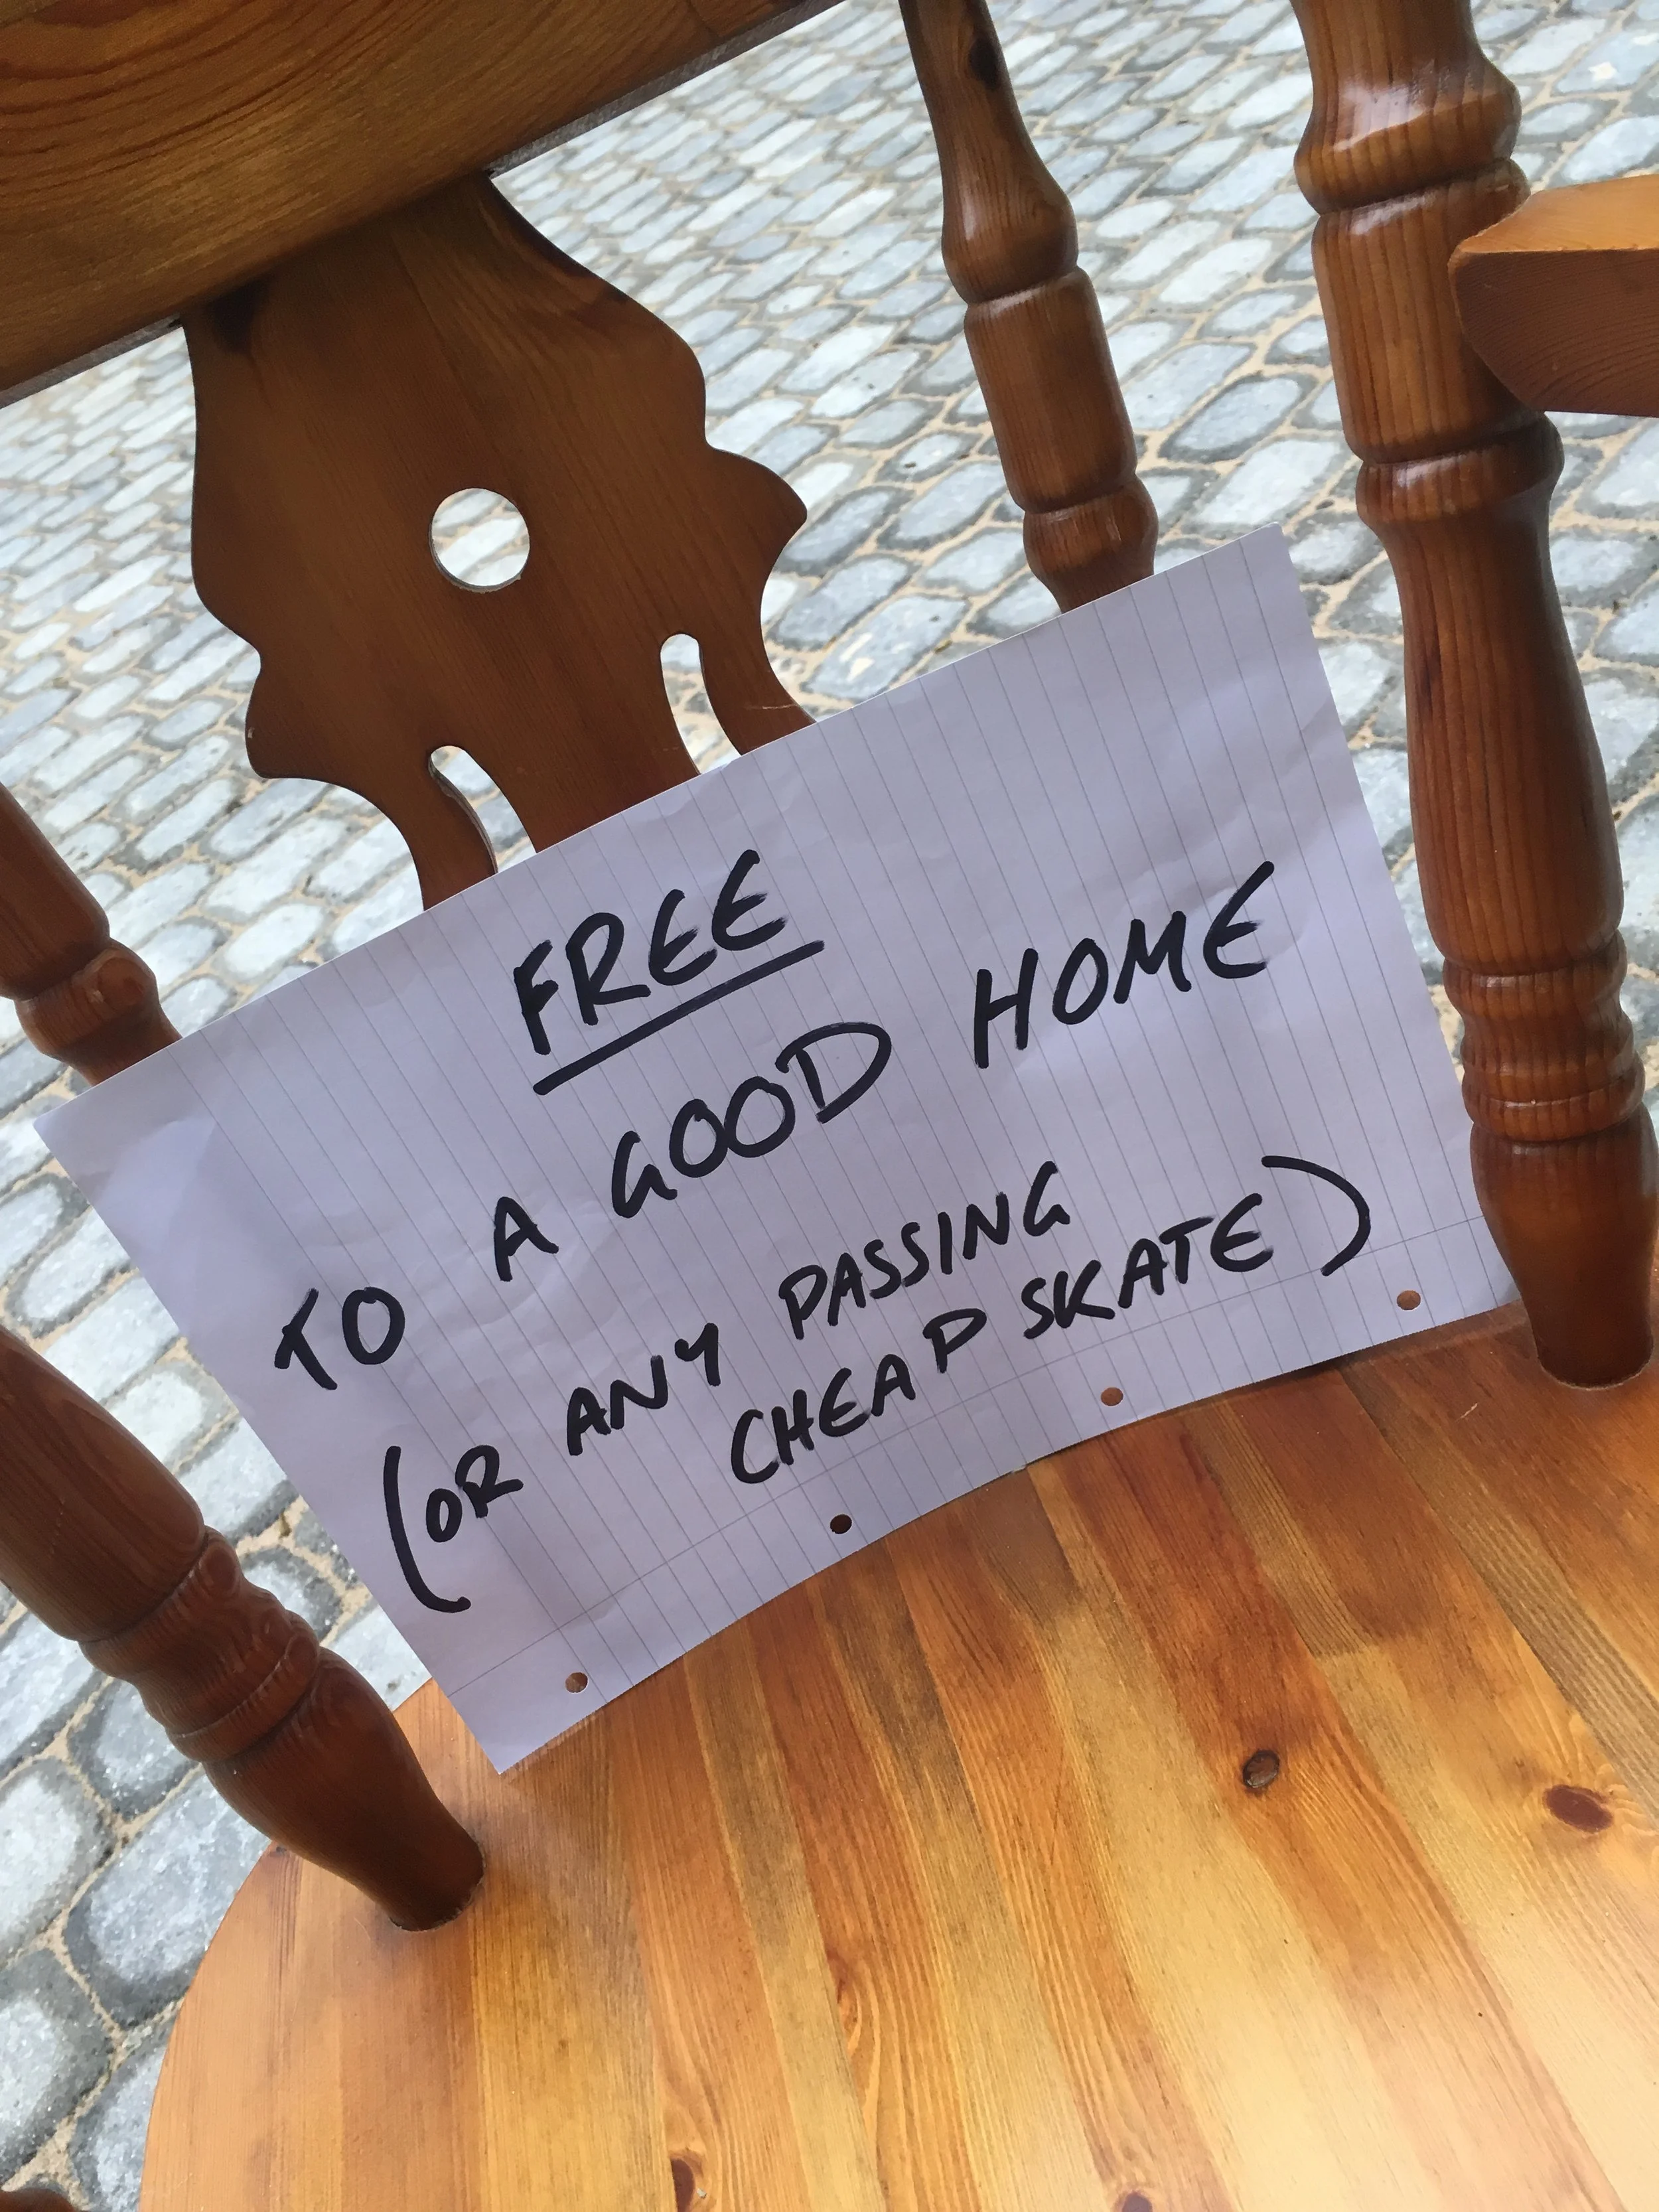
So possibly the memory I will have on my death bed will be the day I walked away with two tables and 16 chairs that people had left in their drive (don't worry I did check they didn't want them). I saved them a trip to the skip, they helped to fill my new house and no money changed hands.
I am basically a modern day rag and bone man.
Trash or treasure?
To be fair this is really a tale of one man's junk is another man’s junk.
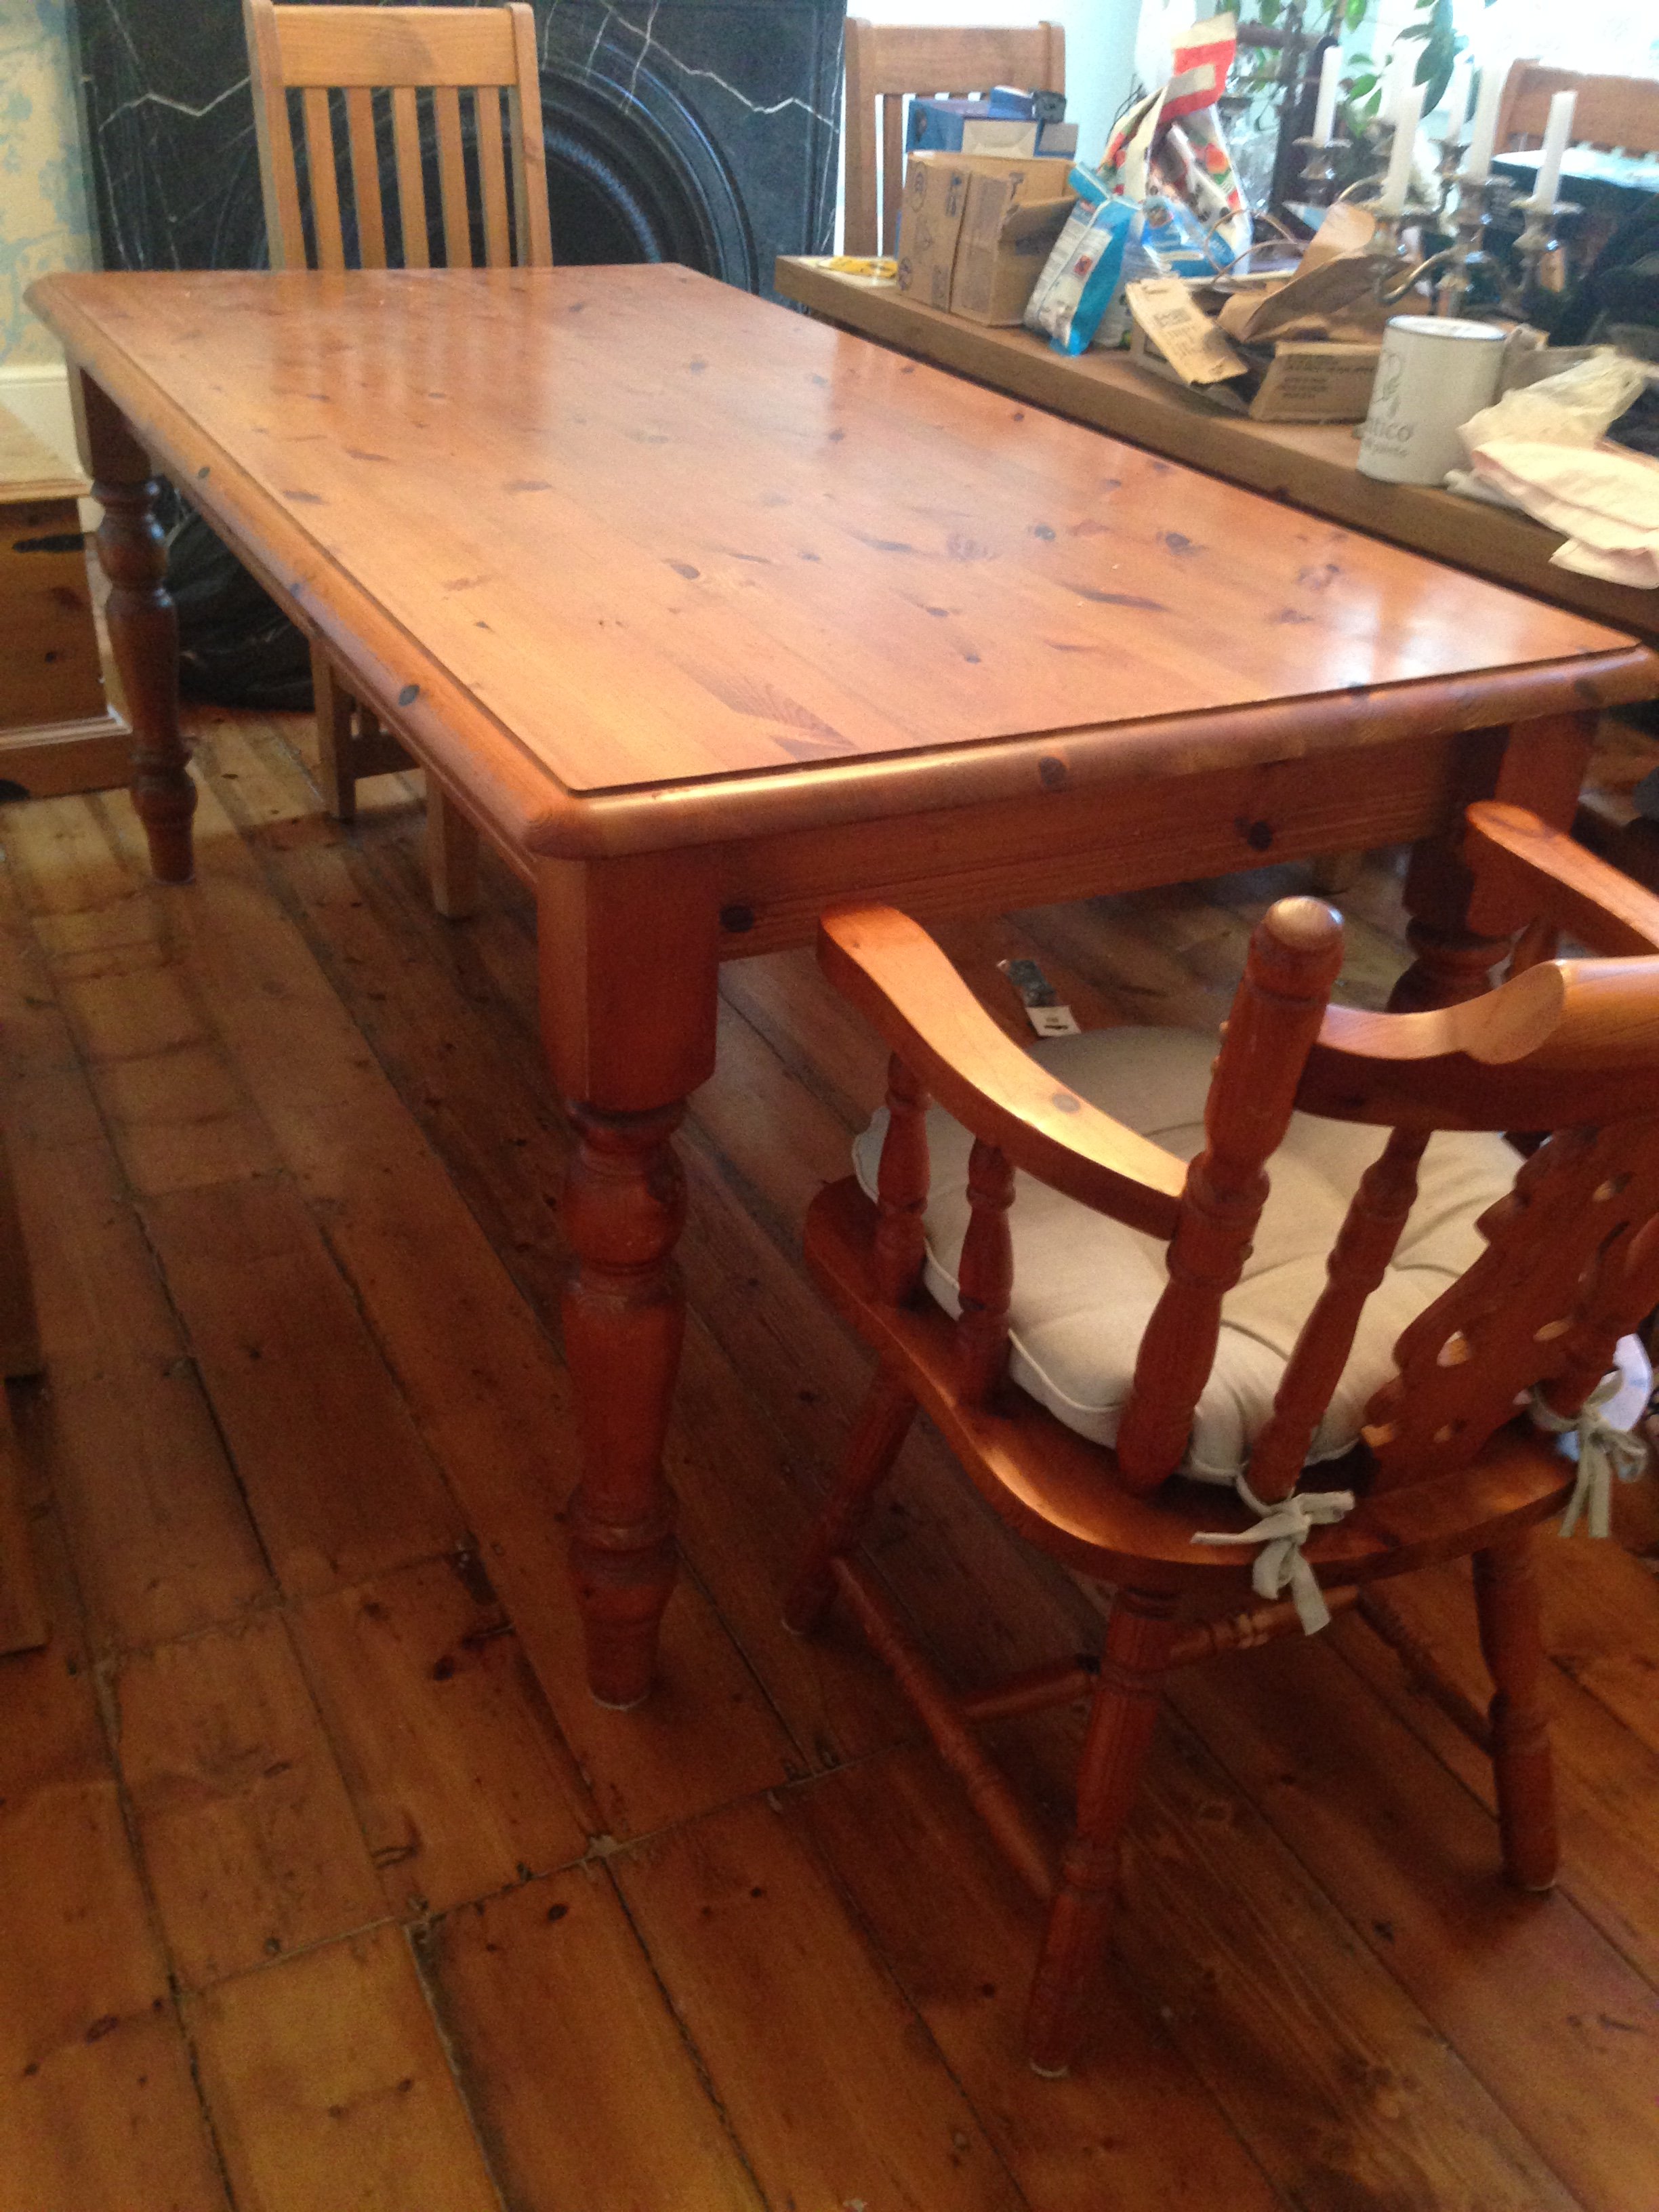
Although the kitchen table and chairs were a good solid set they were the bad fake tan orange pine I detest - all the rage in my childhood, which means it will be back in fashion in 20 years. By this time someone will be blogging via telepathy about how awful all the chalk painted furniture is.
This is where the story of how this free piece started to become one of the most expensive tables I will ever own - considering the woman hours I have put into it.
Thank goodness this longer-than-necessary tale has a happy ending but it’s worth telling you the detail so you can take a shortcut.
Stripping for dummies
So to remove the orangey varnish I started off by using Autentico Bio Strip. The prospect of how satisfying the pealing process of this project was going to be meant I couldn't wait to get started.

This product had been recommended to me and under the right circumstances I can imagine it being a real find as it doesn't have the high-inducing, skin-peeling effect of Nitro Morse.
I also need to point out that I'm not good at doing the whole test patch thing, I’m more of a head in first kind of girl. So I just coated the entire table top with Bio-Strip from Autentico - yes you can see how little I cared for the test patch idea.
I then took my trusty scraper to find myself piling up sticky fake tan coloured jelly.
It was virtually impossible to remove once it had melted and the table was as orange as ever after a painful amount of time.
It was as if the table and varnish were protesting “we shall not be moved”, having clearly spent many decades together.
So it was time to bring out the big boys and I resorted to my beloved hand sander asking "why oh why didn't I go for this in the first place?".
Why oh why indeed as the sticky mess now clung to each sanding pad within a matter of minutes.

Wine and dye... and lime
I decided to abandon the task and have a glass of wine.
The following day I removed as much of the gunk as possible with sugar soap, my arms starting to resemble Popeye’s. Half an hour in to sanding and I was cooking… cooking my Black & Decker which now gave up possibly due to overheating or maybe clogged with jellied sawdust.
I would have given up and had a glass of wine again but as it was only 10am I felt I should at least persist until midday. Instead I took an expensive trip to Homebase and bought a new sander – the free table not seeming quite so cheap by now.
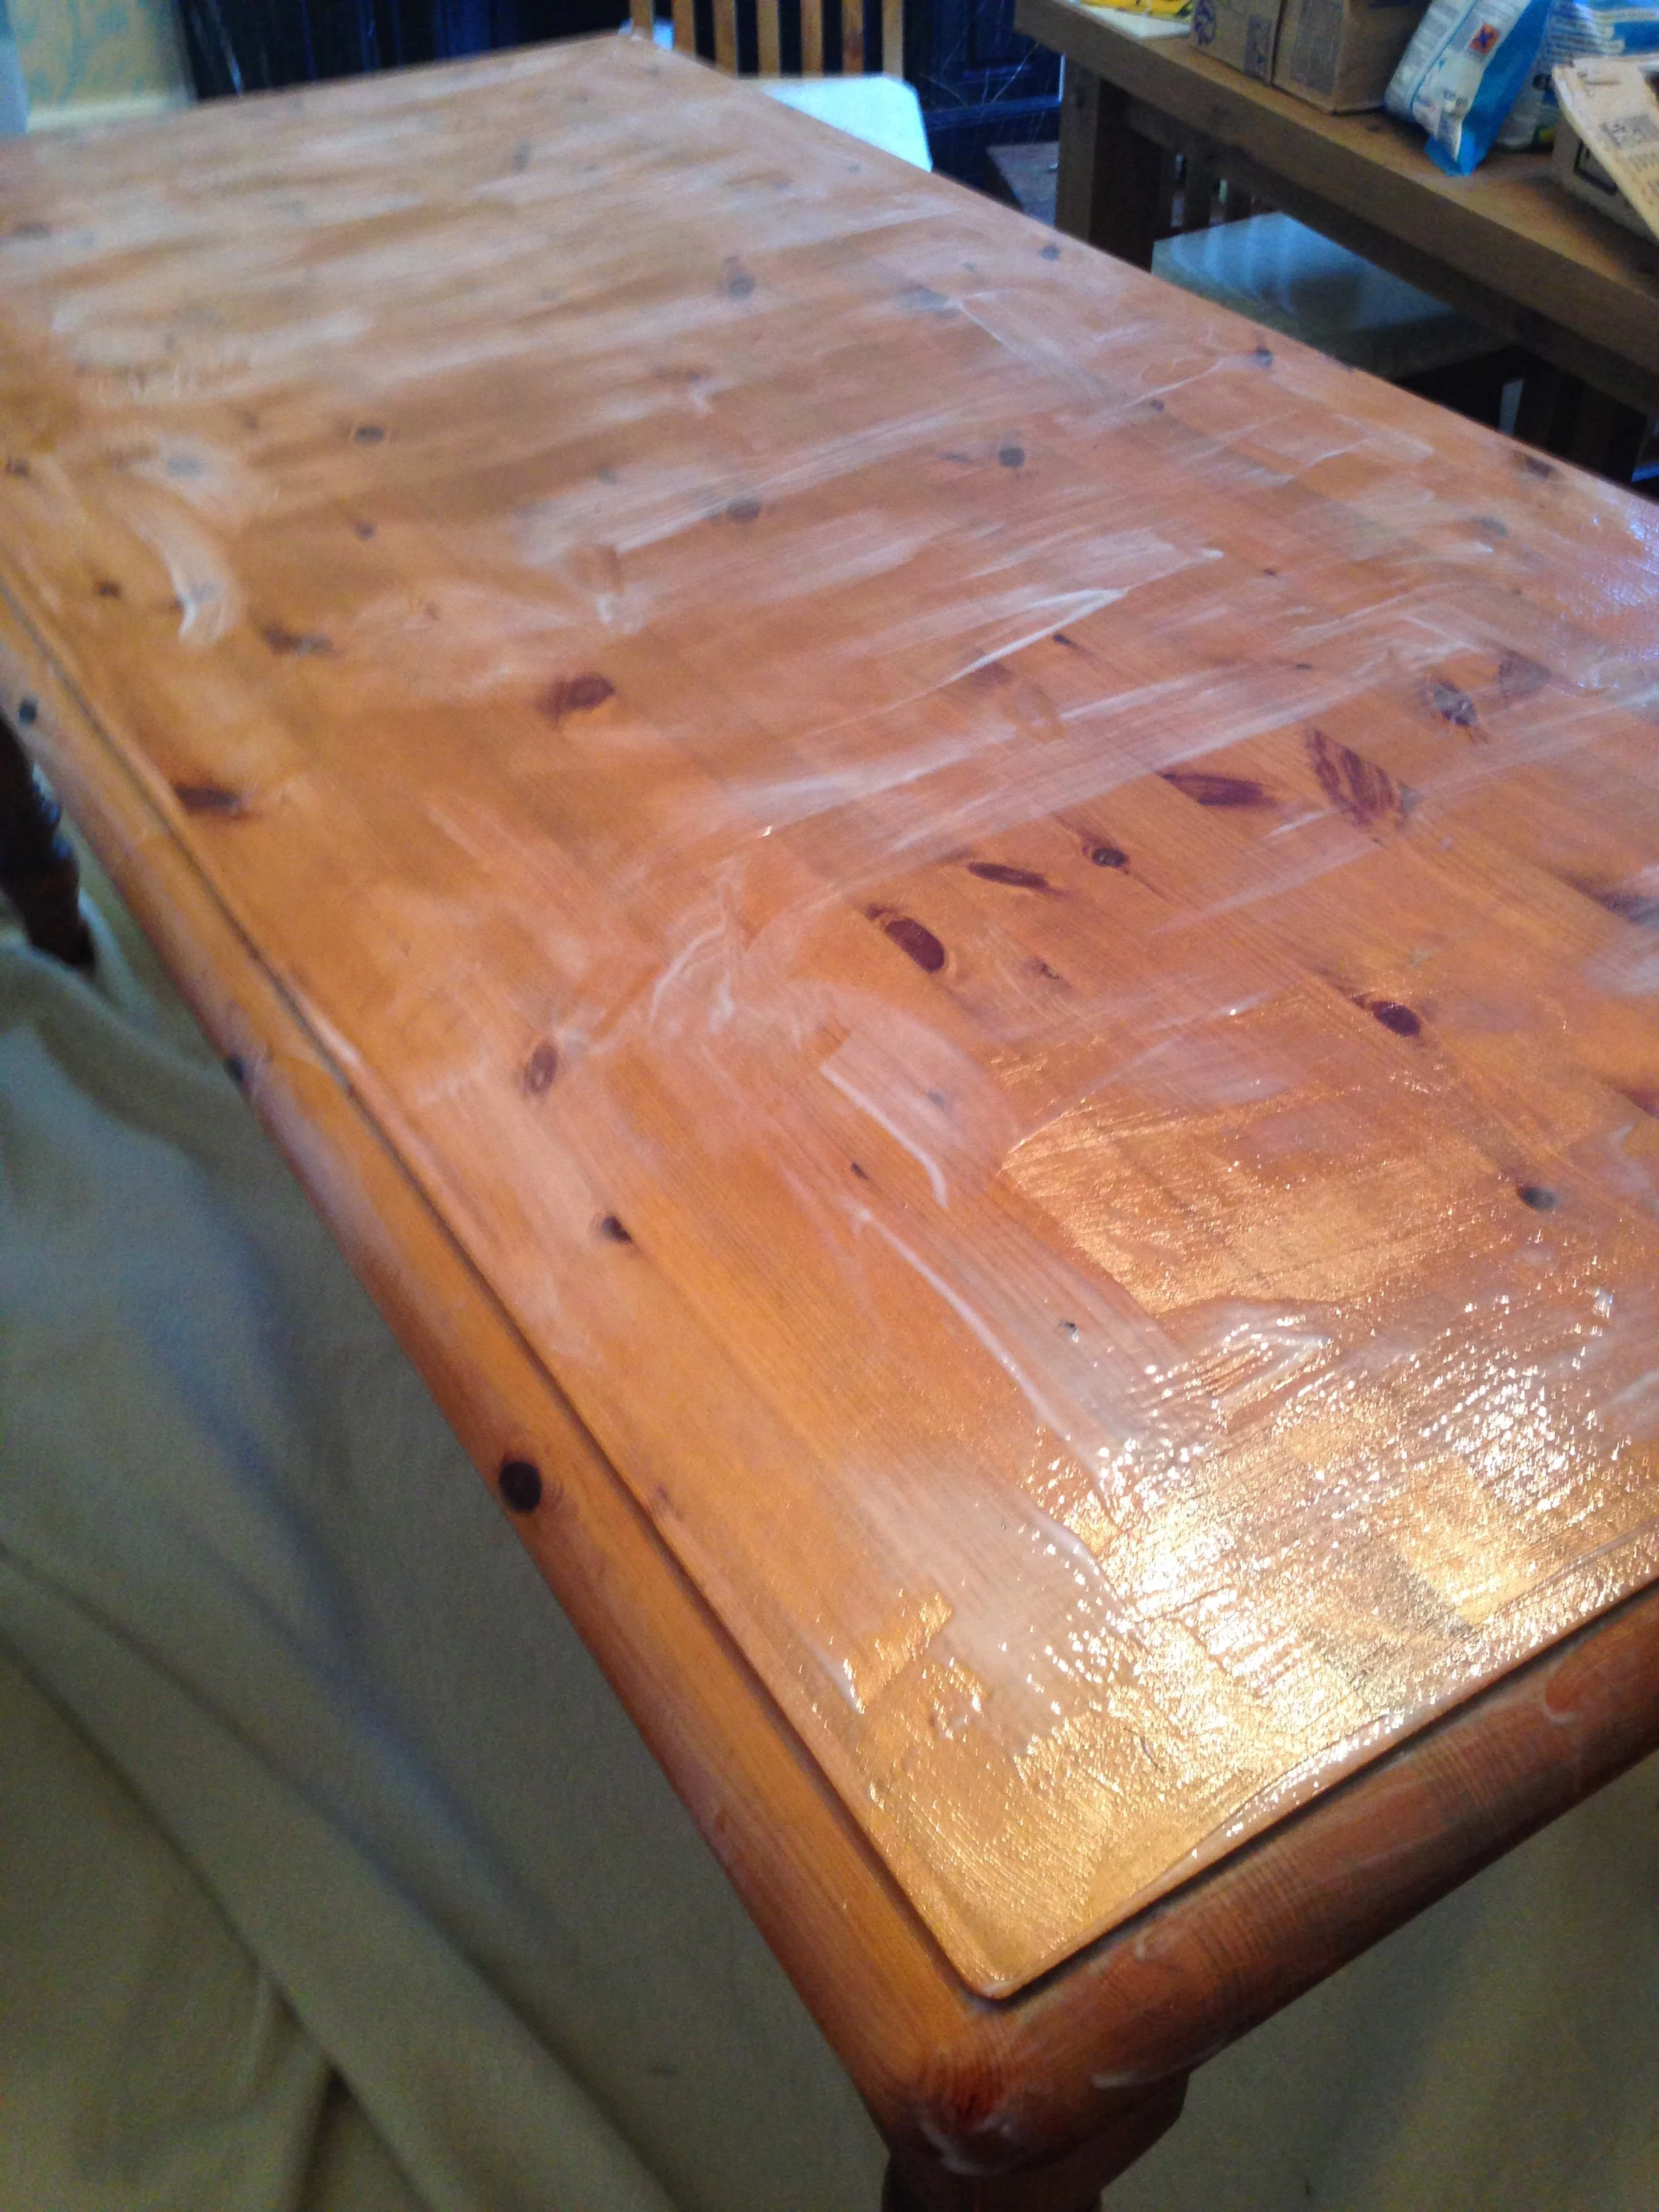
Eventually this did the trick and I was left with a smooth, fresh pine finish.
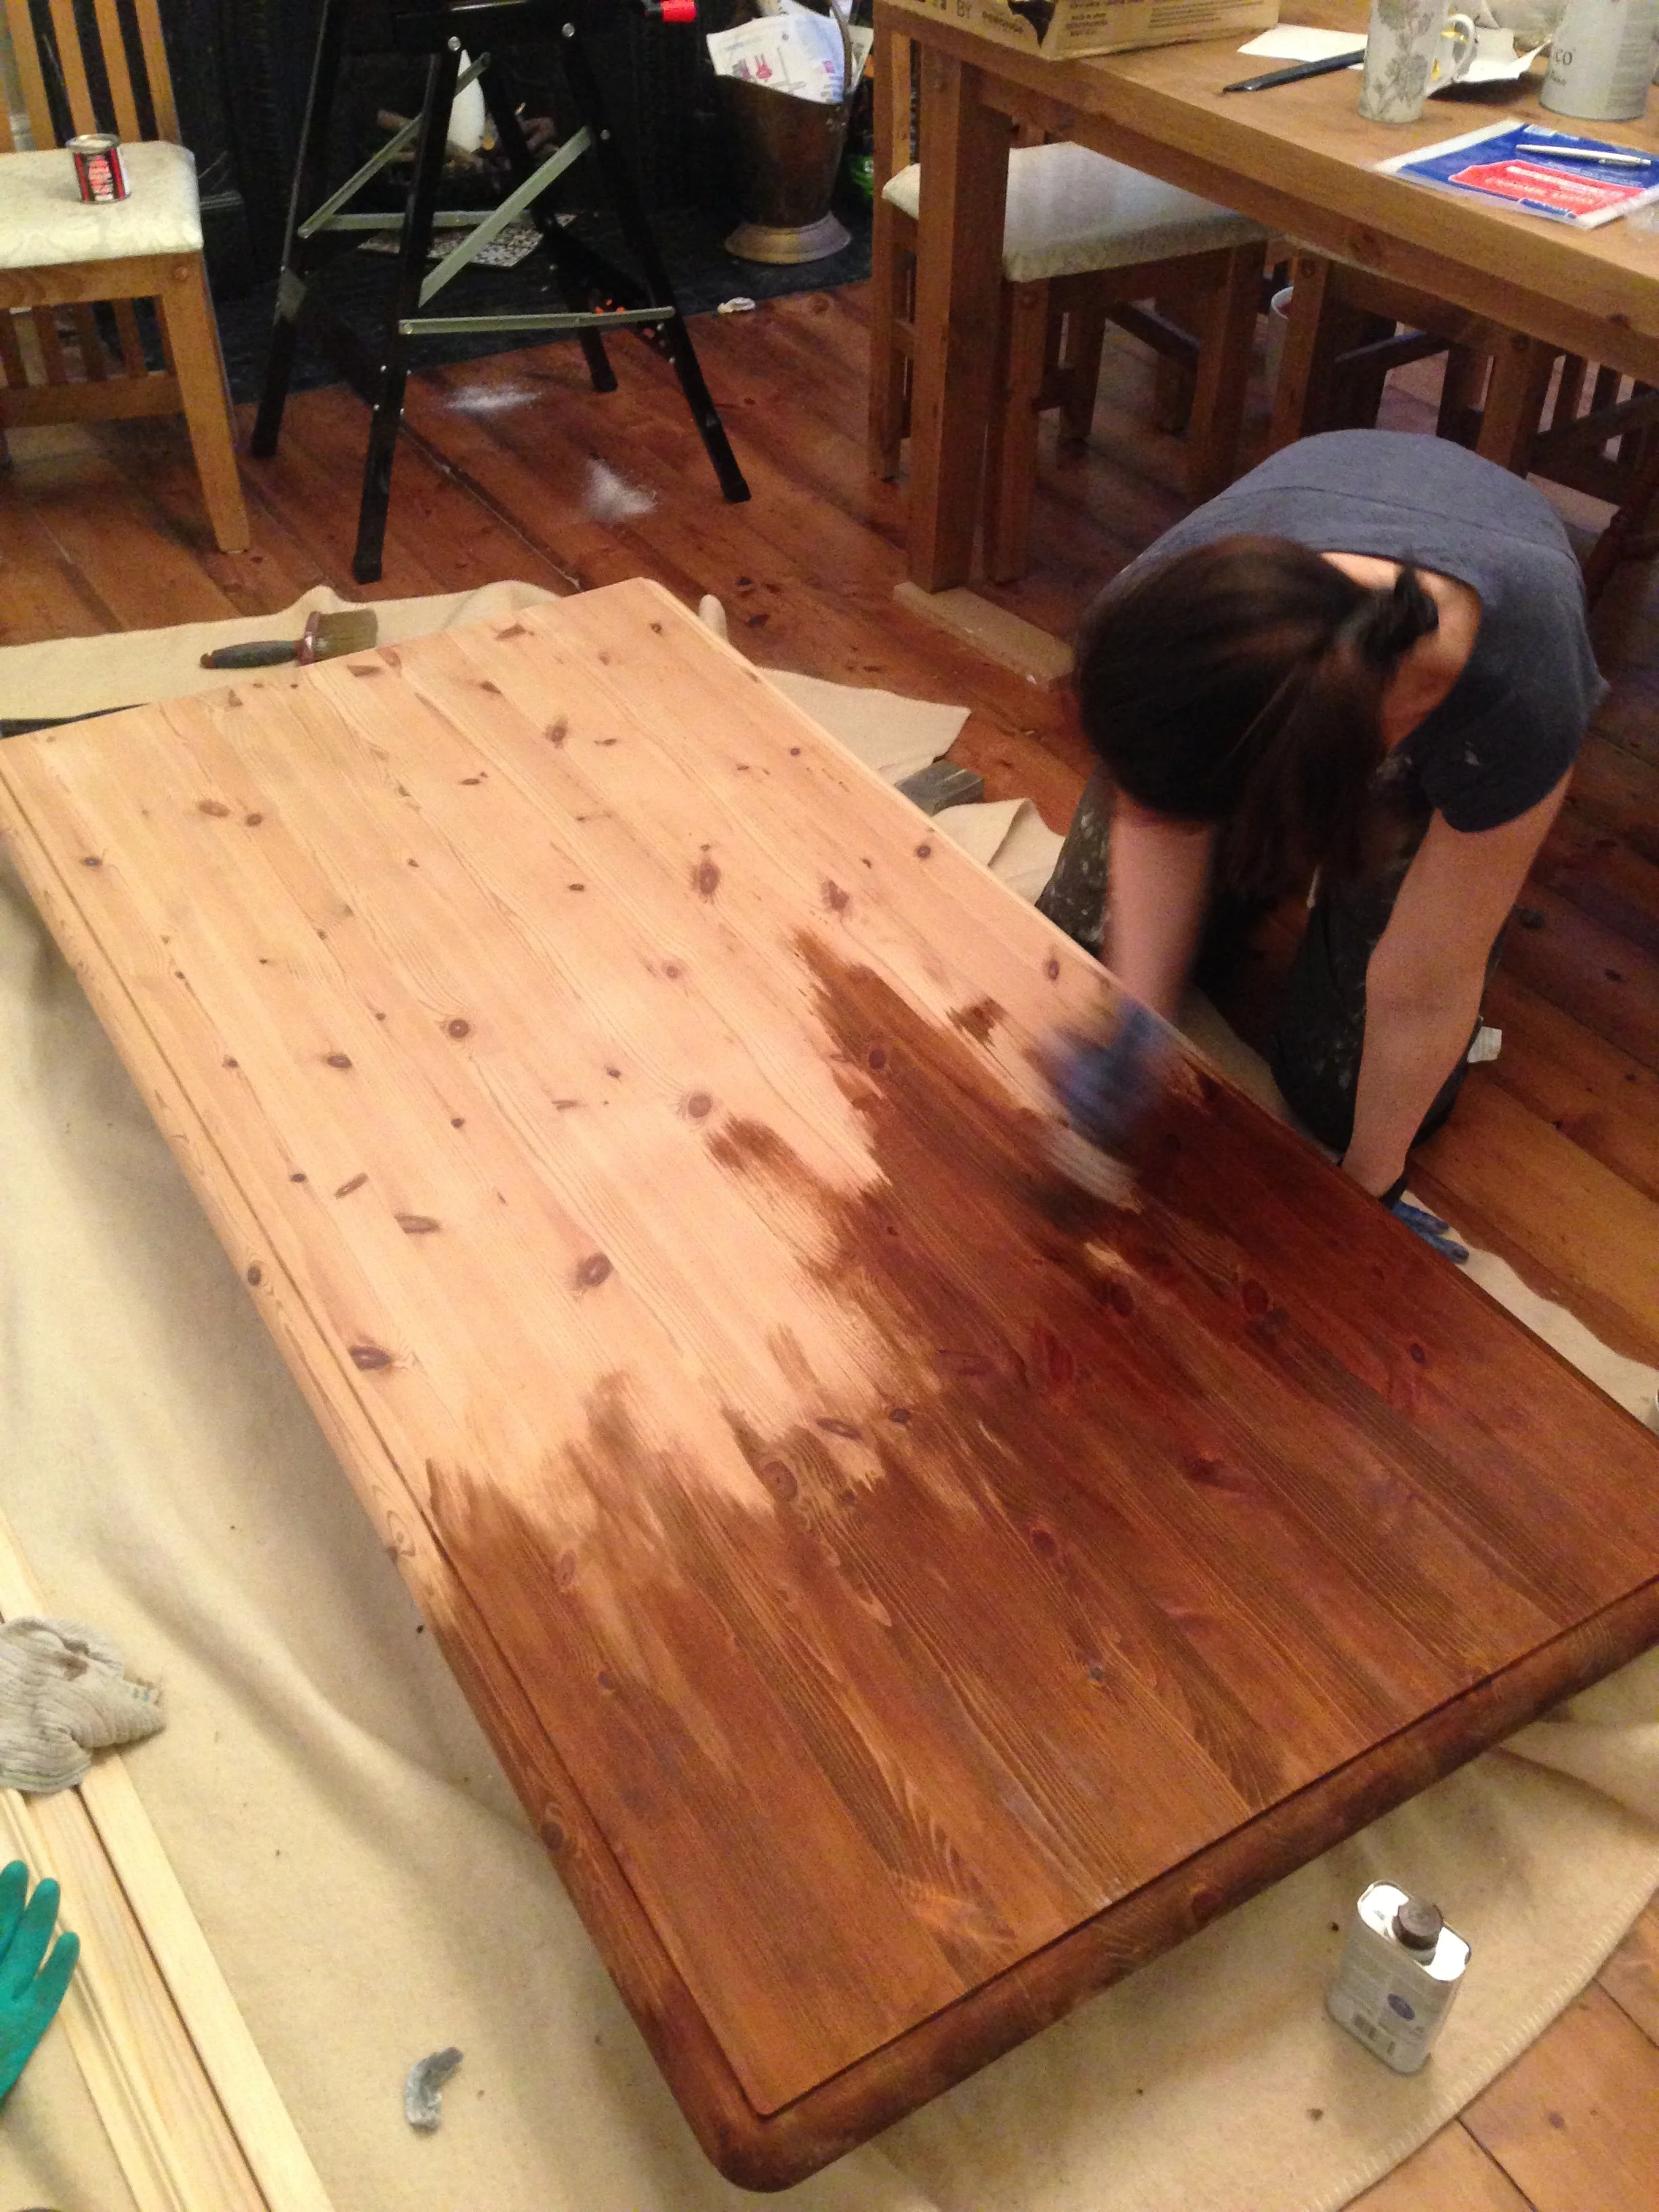
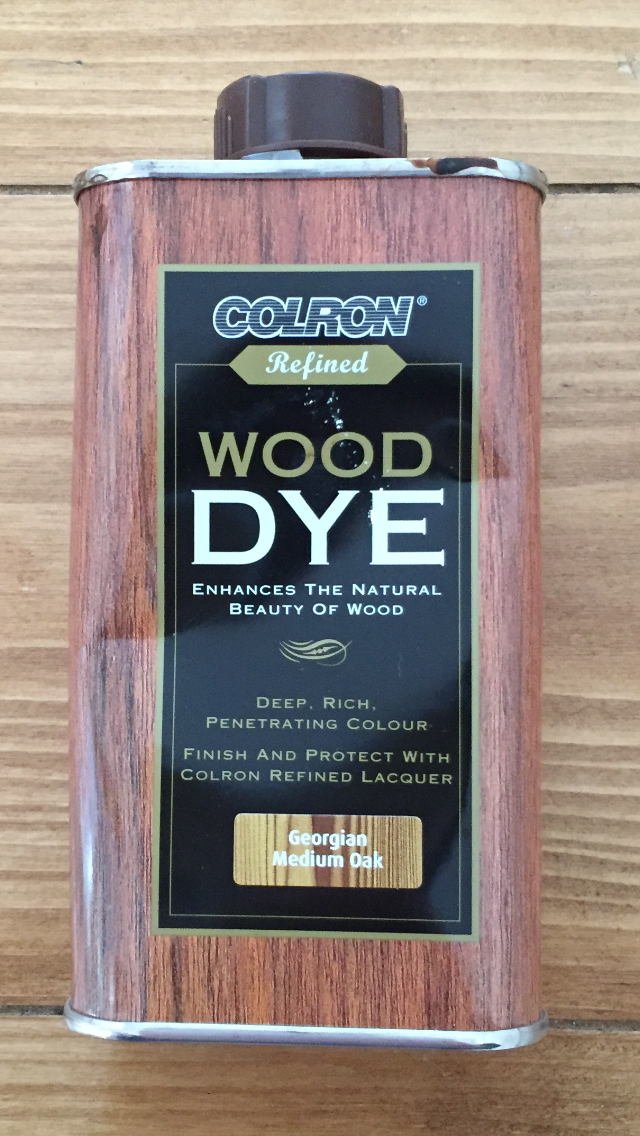
I chose to experiment rather than follow the current painted furniture trend. So I stained the table top with Colron Wood Dye in Georgian medium oak - you can get this from Homebase, Wickes, B&Q etc - and then roughed up the wood a little with a wire brush, just enough to expose the grain.

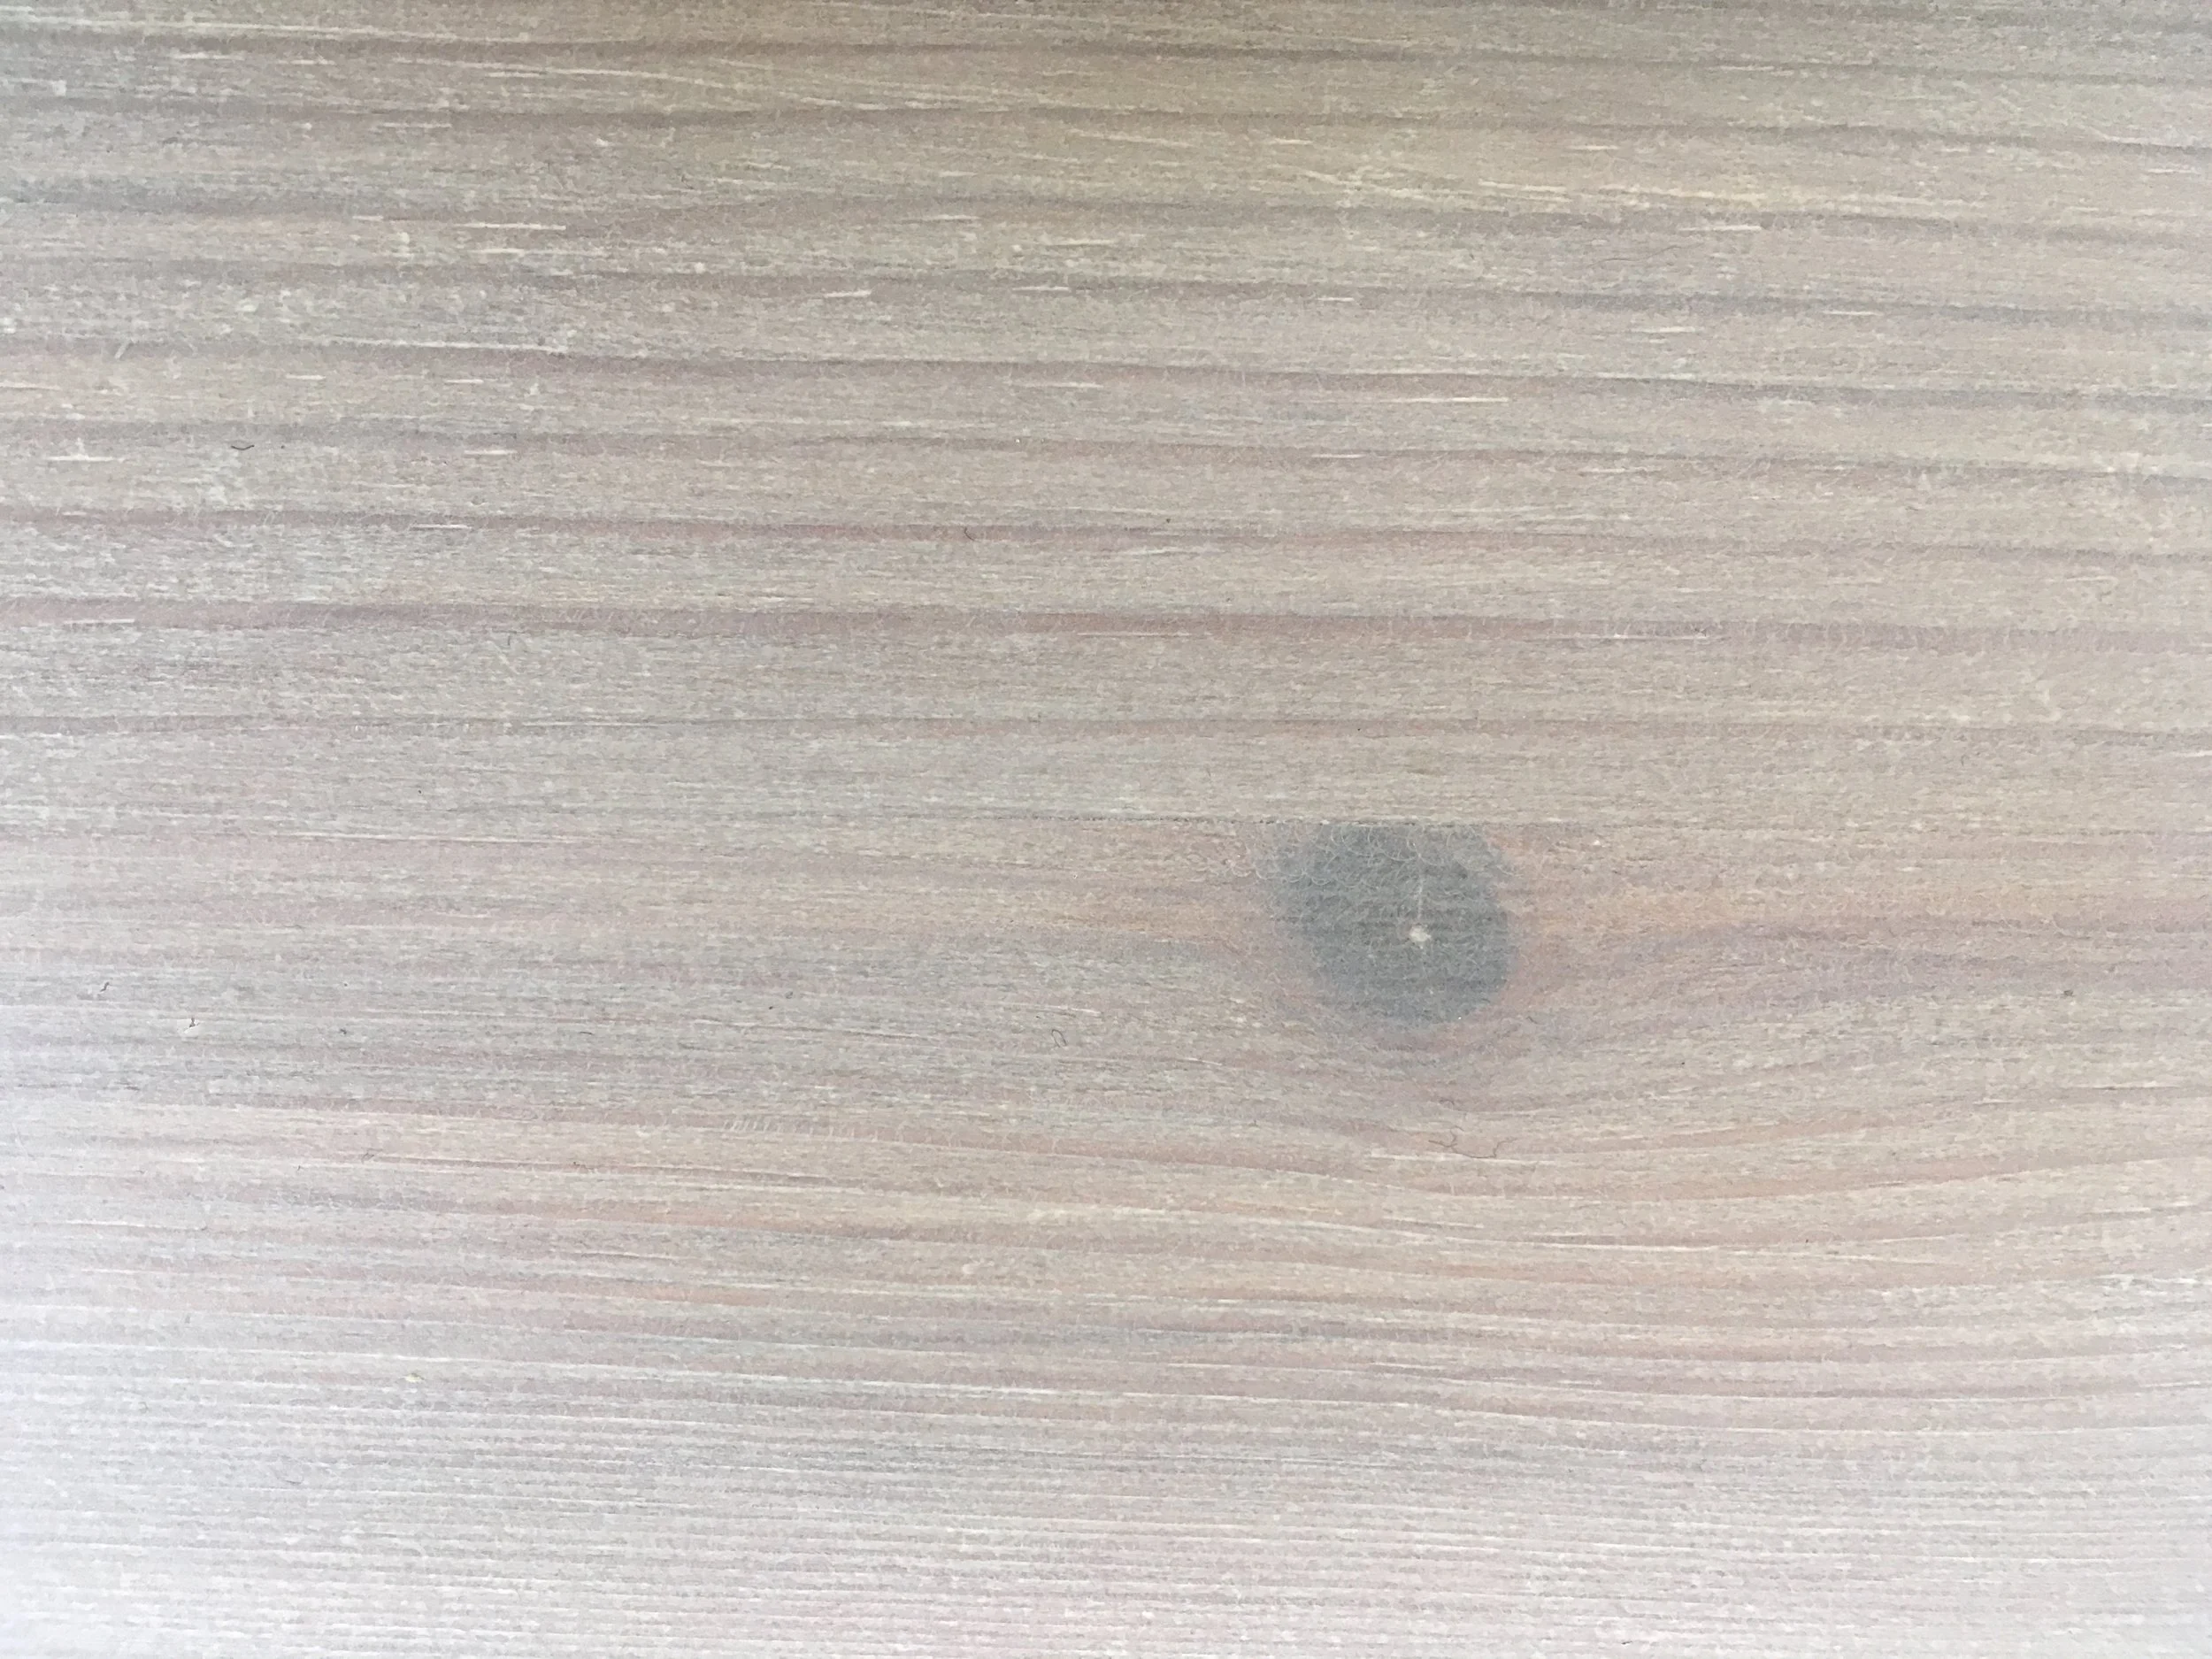
I then used this Liberon Special Effects Wax Liming, also available from the usual suspects. I've never tried this before but have to say I love the finish.
It’s really worth rubbing it into the grain to get the maximum effect, particularly if you’ve wire wooled or brushed the wood beforehand.
Flattering finish
I know everyone loves the buffed wax finish at the moment, but for me it's all about being as flat as possible.
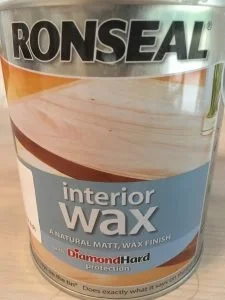
Bearing in mind this is a kitchen table so needed some kind of hardcore protection, I was thrilled to discover this Interior Wax in white ash from Ronseal.
It's a liquid, so easy to apply, only needs 20 minutes between coats and doesn't need rubbing or buffing. The powdery, matt finish it provides is gorgeous.

I actually gave it four coats but as I have a toddler I’ve discovered it’s not monkey-proof. Although I think I used the table too soon, rather than leaving it a few days...
Note to self: read instructions girl!
If you also have little creatures then you might want to go for a lacquer finish, although I find that even clear lacquer tends to have a yellow tint.
I just cover the animal end with a cloth at dinnertime now and the whole table on curry night!
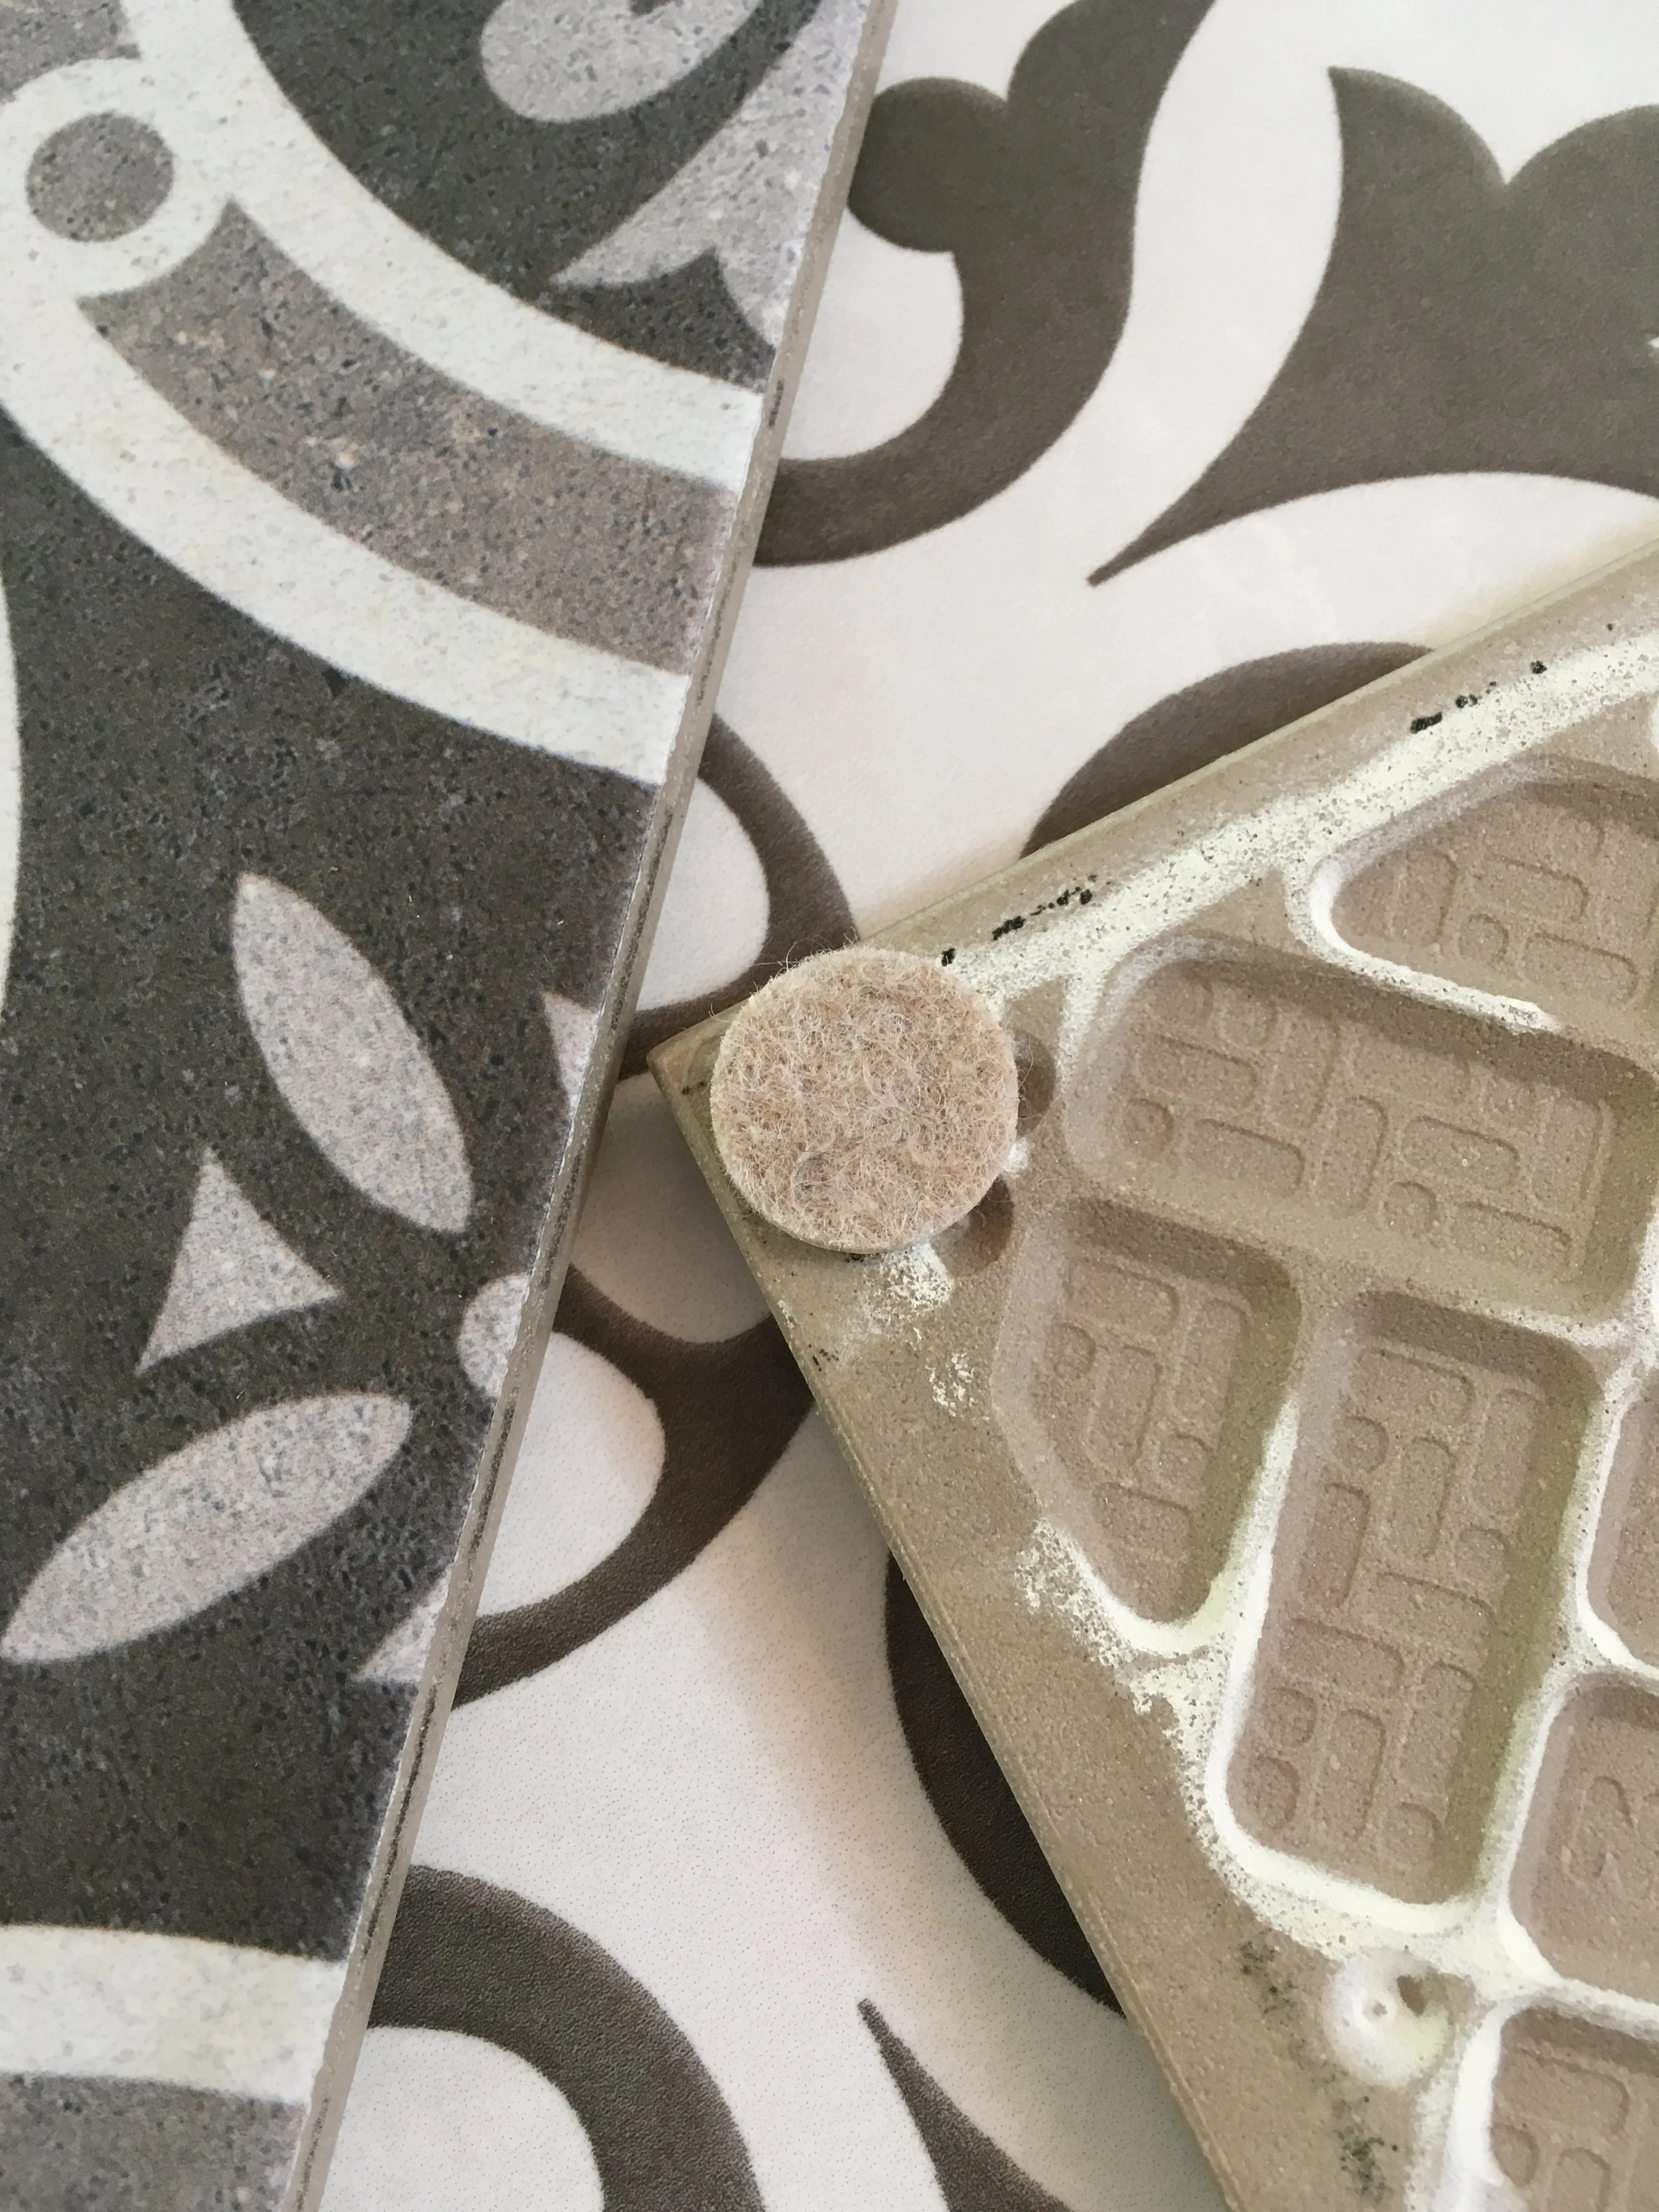
I have also added felt feet to some decorative tiles, to add some interest to the table and these double as hotplates.
If you see tiles you want to use like this but they only come in a box of ten or so, don't forget you can usually get a couple of samples for a few quid.
Look at the legs on that
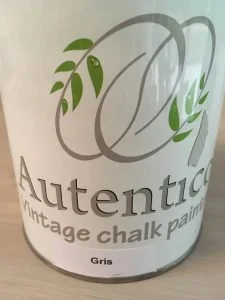
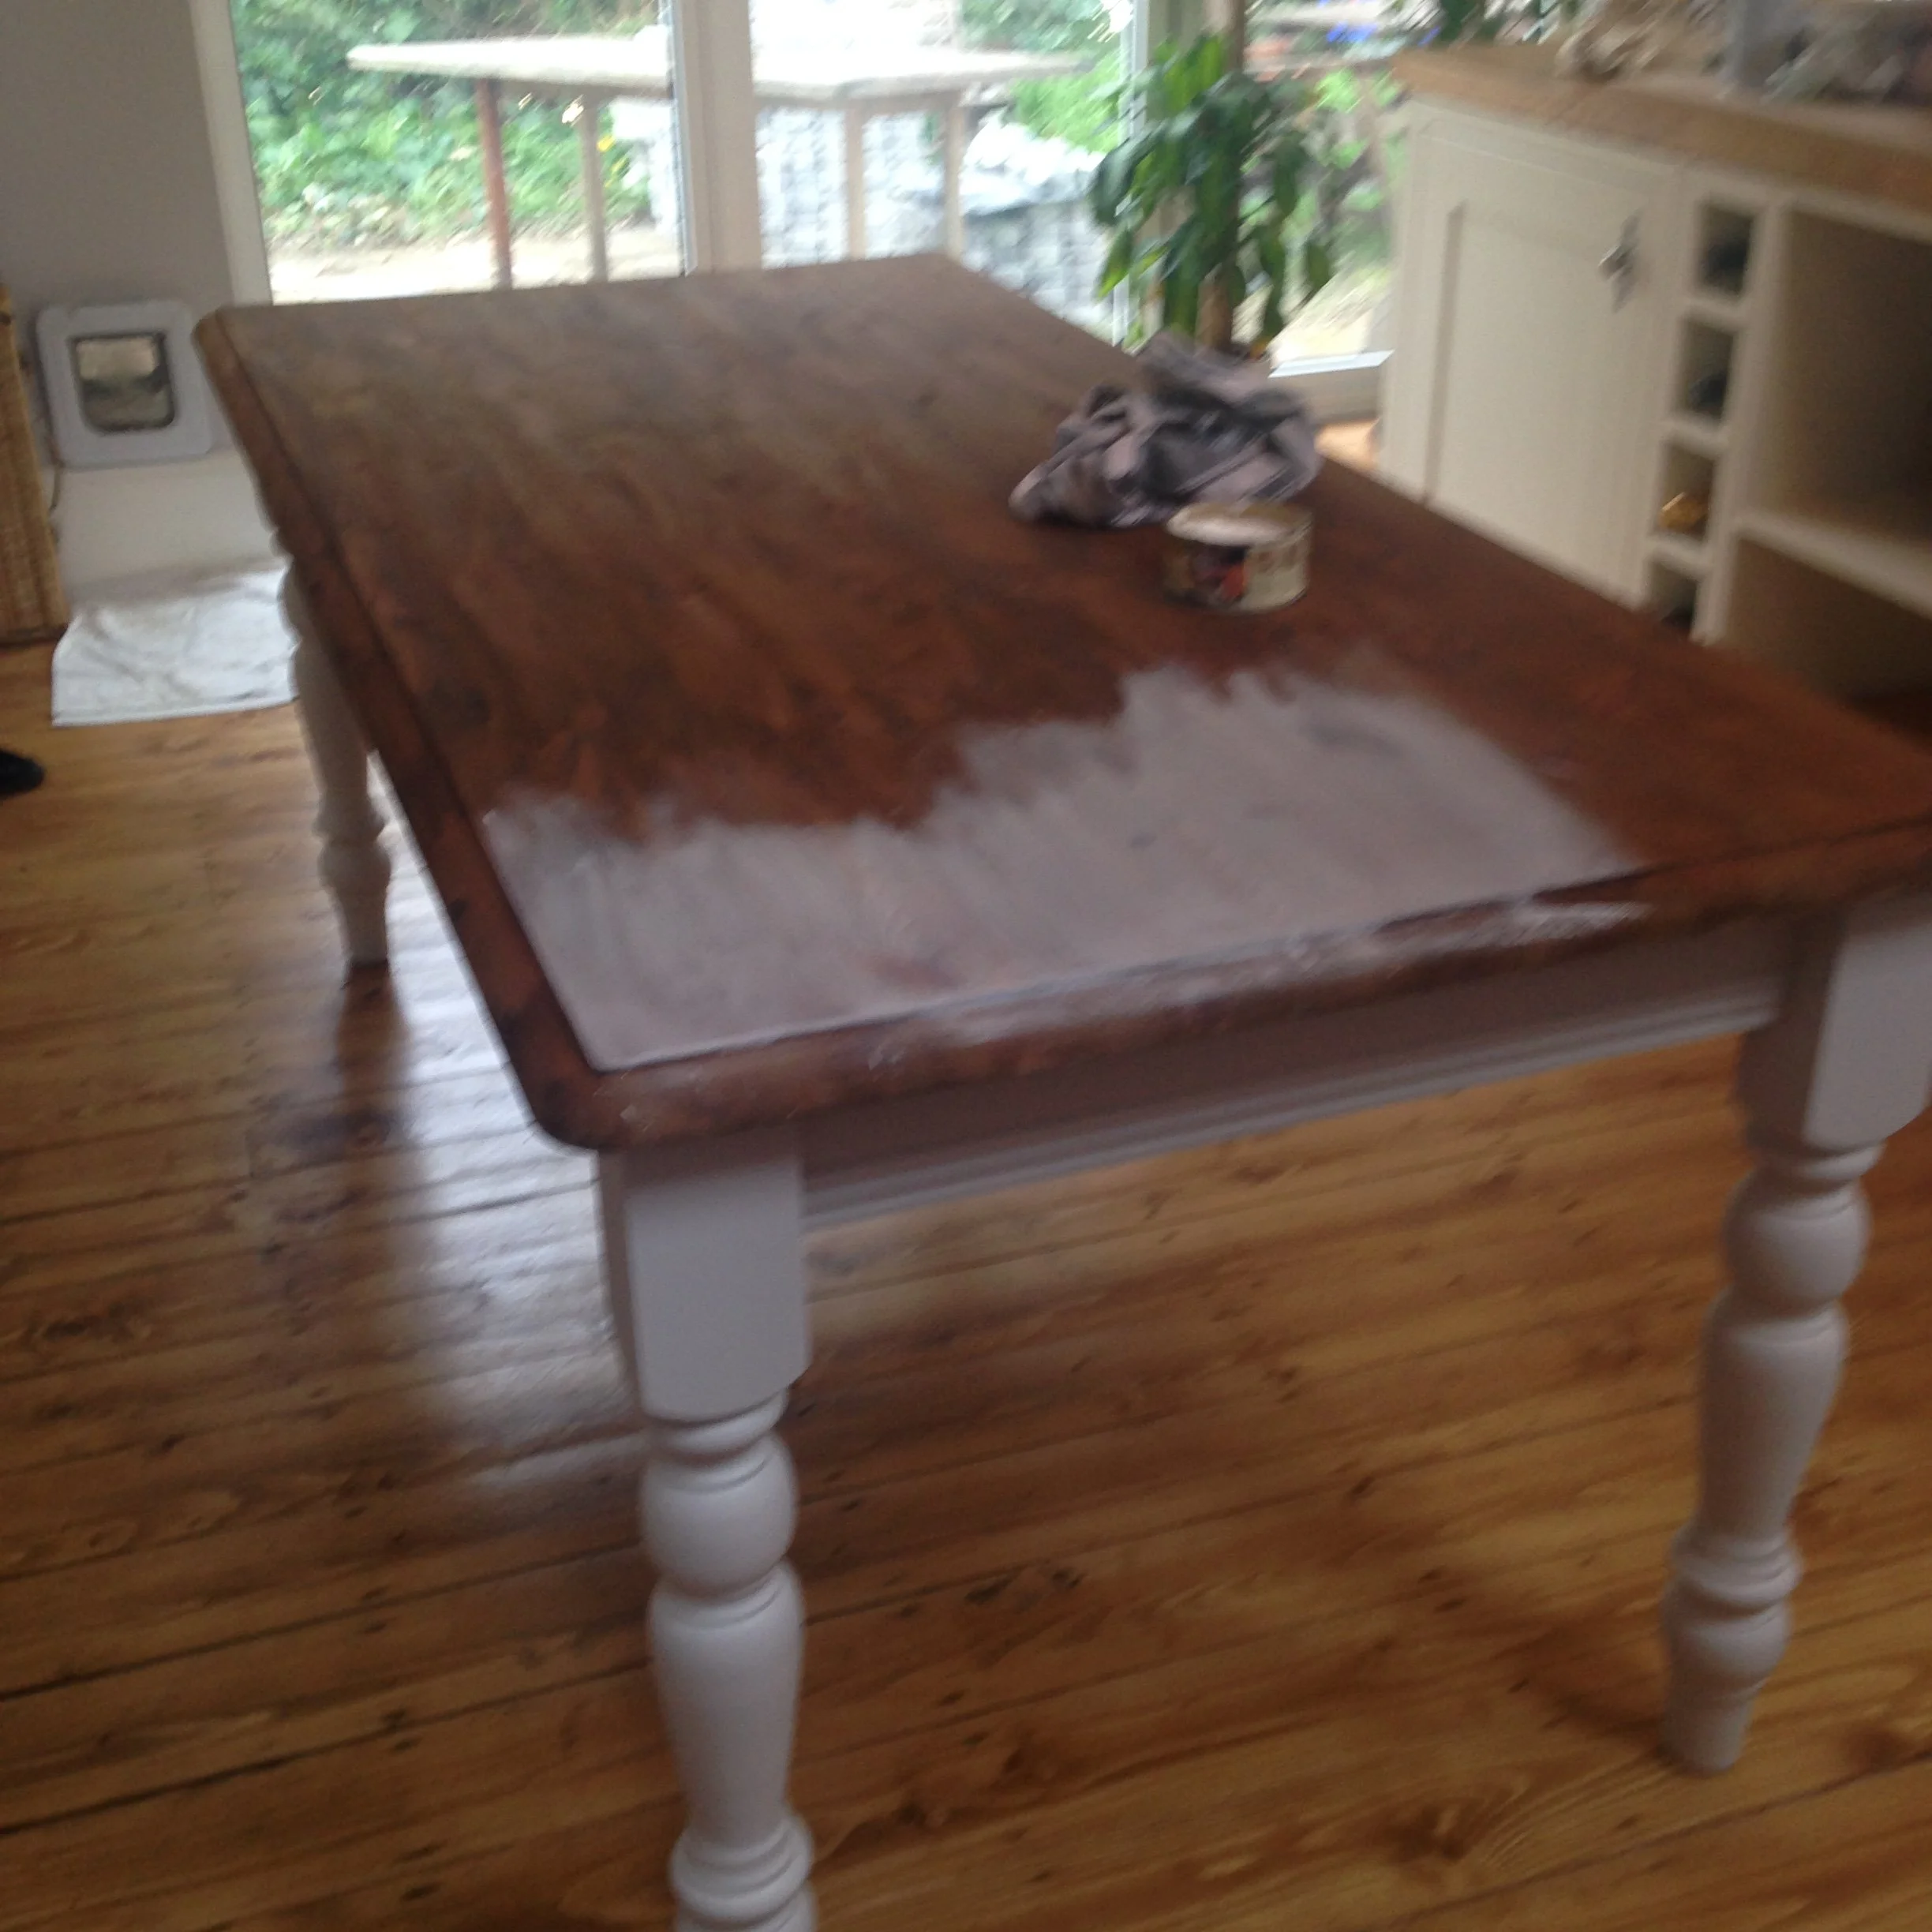
By comparison the legs were pretty simple. I used Autentico Vintage Chalk Paint in Gris, which I got from Vintage Attic. The grey was slightly too blue for my kitchen so I used the left over wall colour emulsion on top.
You would always need the chalk paint as a base to avoid prepping the wood by the way.
Then I used the same Ronseal liquid wax to finish.
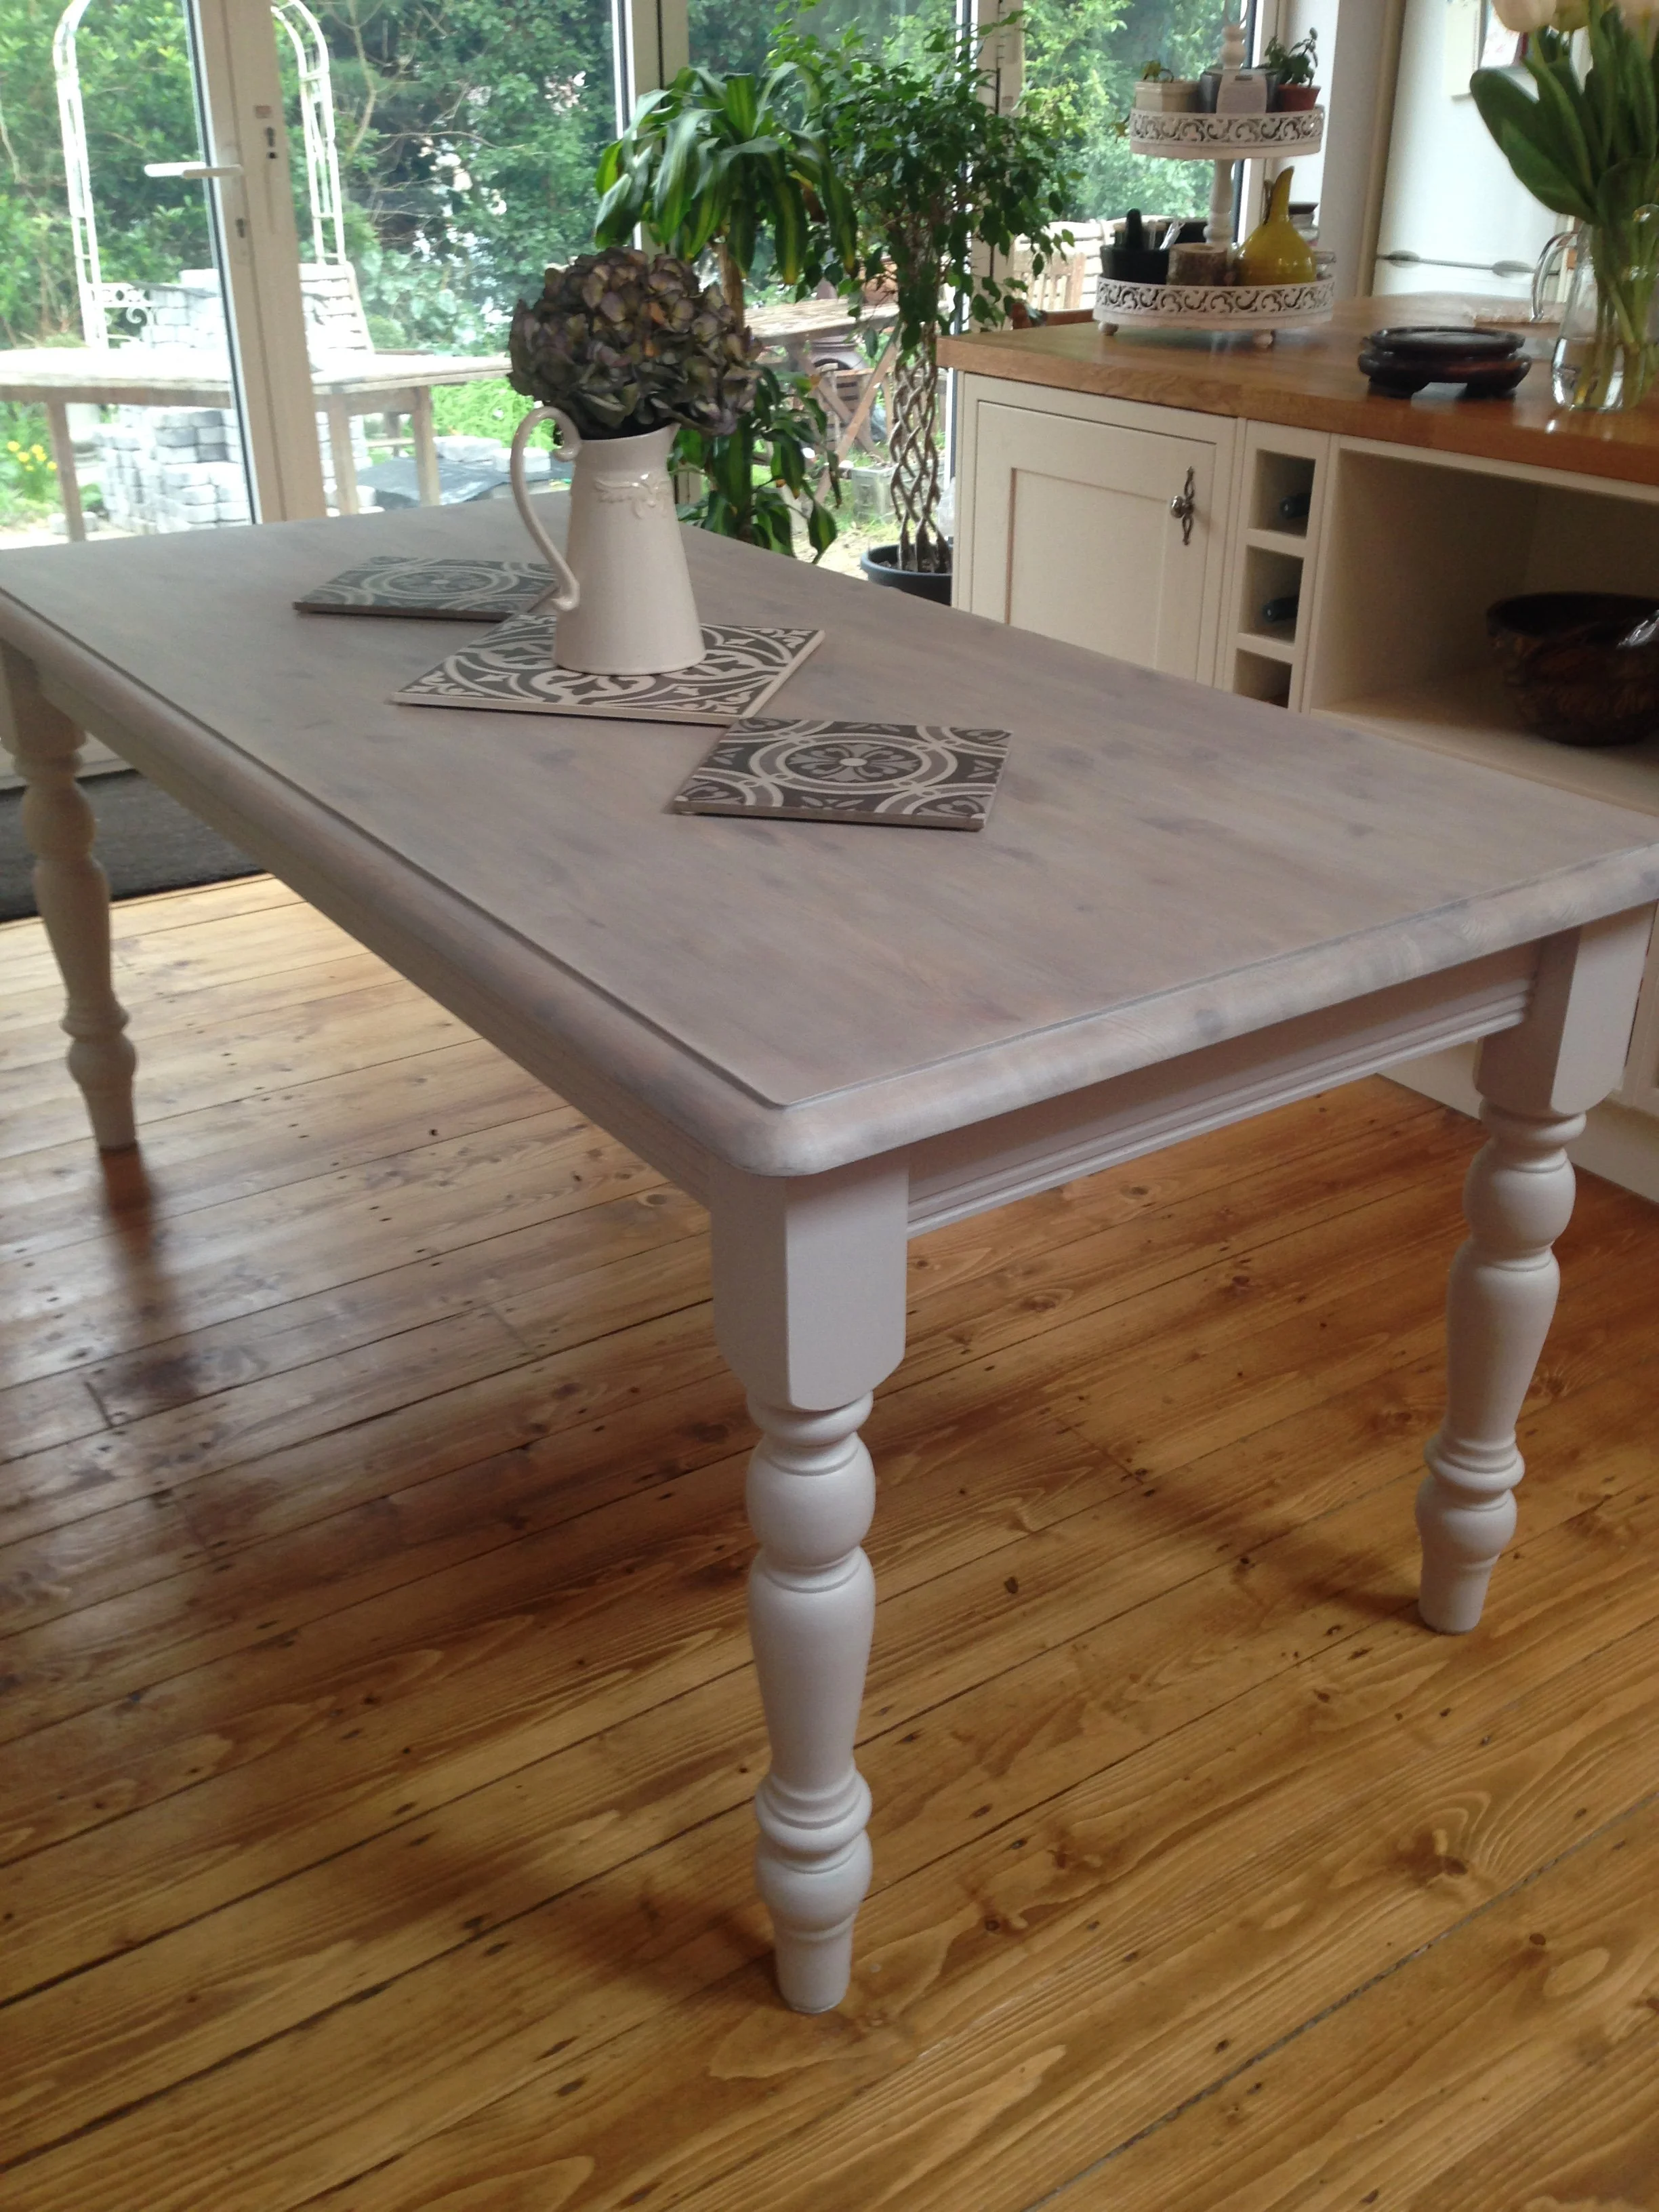
This table took many many hours due to my experimentation, but I still think it was worth it as it is now a unique piece of furniture that takes centre-stage in my kitchen.
Besides, if you cut out my mistakes it would only take a couple of days.
Just eight orange pine chairs to go now… so watch this space…
Why not subscribe for free so you never miss a post or video?
For daily posts and live demos come and chat with me on The Home Genie TV Facebook page.