Desk DIY SOS upcycle! Ad
This is my post on my desk upcycling project. If you can’t view the video please click here.
Desk rescue
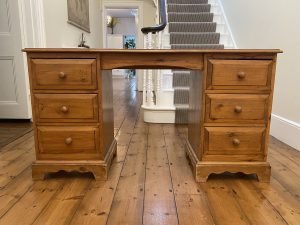
I’ve had this desk for years, and although I loved the style and practicality of it, it just didn't make me happy! So I decided to give it a bit of a facelift. I thought I'd share my tips in case you're planning to do the same.
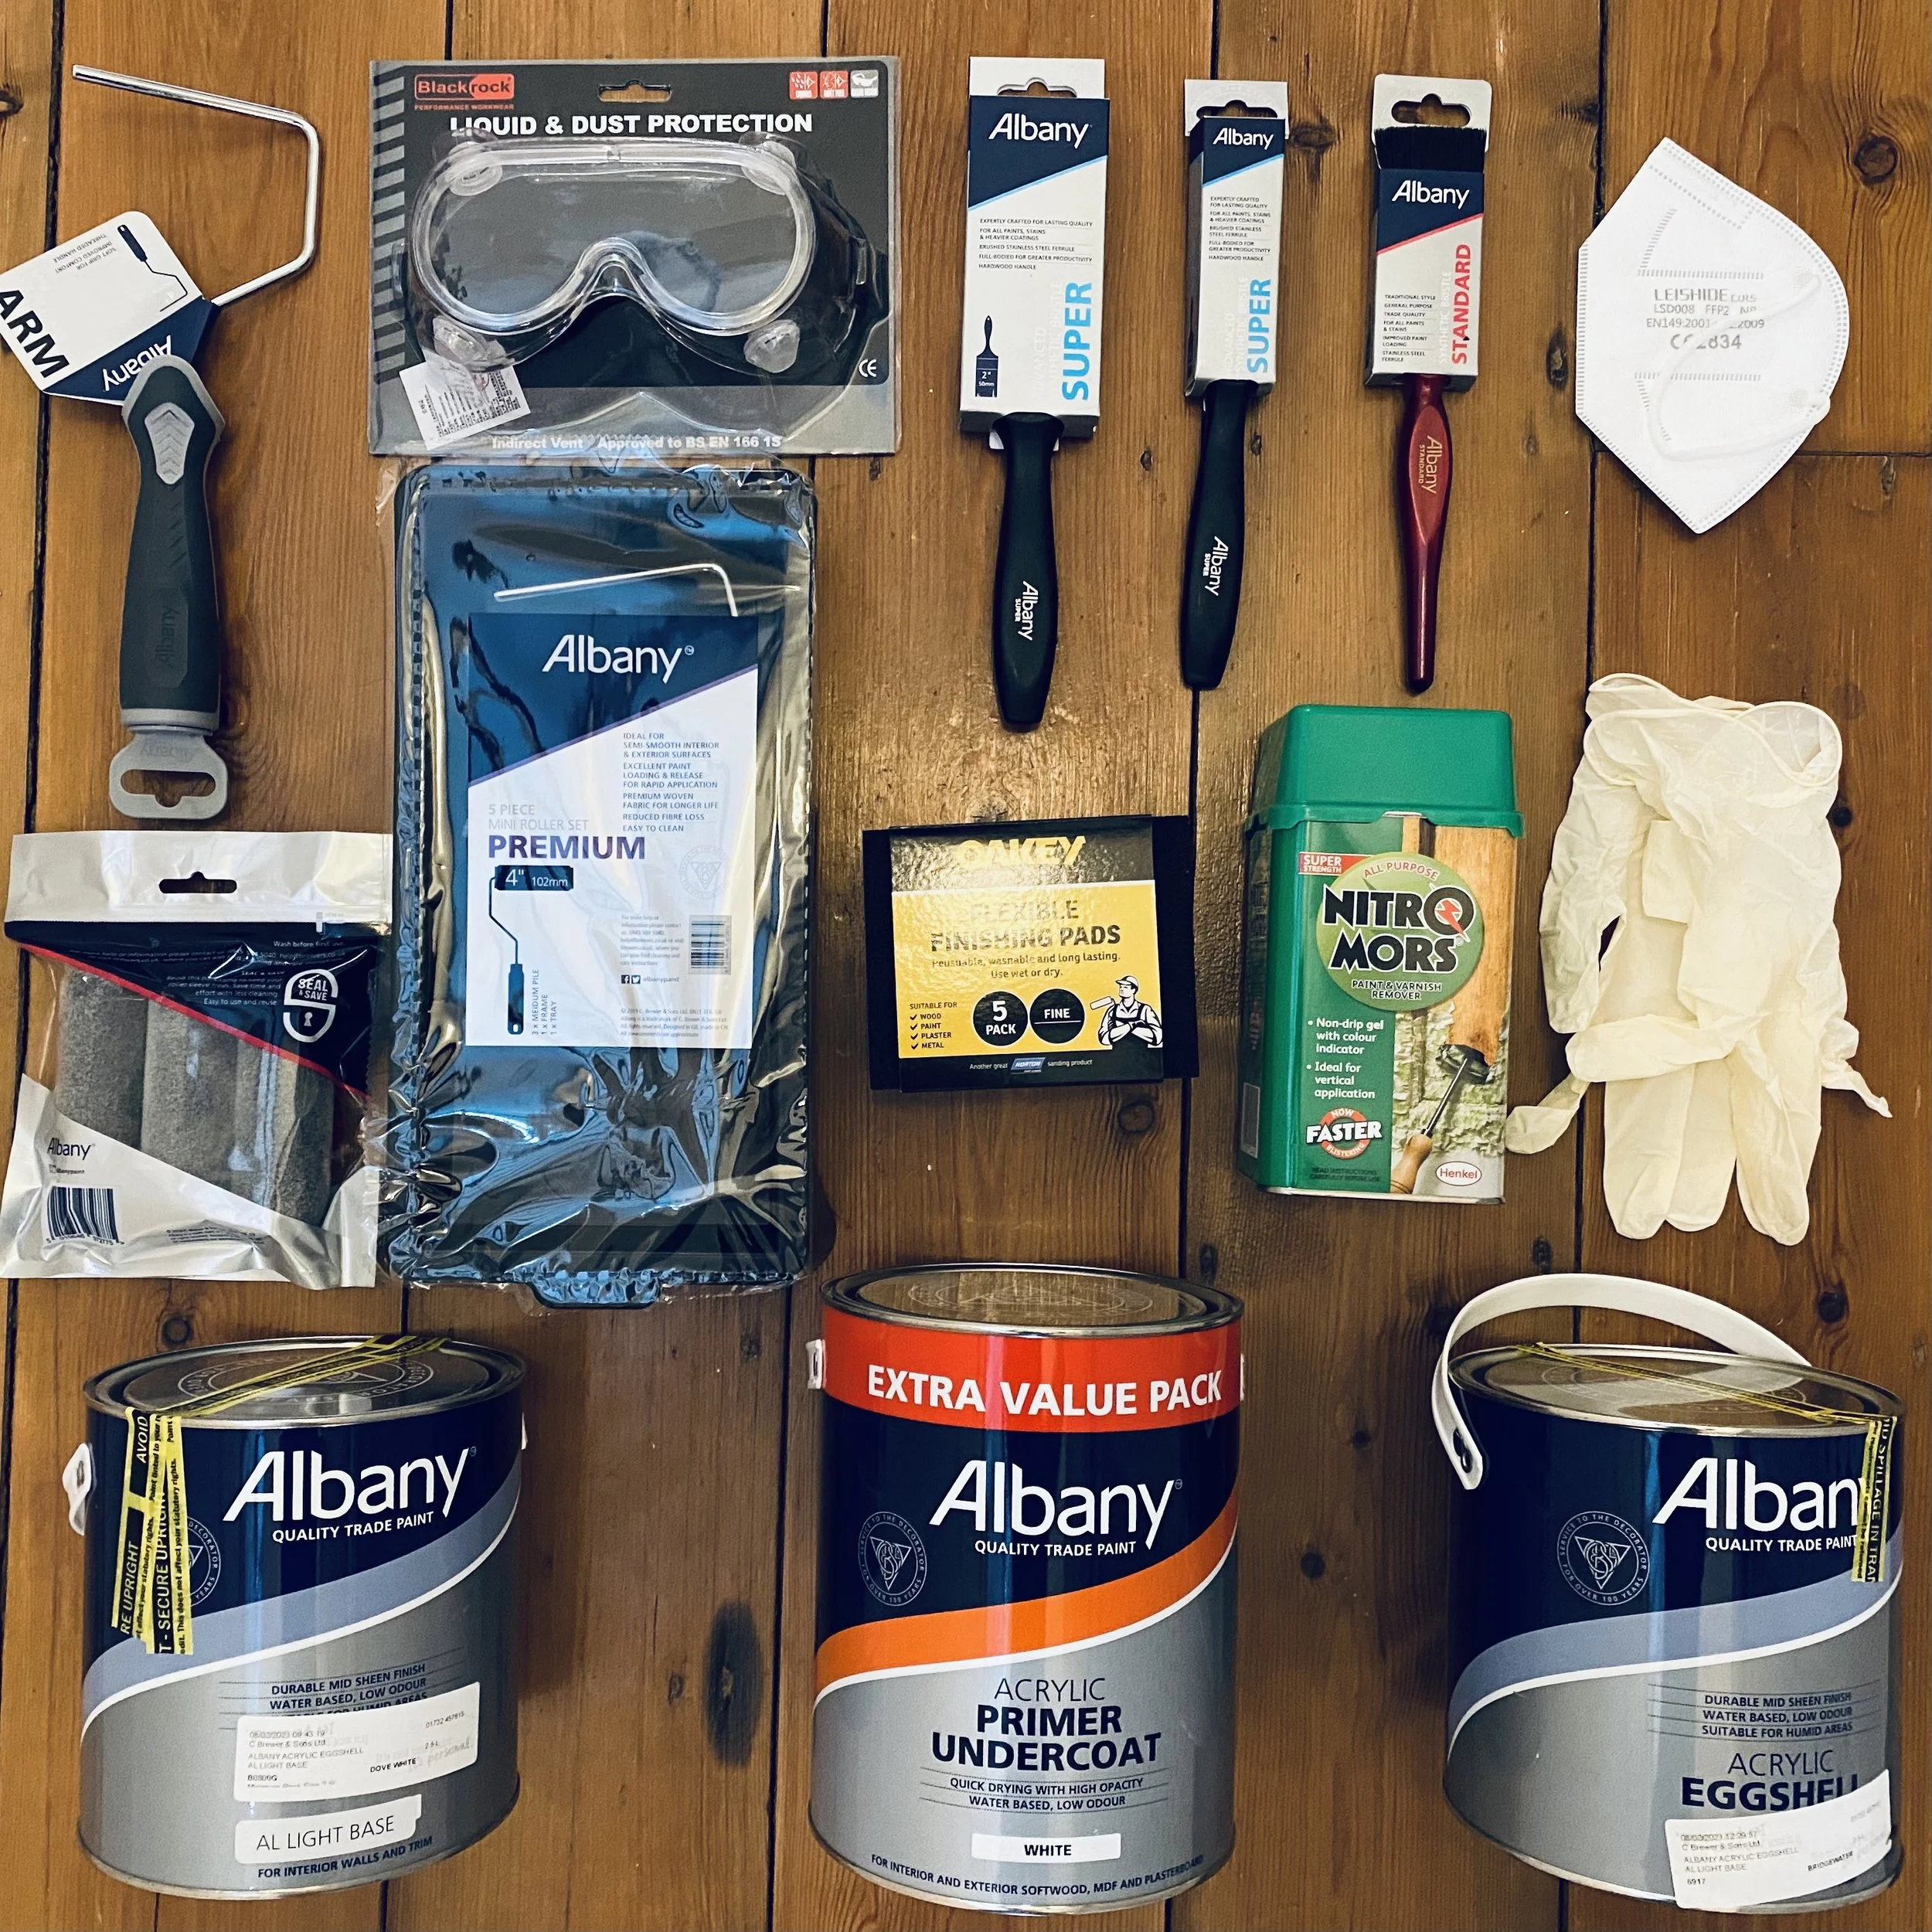
All the products I used were from Brewers Decorator Centres but I'll give you individual links as I go through them.
Prepare to succeed!
Remember, preparation is key!
If you fail to prepare then prepare to fail! Depending on the item, you might want to use stripper.
This desk seemed to have many layers of varnish so I decided to sand it back.
I used an electric sander, but you may find sanding pads are enough.
Sometimes I have to fill bits before painting as well, but that’s not the case here. The filler you use will depend on the finish you’ve selected.
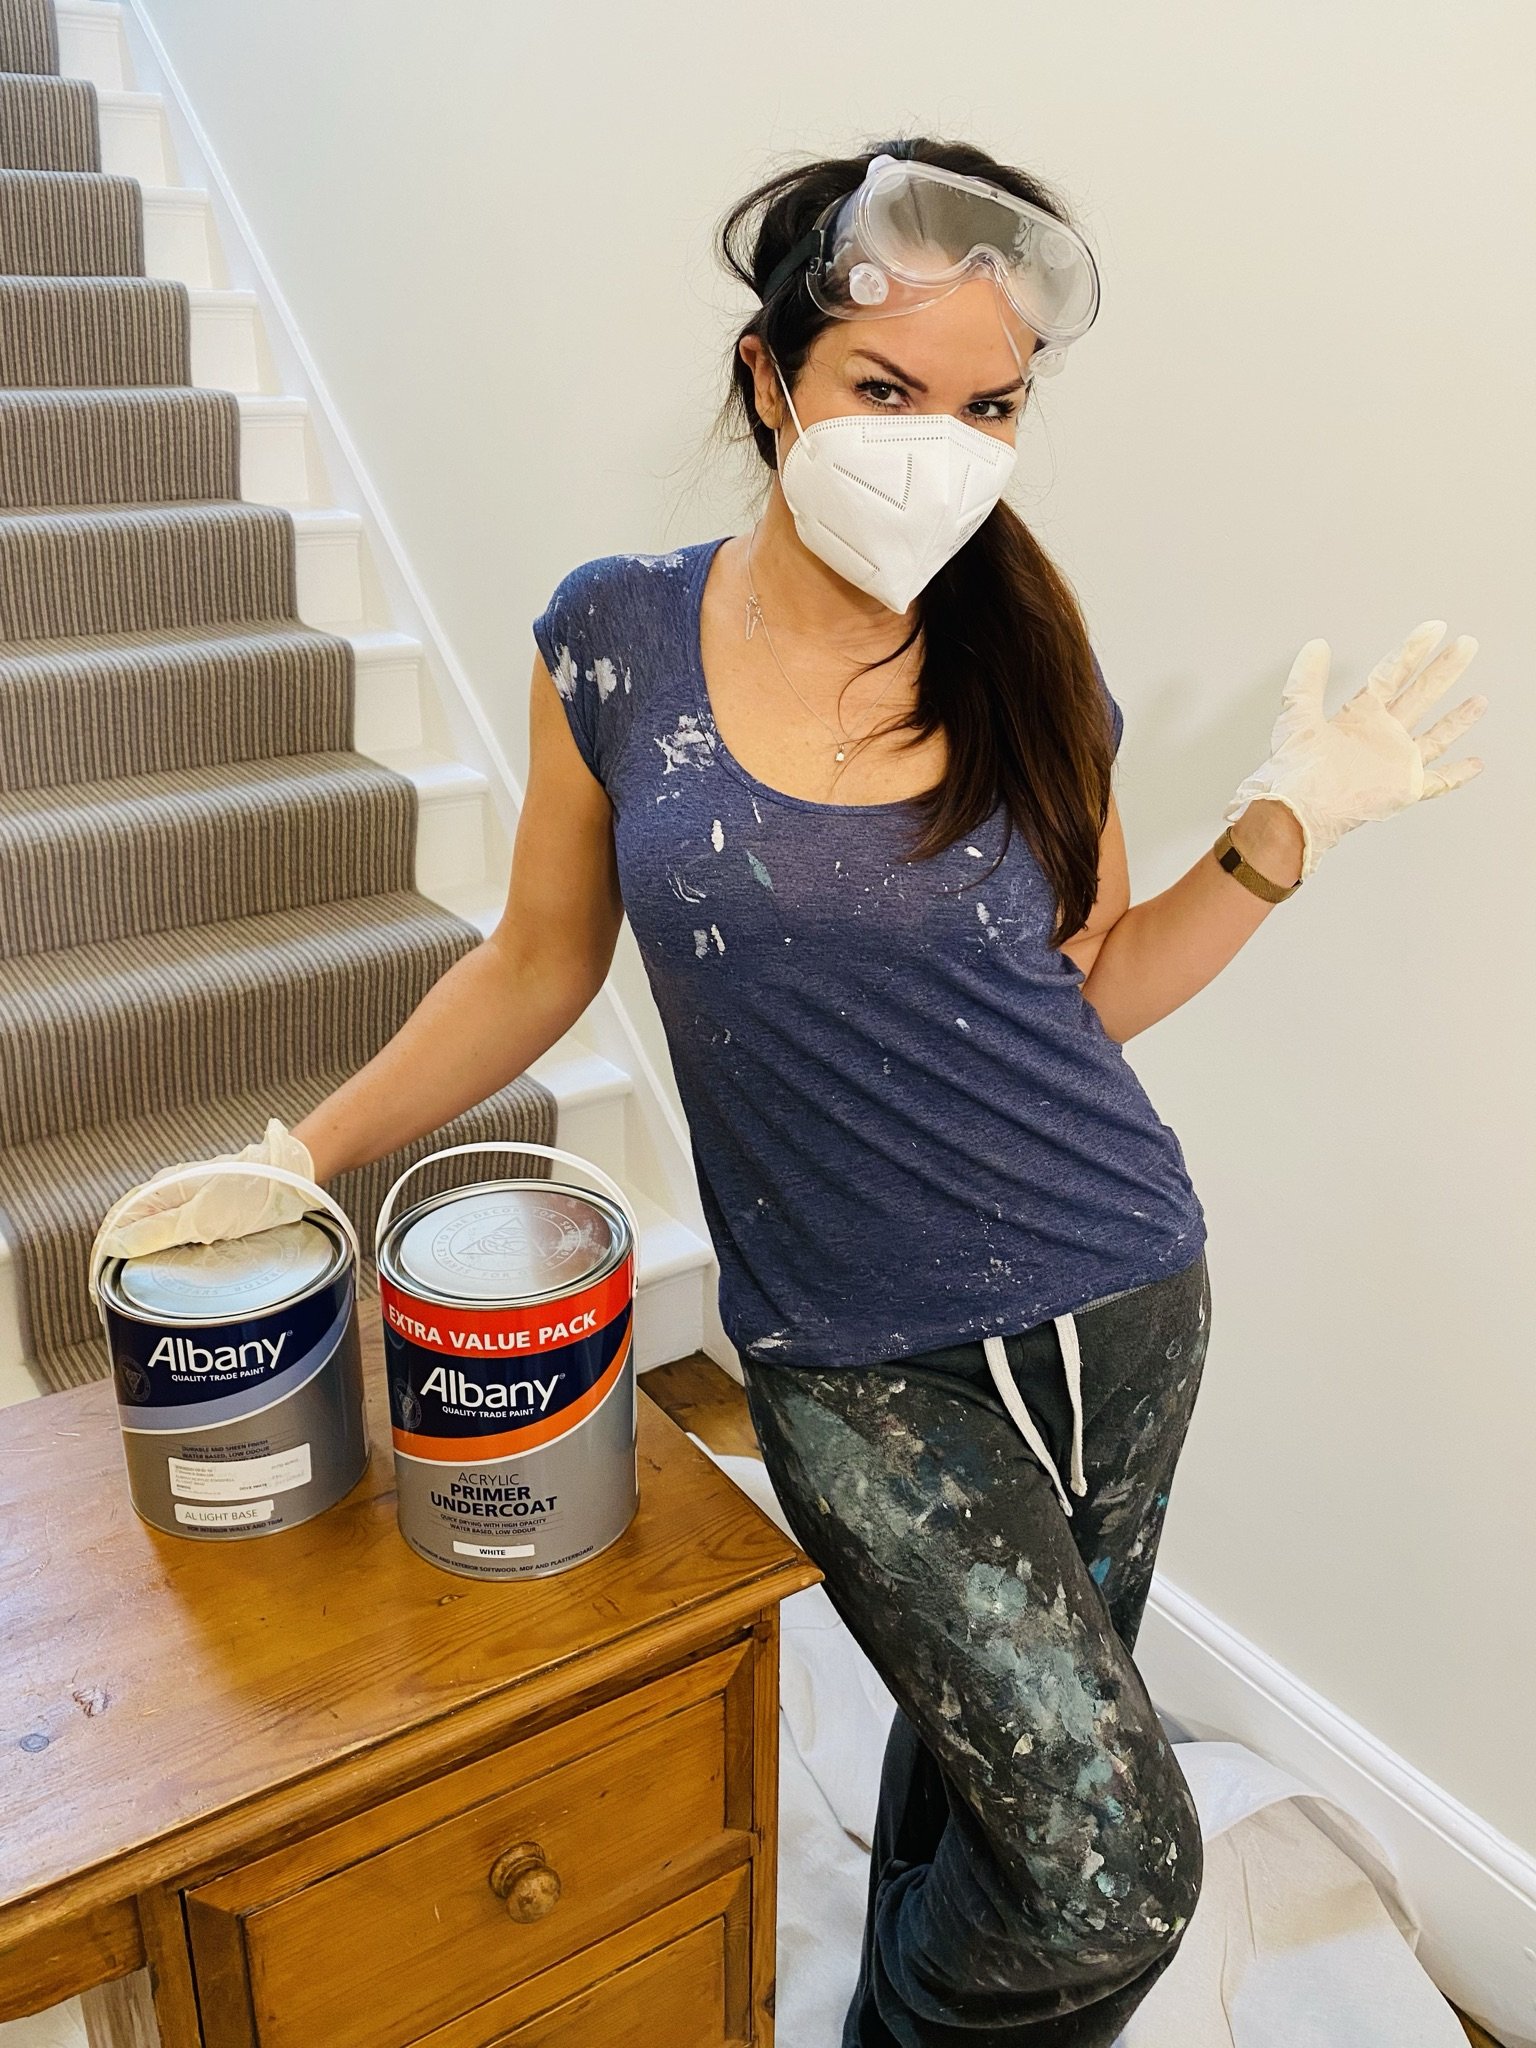
Please, please, please make sure you’re wearing PPE like a mask, goggles and gloves especially if using chemicals.
Where to do it
When you’re doing this, think about the best place to carry out the work.
Weather permitting, outside is best, but if you’re inside, make sure there’s plenty of ventilation and you’re away from kids and pets, particularly if you need to sand it or use chemicals for stripping.
Obviously the temperature of the space will affect drying times.
What to use
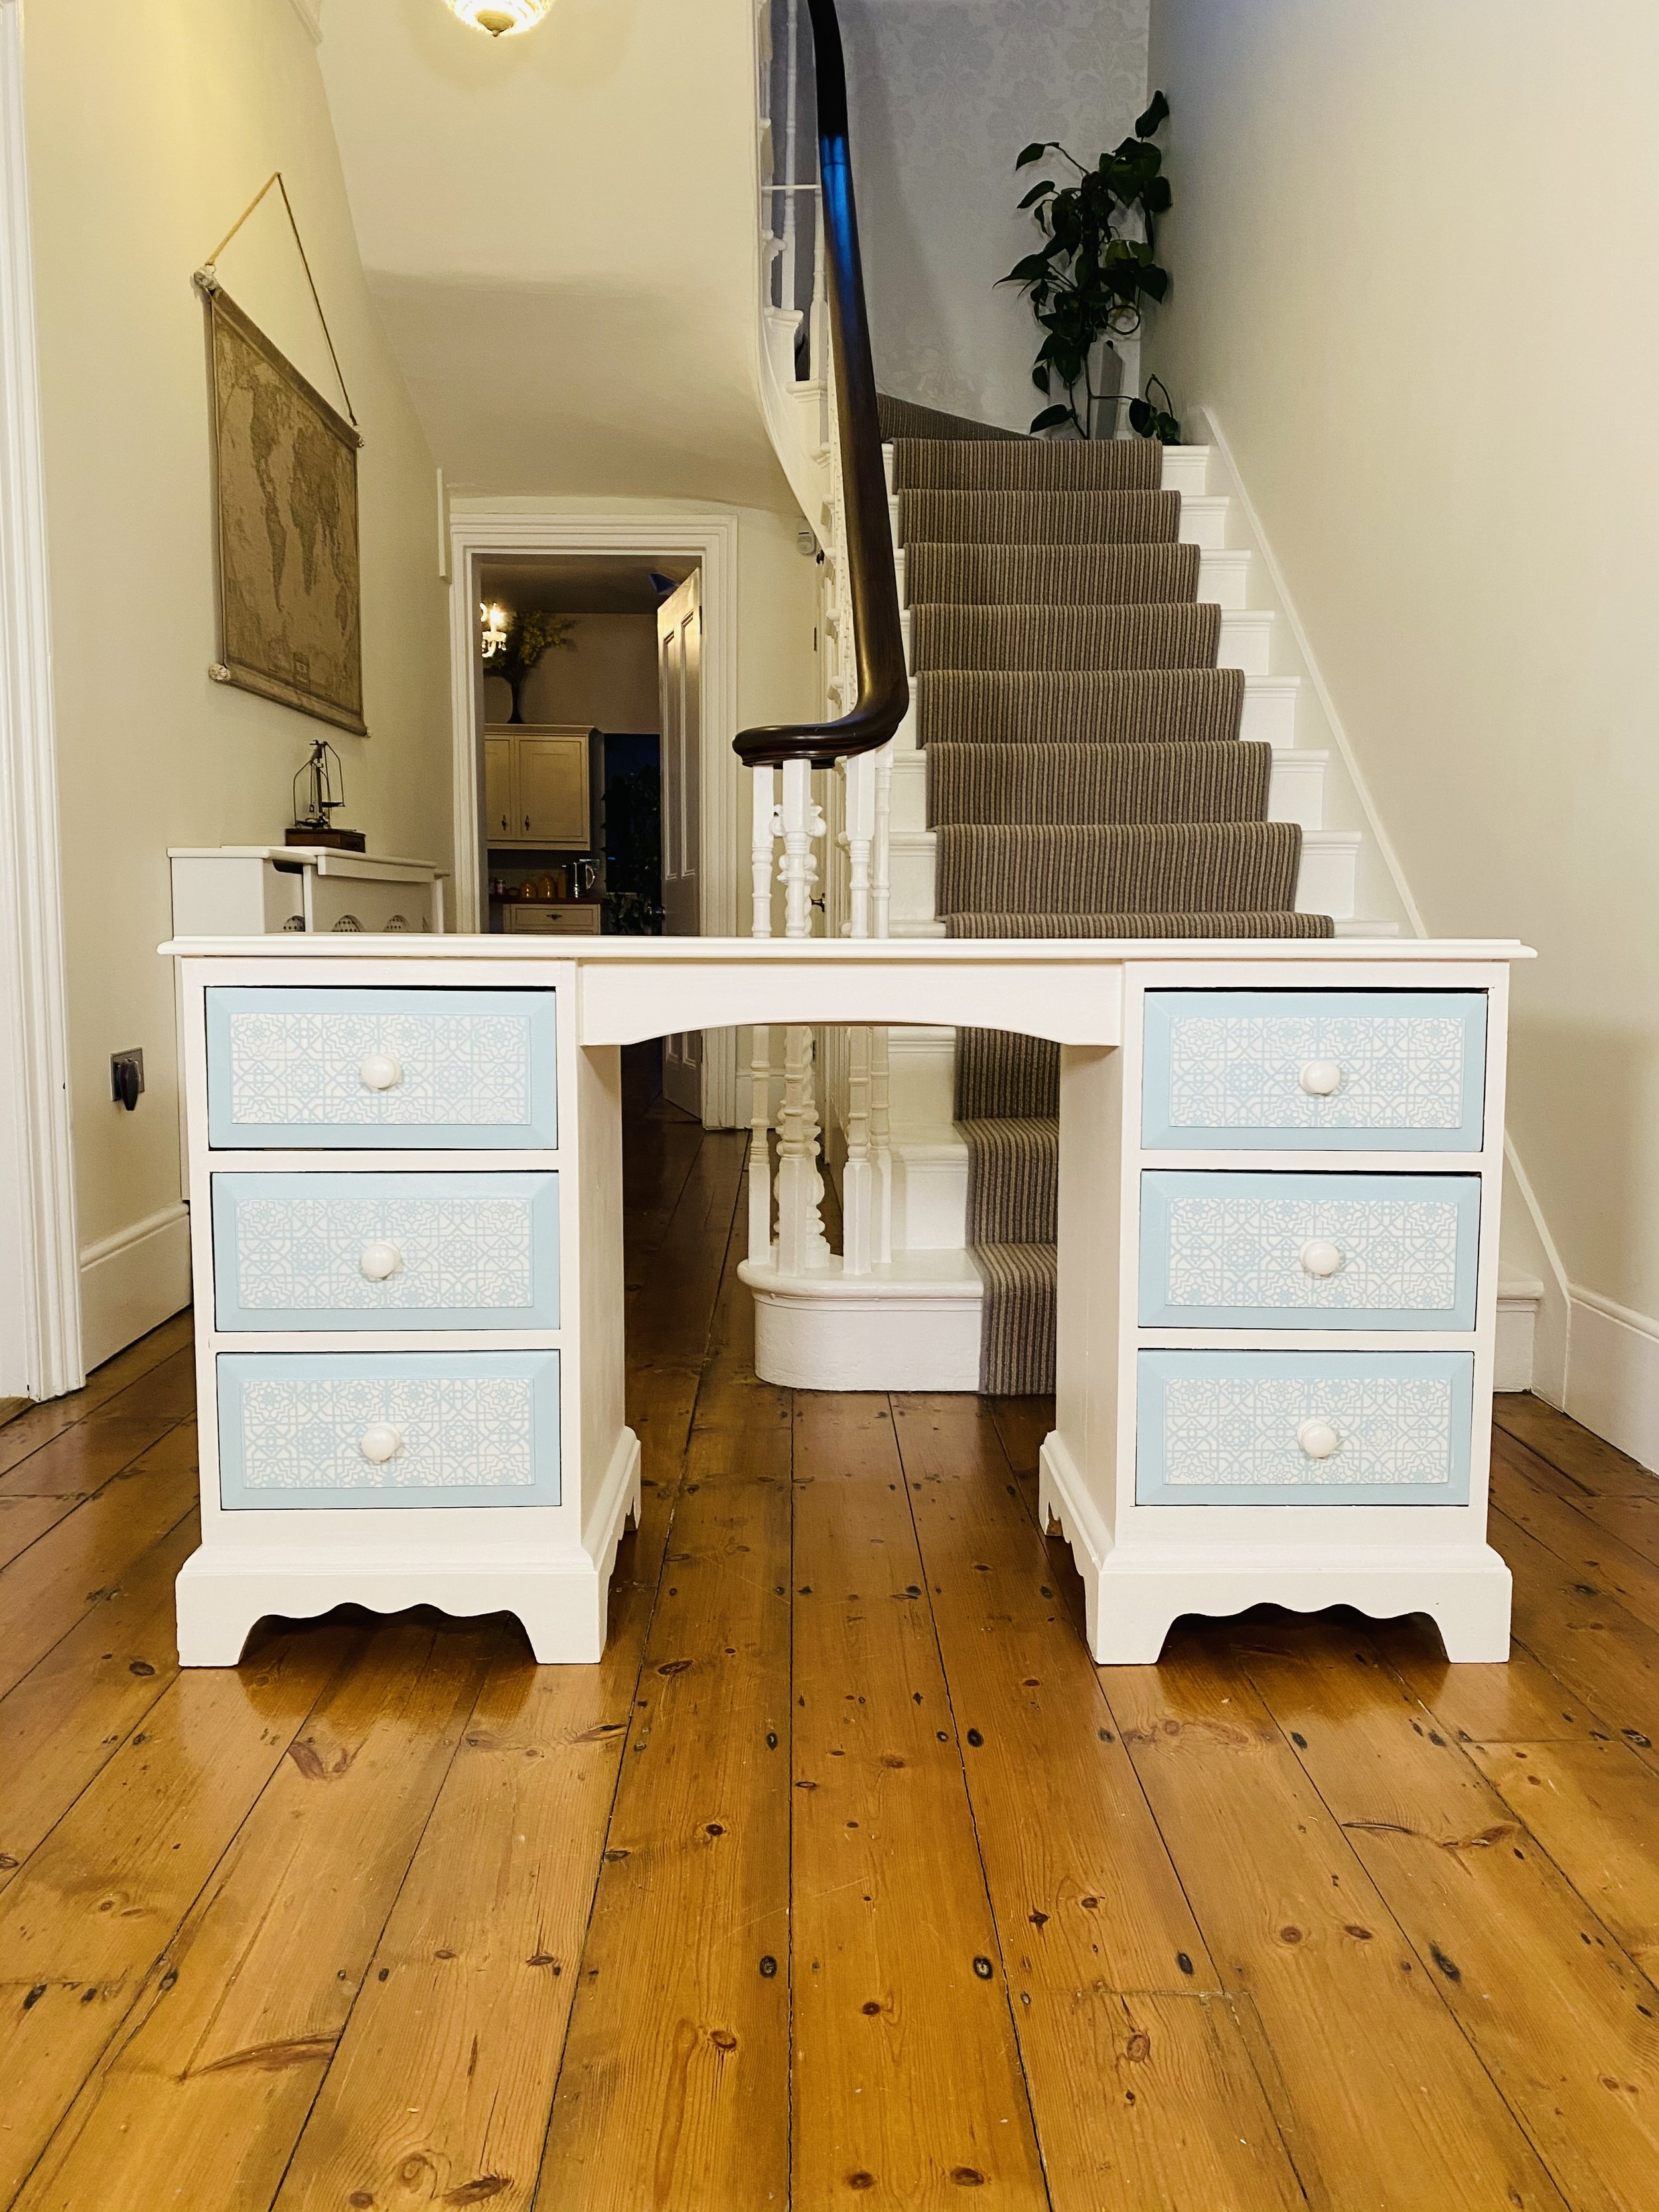
Now the first thing I had to do for this project was decide on the finish and colour.
I actually went for an opaque eggshell because it’s not in constant use, but if you were leaning on your desk for several hours a day you might want to go for a harder wearing gloss.
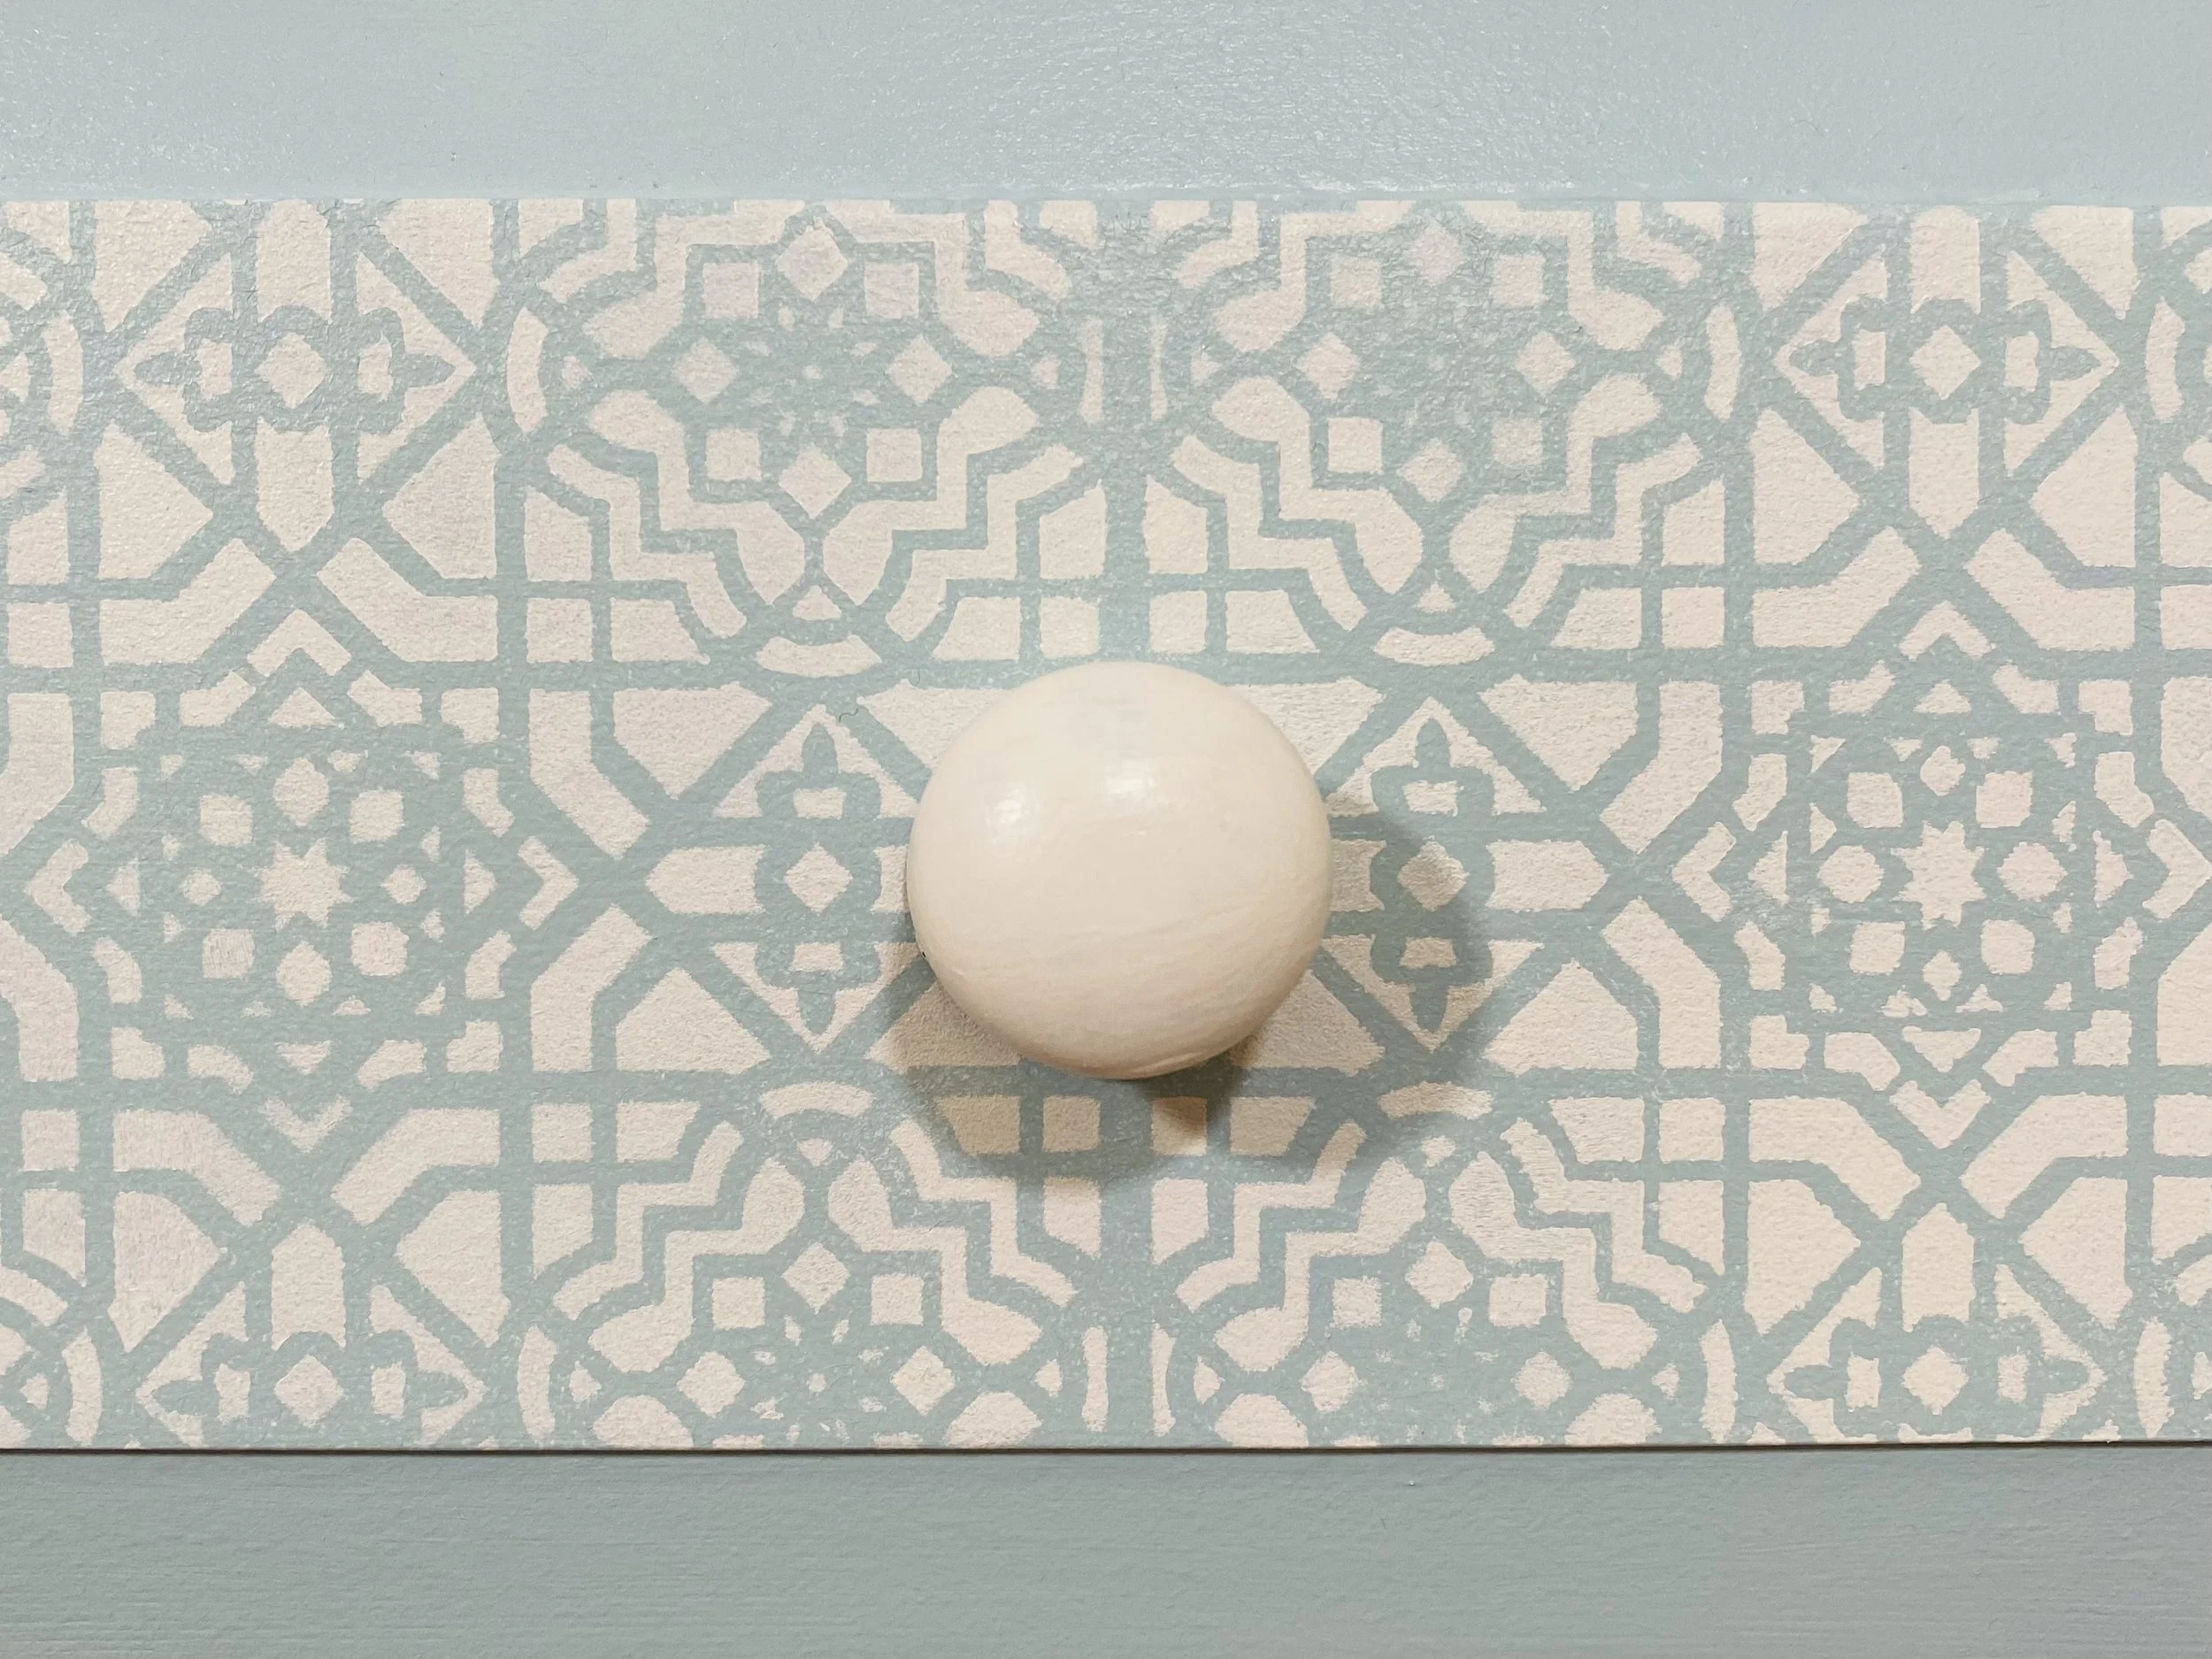
I had a good old nose at my local Brewers. They have thousands of colours there and I ended up choosing two complementing Albany Earth colours, Dove White and Bridgewater.
They’re sophisticated and calming and should help me to focus when I’m at my desk.
It’s worth remembering that with some woods you may need a stain blocker, and if it’s bare wood you’ll also need a primer. You want to make sure you have the right base coat for the finish you’ve chosen.
I used a primer and undercoat in one.
Whatever you’re using there will always be suggested drying times, which must be adhered to.
Make sure you’ve checked the back of your tin for the instructions and suggested overcoat interval times before you start so you can ensure you have enough time, as you will need at least a couple of coats and to lightly sand in between!
As usual, I needed to add a bit of flourish so stenciled on the front of the drawers to give it some character.
Of course now I wish I'd done it years ago!
What do you think?
Please do write your comments below. I'd love to answer any questions you have, hear your feedback or any advice you have to offer my readers!
Why not subscribe for free so you never miss a post or video?
Please come be social and I'll give you daily updates of what I'm up to.
Find me on Instagram, Linkedin, Twitter and on The Home Genie TV Facebook page.