How to Restore a Victorian Fireplace
This is my post on how to restore a Victorian fireplace. If you can’t see the video, please click here.
Smokin’
I think my favourite smell in the whole world is chimney smoke. At this time of year I’m in my element when it fills the air.
So I was going to dedicate my blog to the many beautiful Victorian fireplaces we have in this house.
As I was researching my ‘before’ footage and photos though I came across something that changed my focus.
 Hindsight
I’d totally forgotten I’d done a piece to camera about my dining room fireplace when I was pregnant.
We had just taken over the house, I was heavily pregnant, and full of excitement for the project.
Little did I know how tough it would end up being. It’s a good job I came across it now that the house is virtually finished. A year ago I wouldn’t have been able to laugh at my fresh faced optimism…
Fire beware
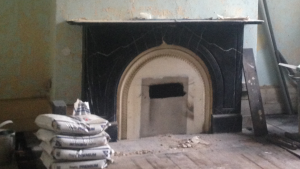
This fireplace has been a real b&%$$£r to restore. It was boarded up with asbestos and the back and hearth were missing.
The marble mantelpiece was broken and the surround was painted a dirty cream.
In fact the whole piece had obviously been painted at one point, as awkward remnants were left behind.
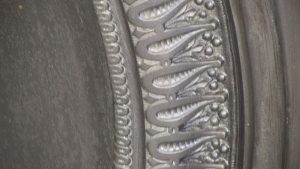
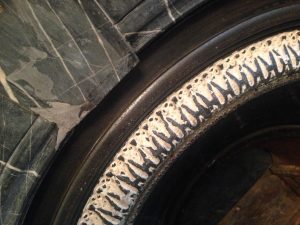 The paint on the iron detail was the worst bit. My step dad Alan and I had a go at this.
We started with a hammer.
This worked fairly well, but Alan’s bright idea was to use Nitromors. This basically melted the paint into the detail and made it harder than ever to remove.
When to take a break…
I think it was at the point of me throwing things around that hubby Andy swept in and took over.
This is a pattern which emerges regularly as his wife bites off more than she can chew…
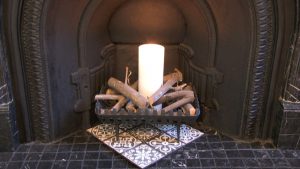
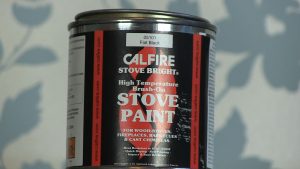 An absolute revelation, and one that helped me with all the fireplaces around the house, was using Calfire Flat Black Stove Paint.
This stuff is really matte and has great coverage so blacks out all defects in the central part of the fireplace.
 There were also chunks of marble missing. I really don’t know what this fireplace had been through, but it made me quite sad.
I filled any holes with deep hole filler and then painted them with a tester pot of slate grey emulsion so as to keep the marble pattern.
Other Alan – yep two in the family which doesn’t get confusing at all – then tiled the hearth with marble tiles.
 Let it shine
Once I’d removed all remnants of paint from the marble it was still looking a bit scratched and, quite frankly, sorry for itself.
I used marble tile sealant to revive it and this will also prevent future staining.
I need to point out here that if you are actually going to use the fireplace you shouldn’t use this as it’s highly flammable. Unfortunately the chimney is in such a state this one is just a feature.
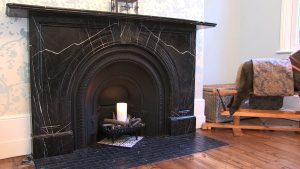 If we were to line it we would also have to create vents in the room because of building regs and it was all becoming more trouble than it was worth.
We are able to have an open fire in the lounge though so that gives me my fix.
Labour of love
So this was most certainly a labour of love, but I have to say that I’m very proud of bringing it back to its original splendour. It’s actually been very cathartic looking at the before photos as well!
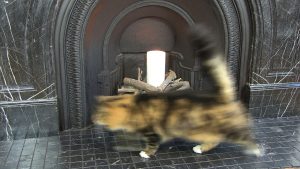
Can I get Dexter to curl up in front of it though? Not a chance!
 If the mention of tiles got you excited then click here for my previous blog and video on how to create style with tiles.
Why not subscribe for free so you never miss a post or video?
For daily posts and live demos come and chat with me on The Home Genie TV Facebook page.
 Hindsight
 Let it shine
Hats off for the hand painted marble effect I’m not sure I could do that but love the tip on the stove paint. None of our fireplaces are remotely as beautiful as yours but I reckon a bit of stove paint will smarten them up no end.Thanks Georgina again.
Send me the photos when you’ve done them