Upcycled Table From Books
This is my post on an upcycled table I made from books that I did for ITV’s This Morning.
Please do comment below – it’s great to hear your feedback and I’m always happy to answer any questions you may have.
You can subscribe for free so you never miss any of my blog posts and videos.
Wow what a year!
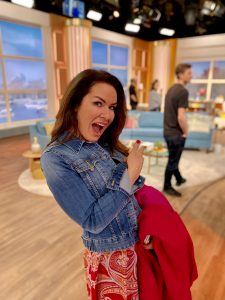
This year has been such a whirlwind! I started presenting for This Morning, which has basically been a dream of mine since I can remember. My book was launched in the same month at Ideal Home Show and then I started my first self-build!
So it’s fair to say things have been pretty busy. I hope you will forgive me for how long it’s been since I posted on my vlog. I have plenty in the pipeline though as I will soon launch my ‘micro house’ build video diary!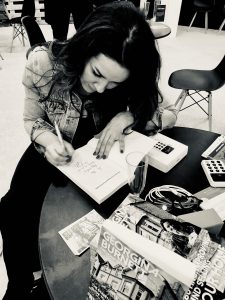
I’ve had loads of you asking me about the upcycled table I created on This Morning so I thought I’d do a video and blog post guide so you can try it yourself.
Take a leaf out of my book
I love books. I love the feel of them, the smell of them and of course reading them!
They do take up a lot of space though. Every so often I have to give my bookshelves an overhaul and donate the eliminated copies to charity.

However, I was talking to a lady in a charity shop who told me they really struggle to shift books these days.
This got me thinking as I can’t bear the thought of anything being sent to landfill. So I collected some hardbacks that had seen better days and designed an upcycled table.
I’ll be honest, I wasn’t massively confident about this project, but was thrilled with the result!
How to make an upcycled book table
I need to point out first that the best way to create a really sturdy table from books would be to pierce a hole and secure a rod through the middle of them.
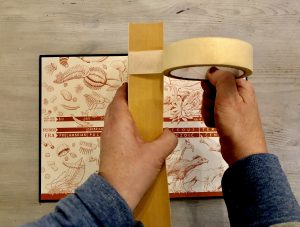 But I always try to come up with ideas that anyone could do with limited time, tools and confidence though, so here’s my alternative method:
- Use decorator’s tape or picture framing tape to bind the pages together.
- Glue the front and back covers to the rest of the pages. You end up with what is essentially a solid brick.
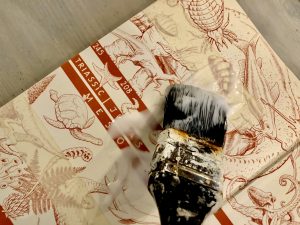
- You might want to make a feature of the titles of the books, but I chose to cover them up by decoupaging patterned tissue paper over the spine. This is done by cutting the paper to size and using sizing medium both under and on top of the tissue paper. The more coats you do, the more resilient it will be. This paper then also gave me an eye-catching colour scheme.

- Now you want to glue the books on top of each other. I chose to fan mine out as I thought this would be more interesting. It would be easier to pile them on top of each other the same way though. Whatever you do, you need to keep a centre of gravity. I noticed that it was better to wait for each one to dry before adding another, otherwise they would slide away from the centre. I used wood glue because it dries fairly quickly and holds strong. Just be warned, the more dog-eared the book the harder it is to get a sturdy platform.
 I then used a plastic food platter which I reinforced in the centre with cardboard and decoupaged with the same patterned tissue paper. I finished by sticking this on top with wood glue.
The table has turned…
I actually really love this little table, it’s so quirky, and everyone comments on it when they visit, so I’m pretty pleased with my random project!
If you do have a go please do let me know how you get on and send me pictures too.
For other upcycling projects I have done for This Morning check out my previous post.
Why not subscribe for free so you never miss a post or video?
Please come be social and I’ll give you daily updates of what I’m up to. Find me on Instagram, Linkedin, Twitter and on The Home Genie TV Facebook page.
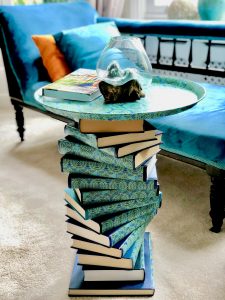 I then used a plastic food platter which I reinforced in the centre with cardboard and decoupaged with the same patterned tissue paper. I finished by sticking this on top with wood glue.
The book table looks great Georgina and although its crazy busy for you, its been great to see all your hard work coming through, book, house, tv and whatever next – mini series? Now I’m finally moved, unpacked, house sold etc I hope to start my own upcycling projects soon and will share my work.
Absolutely beautiful,with a kind of gothic twist,literally!!!!