This Morning Upcycling With The Home Genie
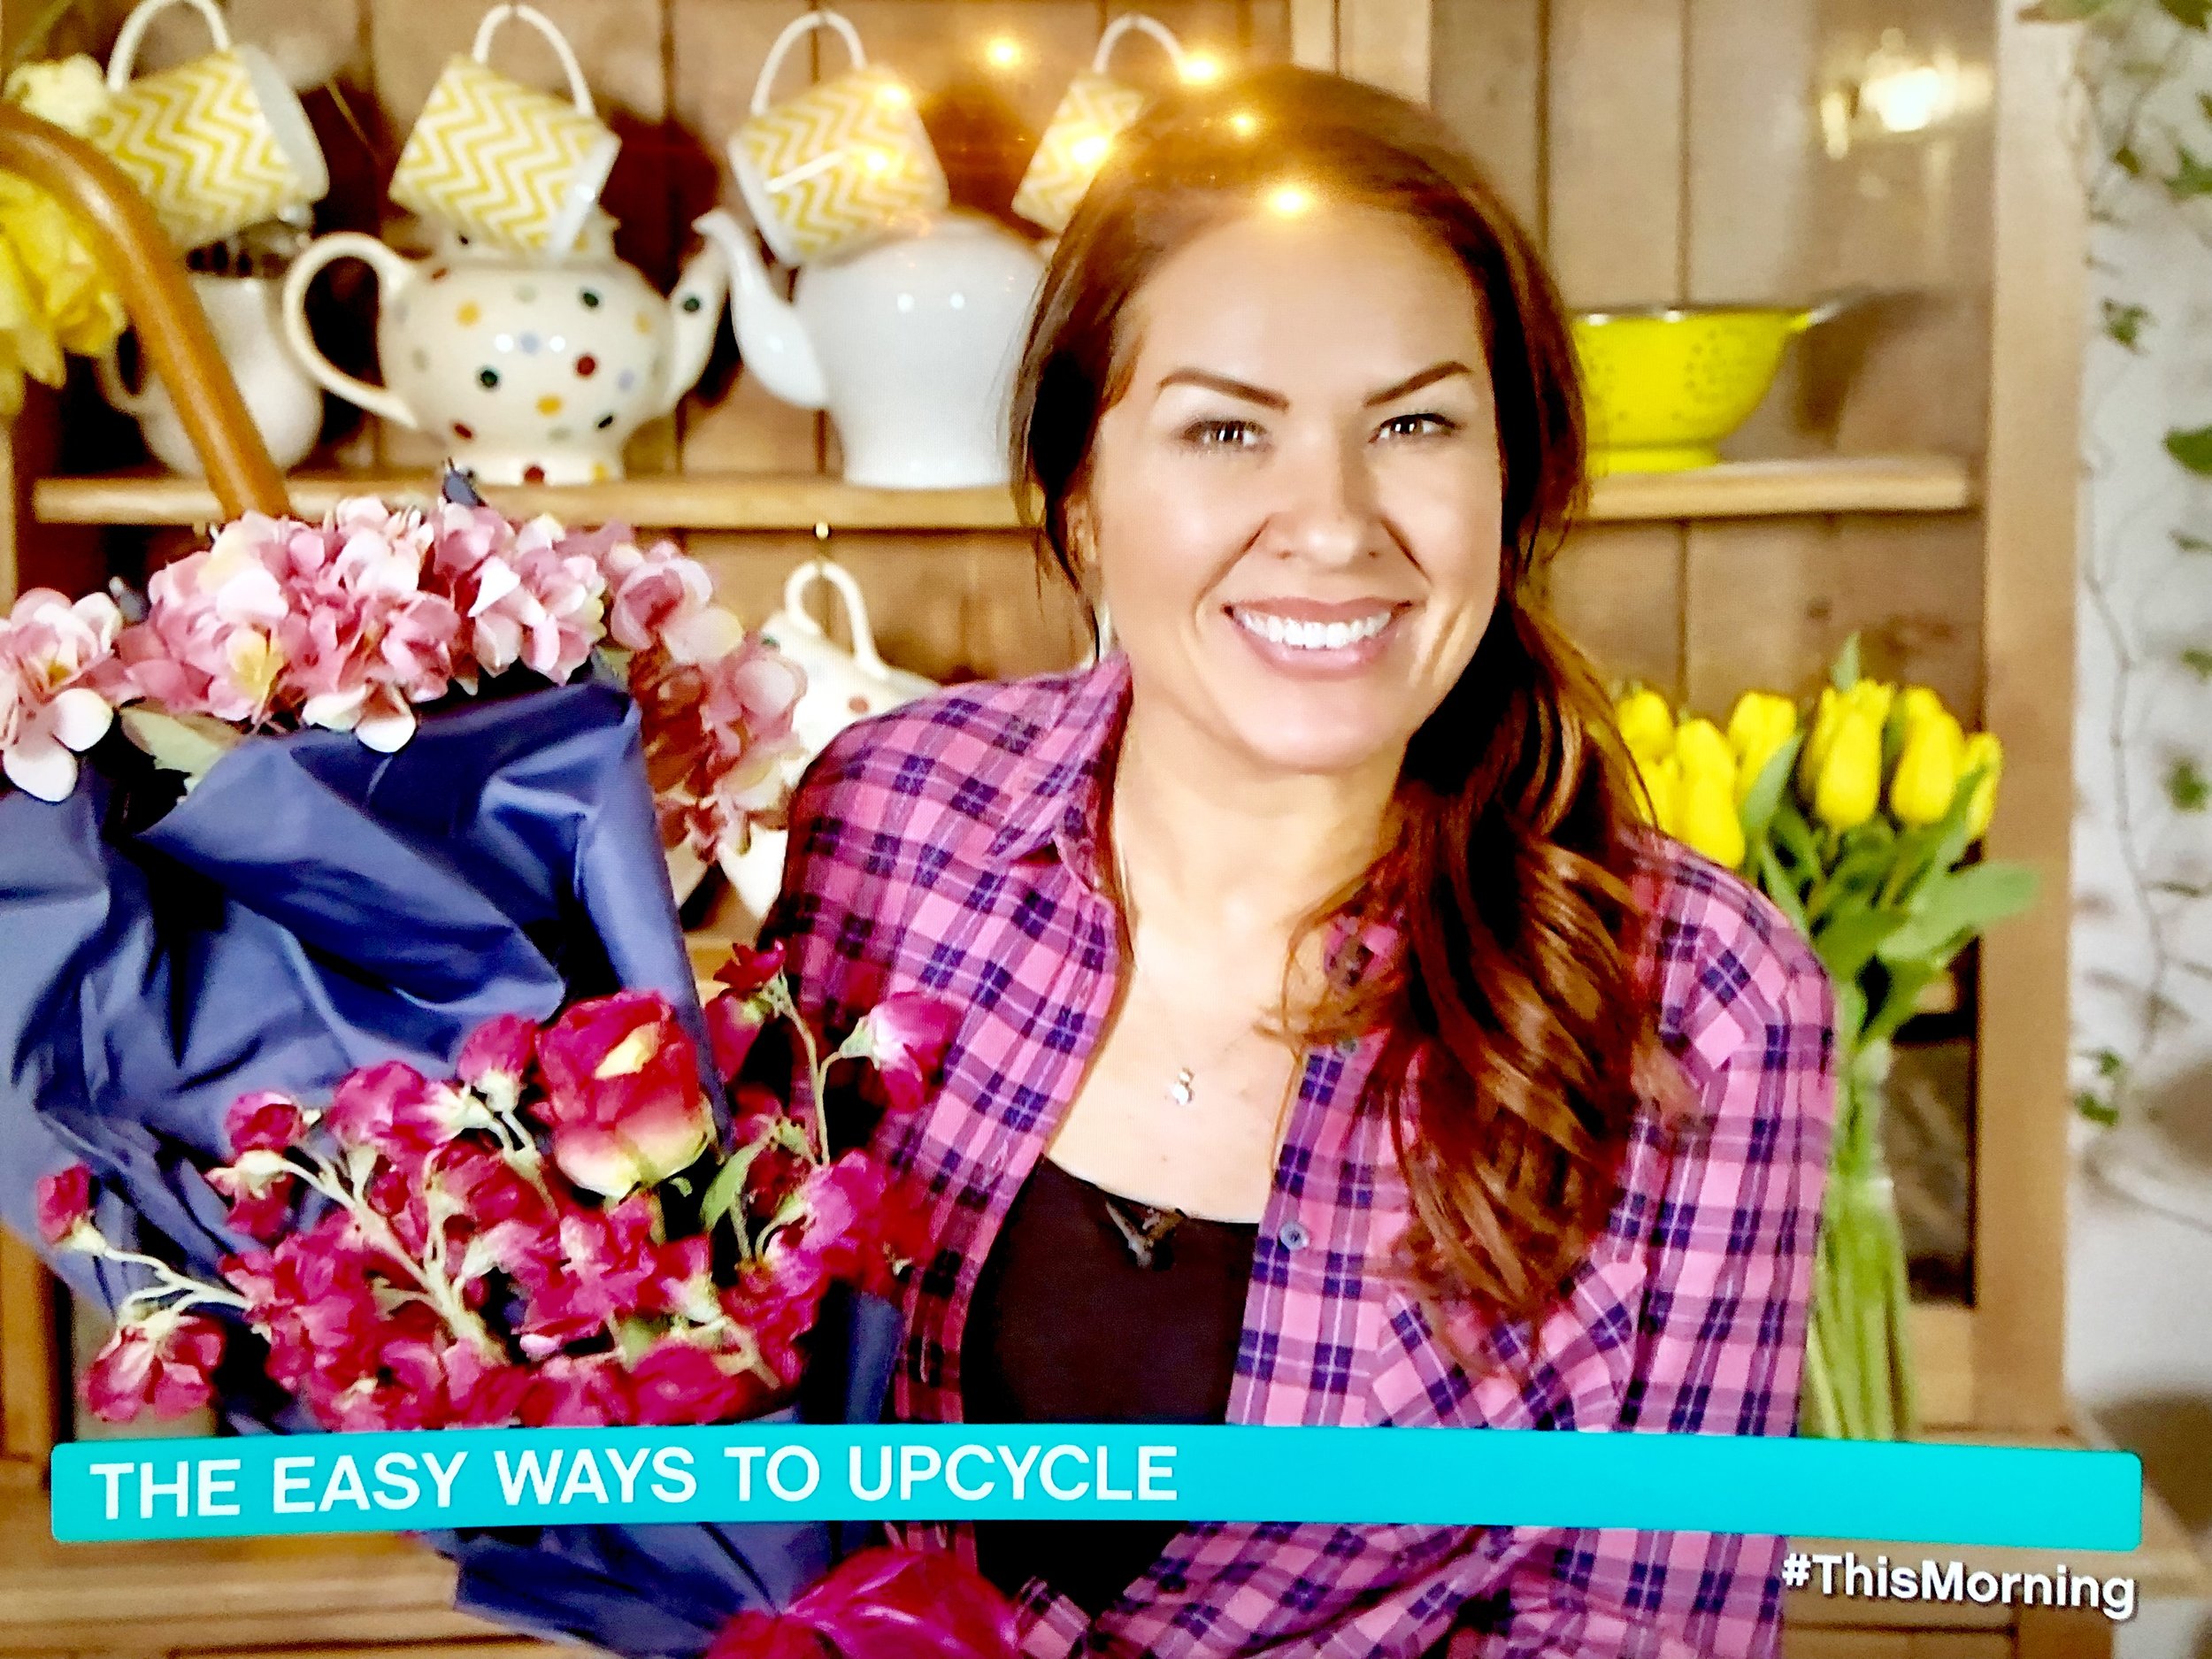
This Morning Upcycling With The Home Genie
This is my post on the ITV's This Morning upcycling I did. There is no video for this - just watch it on catch up (13th March)!
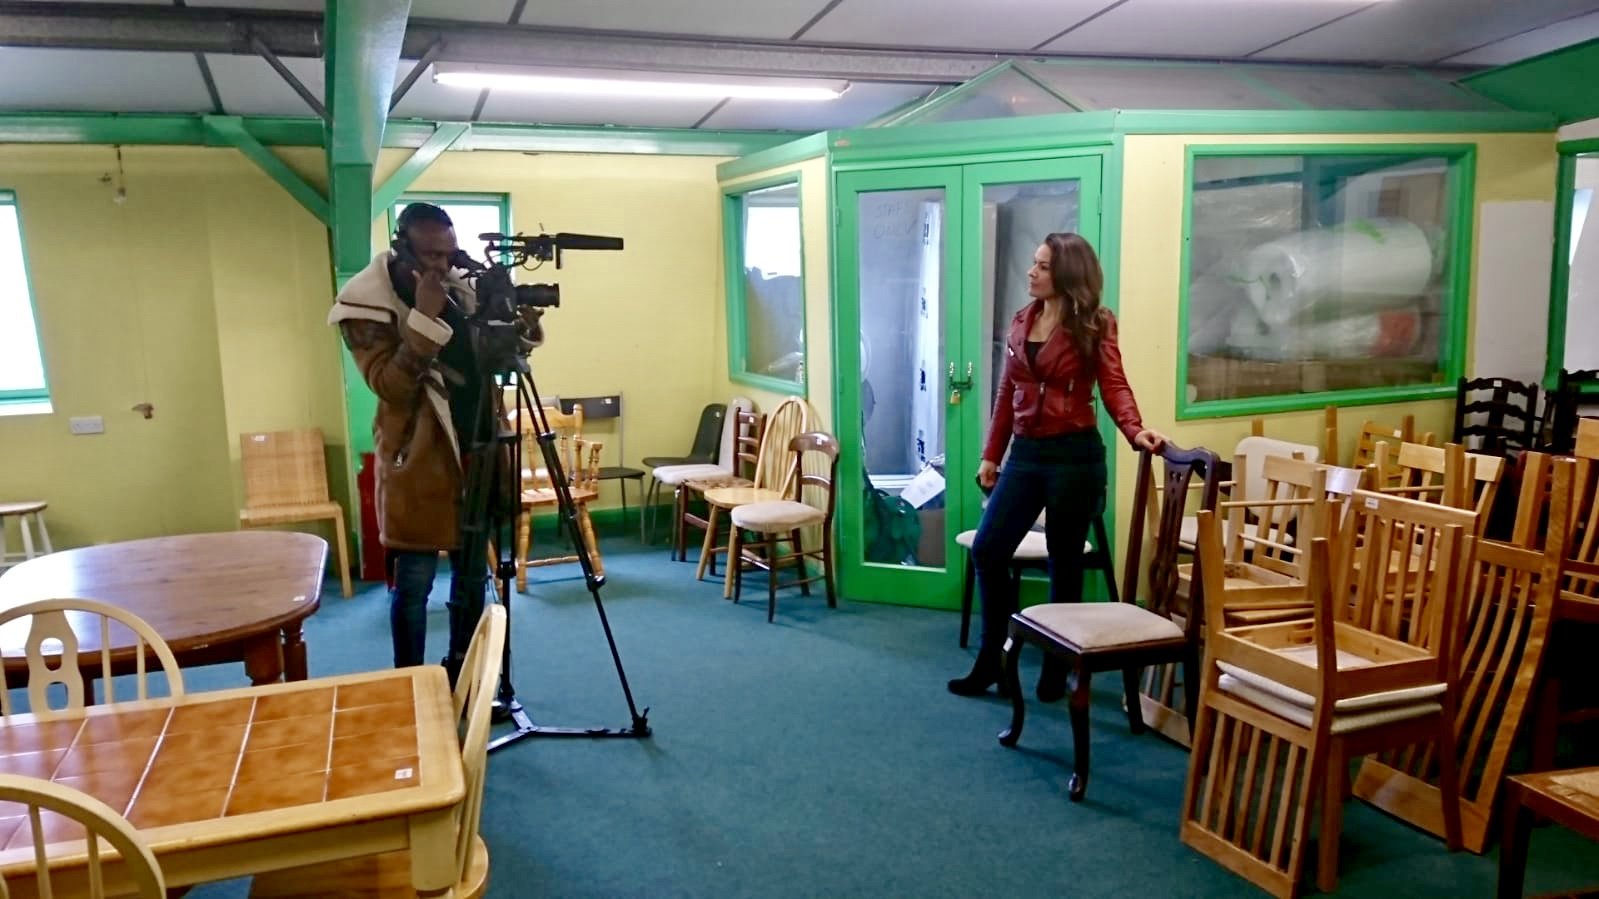
I was seriously excited to have This Morning come to my house to film me upcycling some items for the show.
This is quite literally a dream come true. My earliest memory of the show actually ties in with my earliest memory of interior design. Ok, so it was a day off school whilst also admiring the pink bedroom I had requested as a birthday present. The smell of paint still makes my heart skip a beat though!
Anyway, for anyone who watches and wants to have the 'how to' details of what I did for the show, here they are.
Nest of tables
These replica antique nest tables are everywhere. I defy you to go to a second hand furniture shop and not find a set of these.
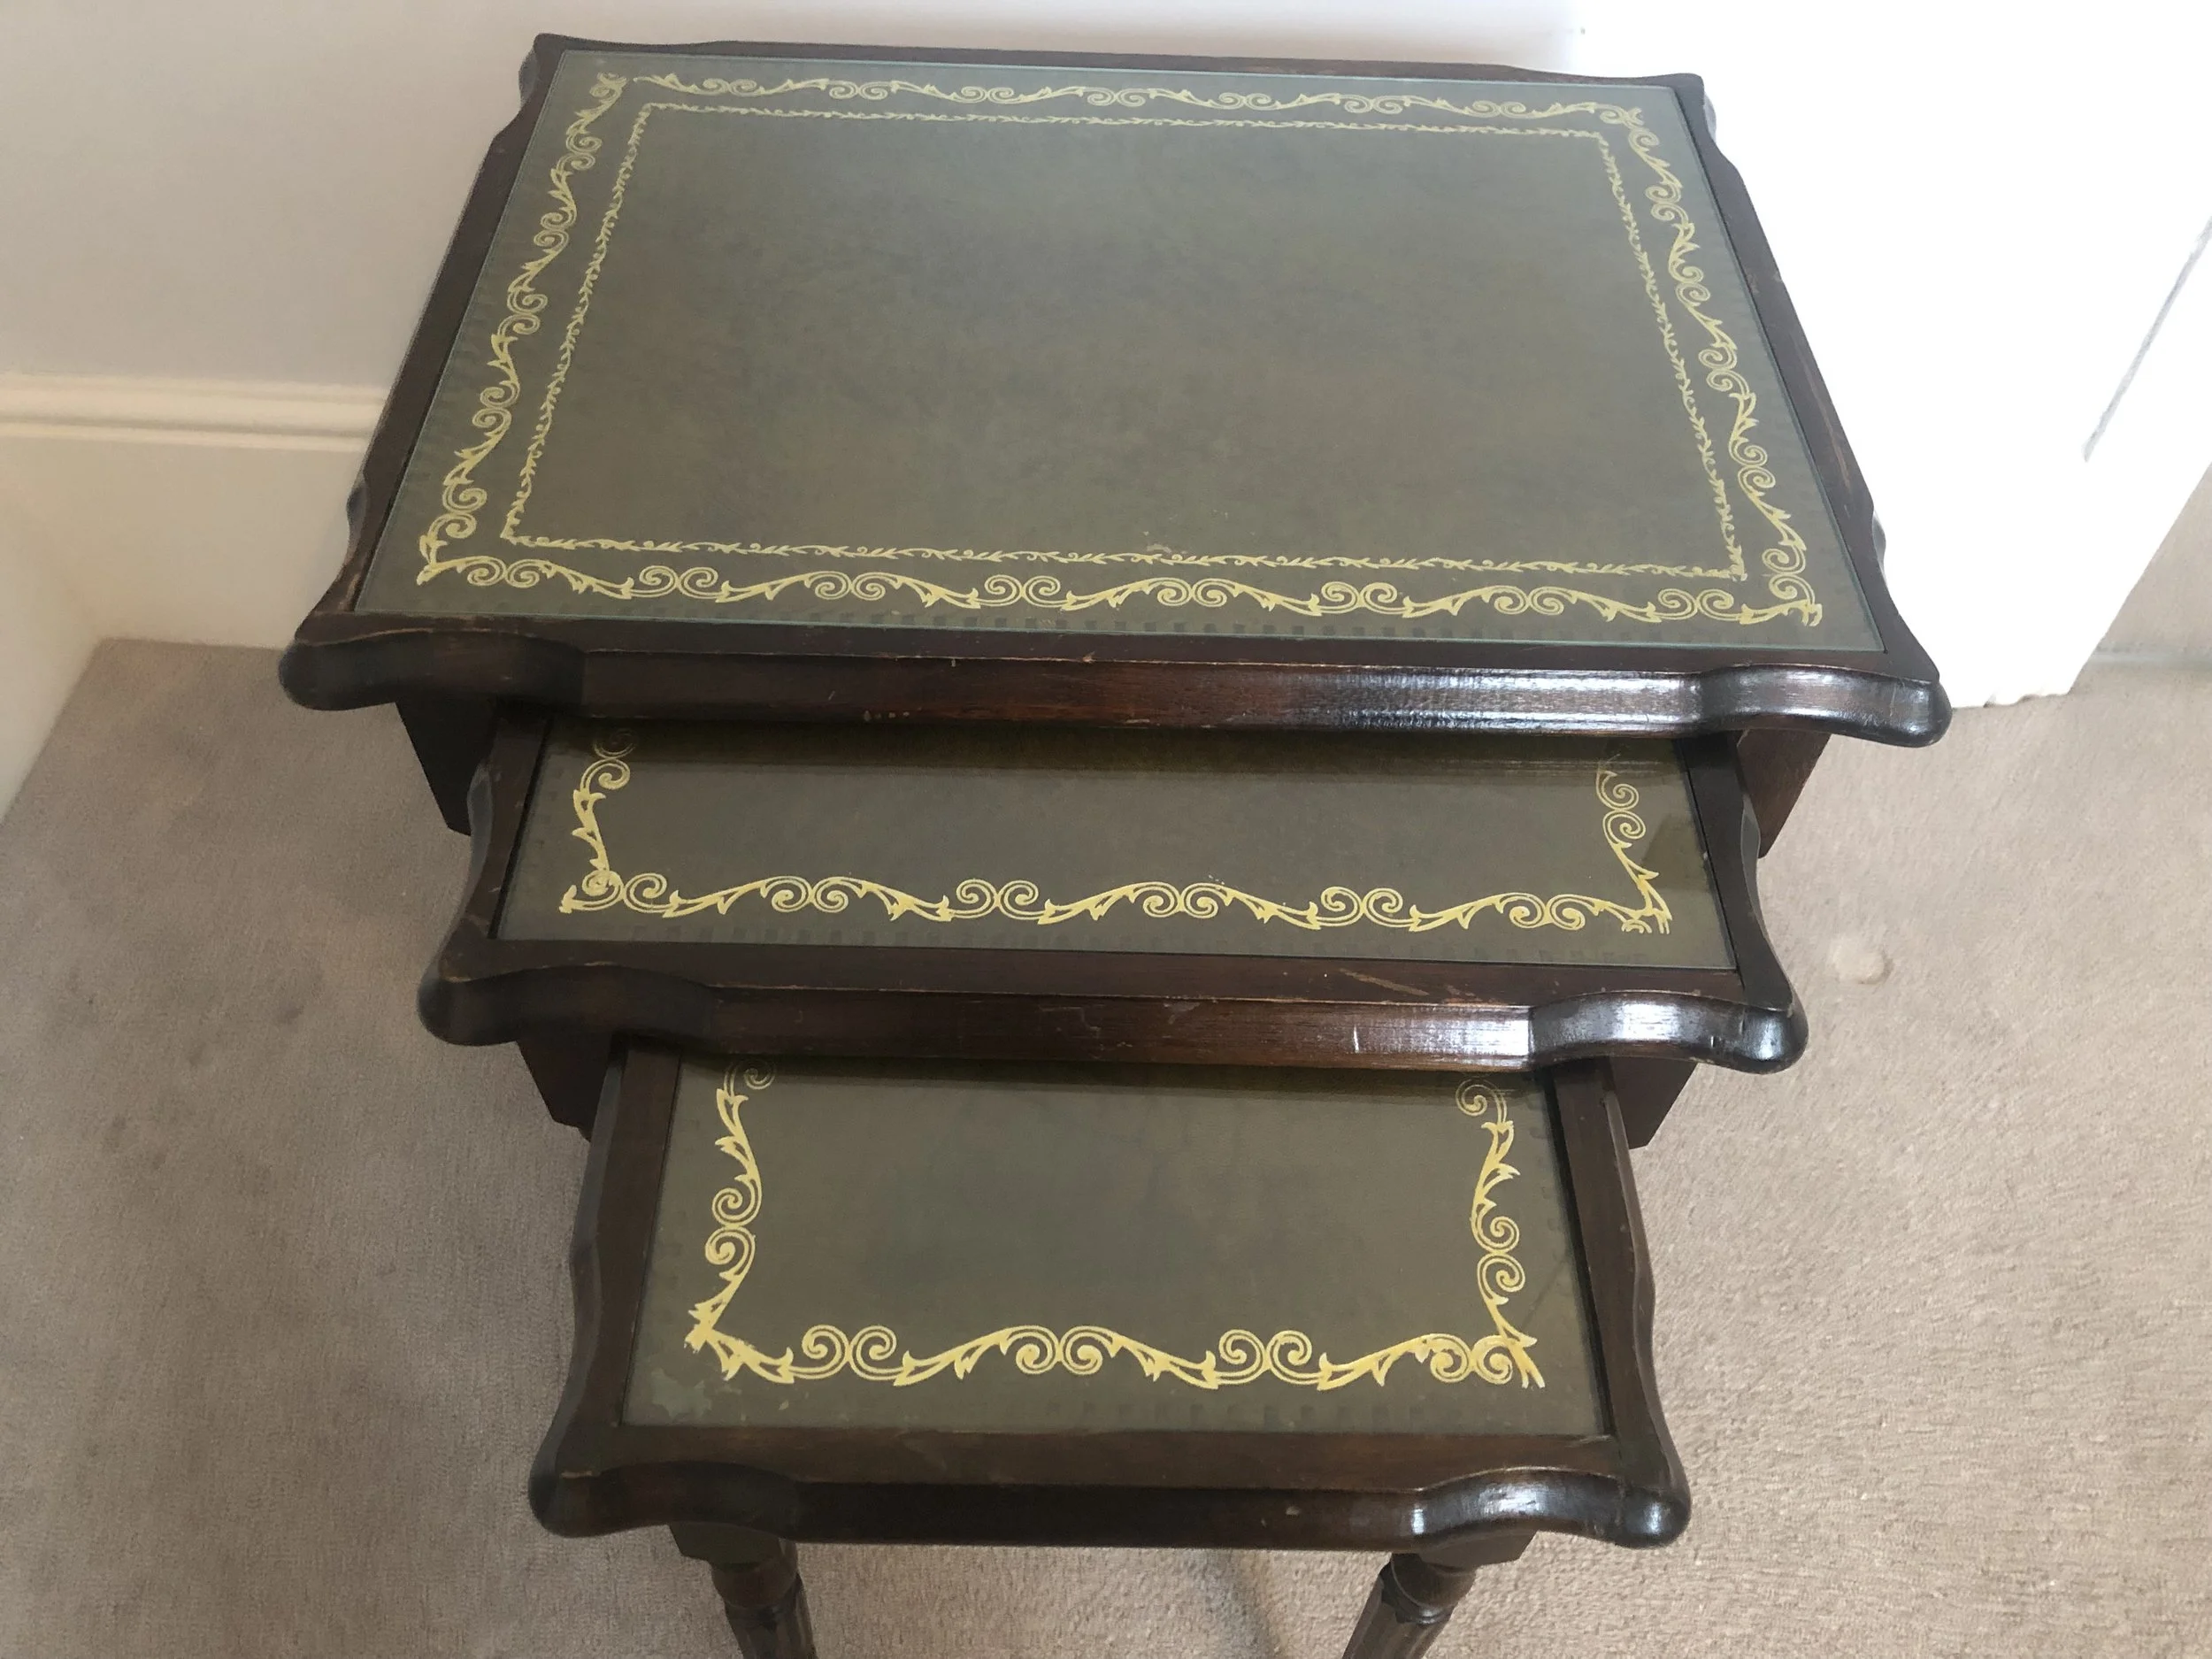
What I love about them is you have a ready-made protective top so you can really go to town with design.
If the glass is missing, you can get a replacement piece from a local glazier for a nominal amount.
These cost £20 from my favourite local place Abacus in Sevenoaks. I have never been here without coming away with something to upcycle - I seriously can't help myself!
So what you do is:
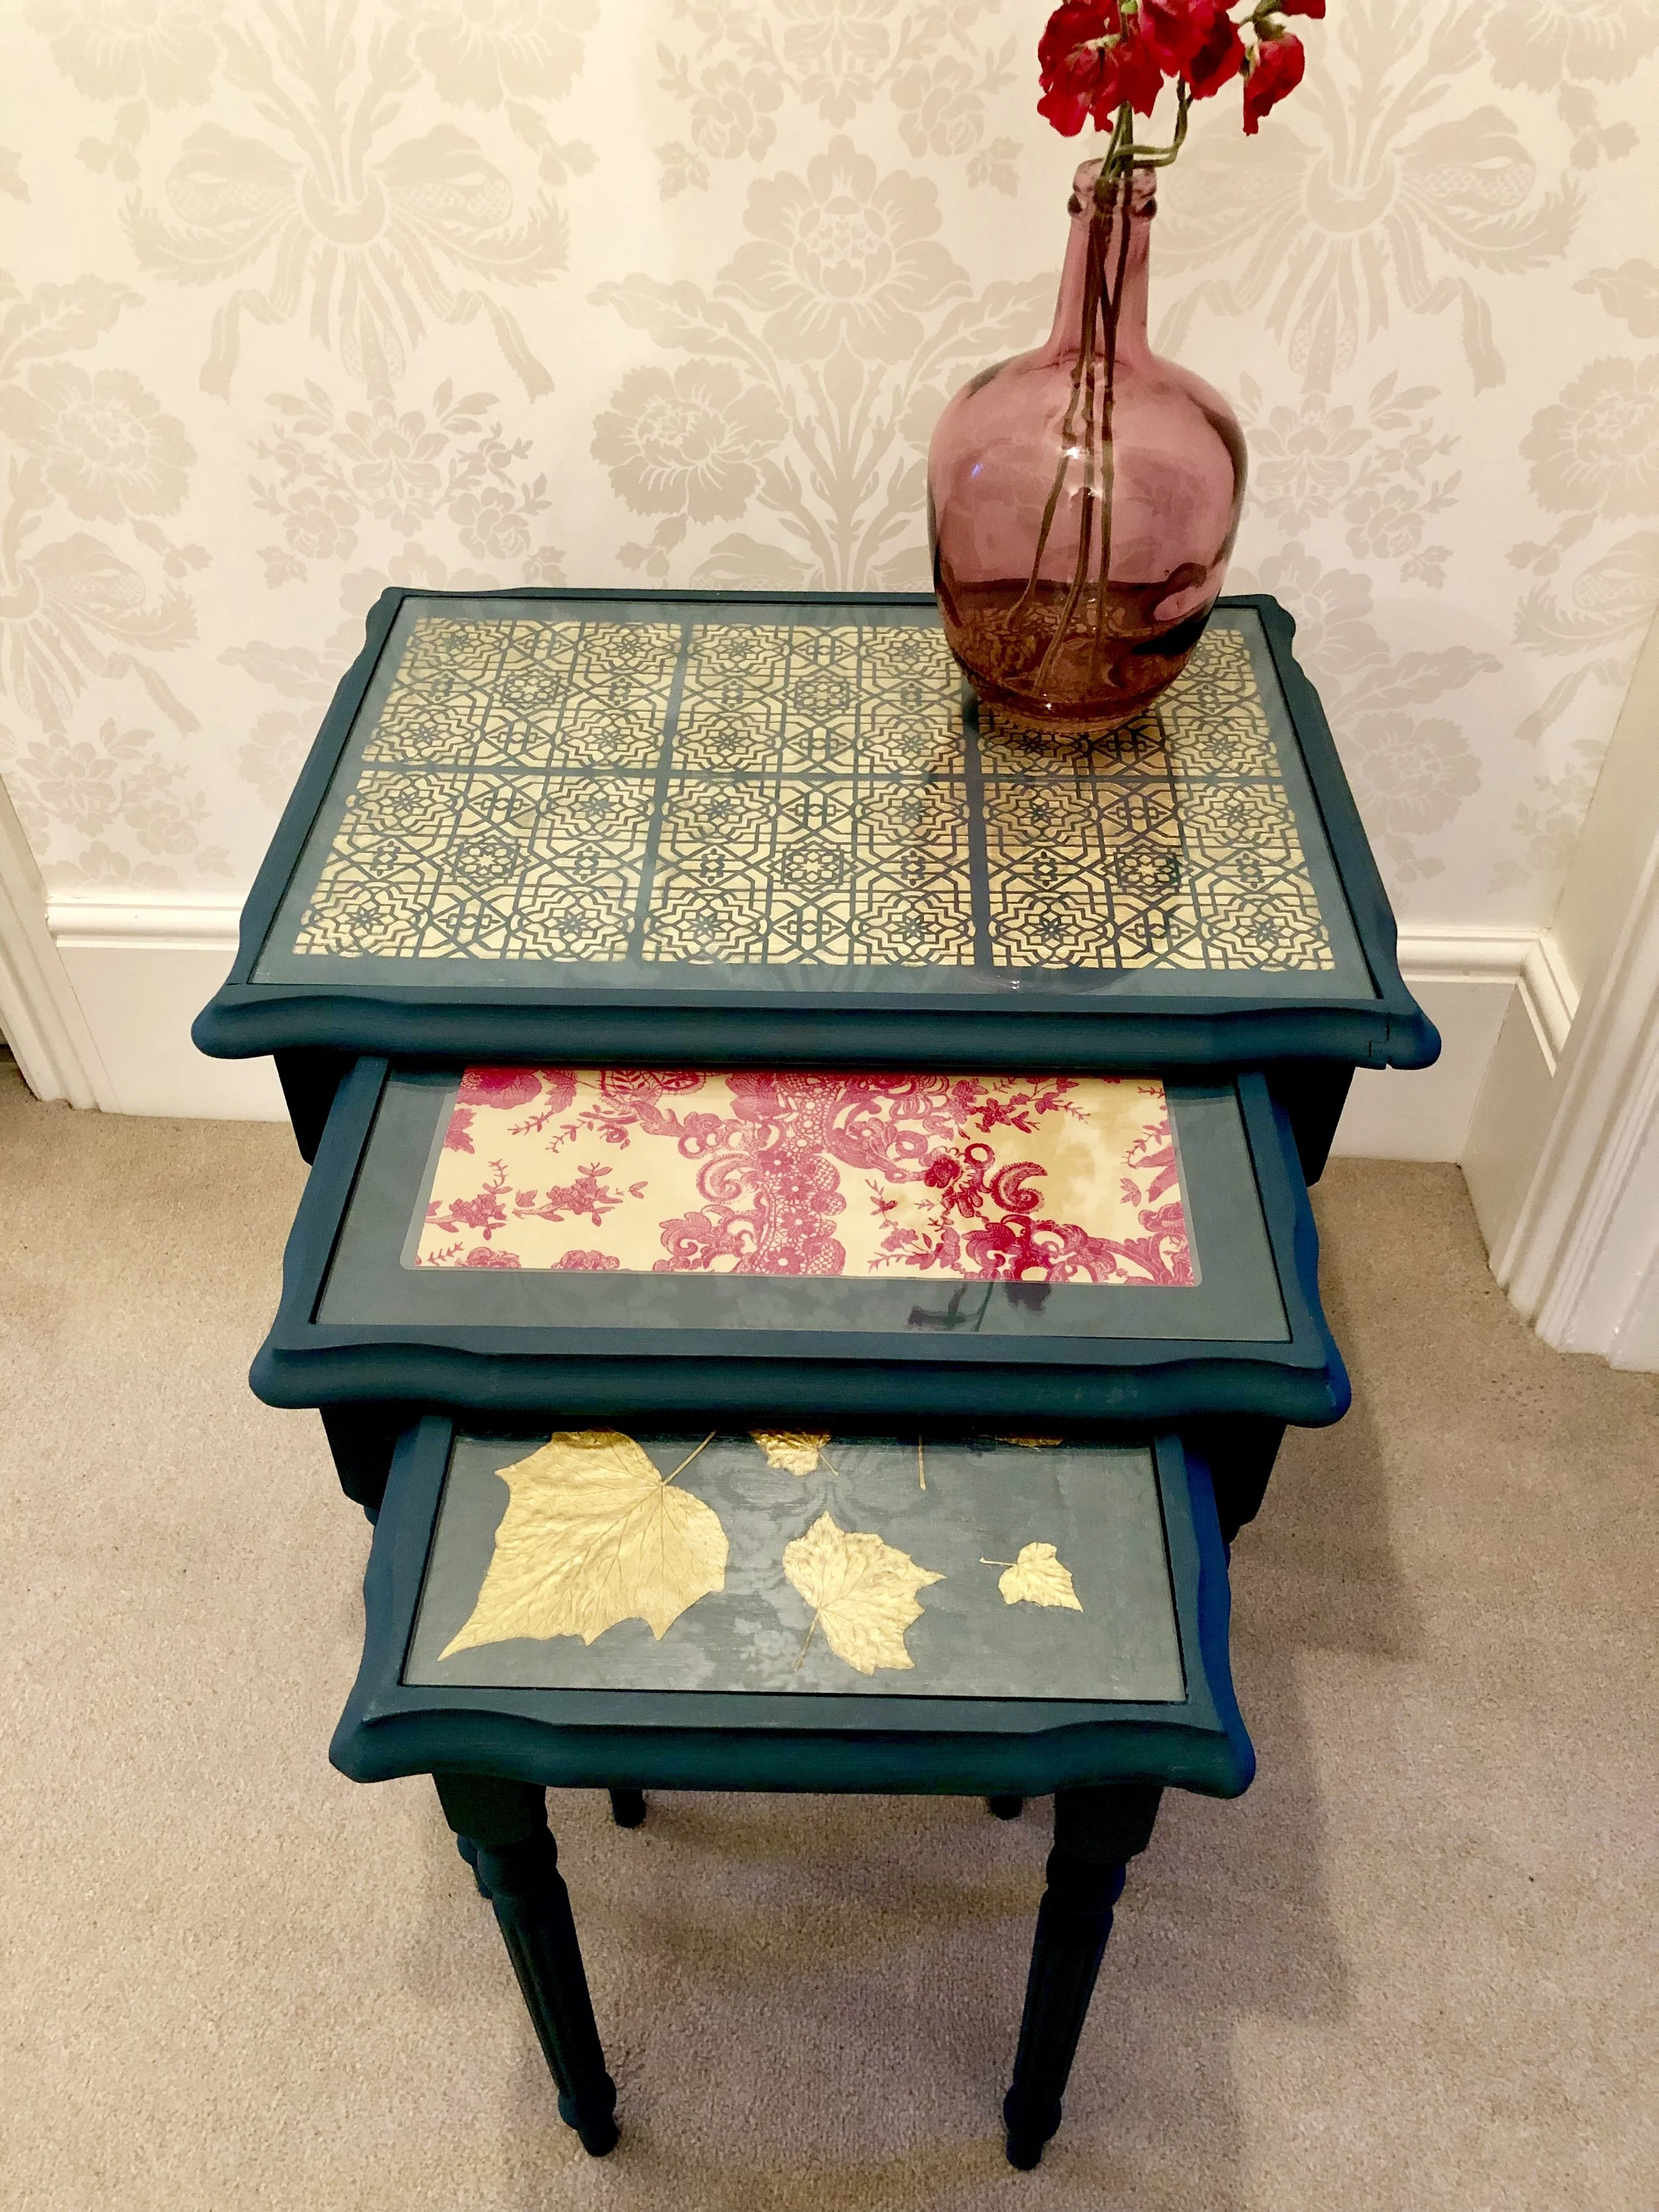
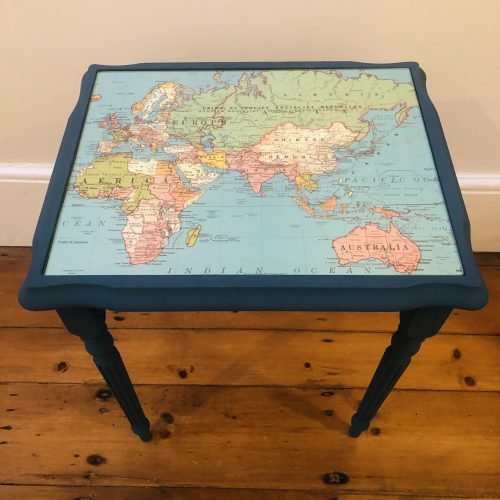
1. Remove the glass and clean the table using sugar soap. You can finely sand to get a key, but with Annie Sloan chalk paint, it’s not strictly necessary. I used the colour Aubusson Blue because it's so 'on trend' and a really rich, vibrant colour.
2. Shake the tin and stir
Tip: to prolong the life of the paint, if you’re doing a lot of furniture, it’s a good idea to transfer some paint to a plastic kettle as it tends to thicken when it’s exposed to air for a while. If this does happen you can just add a little water though. Use an elastic band to wipe the excess paint from the brush, which will prevent dried bits from the edges falling into the tin and will also allow the lid to close better.
3. To paint the table, place it upside down and start with the legs. Then turn upright to do the top. Work quickly and methodically.
Tip: it’s worth using the proper brushes as it does make a difference to the application and the finish. If you find the paint drags at all, just add a little water to the brush. Take care even on the first coat as any drips or thicker areas of paint will show at the end, so even the first coat needs to be neat. Work with the direction of any patterning in the wood. You can wrap the brush in cling film in between coats rather than washing them each time.
4. Wait to dry thoroughly and add a second coat. You will probably only need 2 coats.
5. Once the paint is completely dry, apply clear wax using a brush or cloth. Wipe away any excess immediately, using a cloth. If decorating the top keep this wax free.
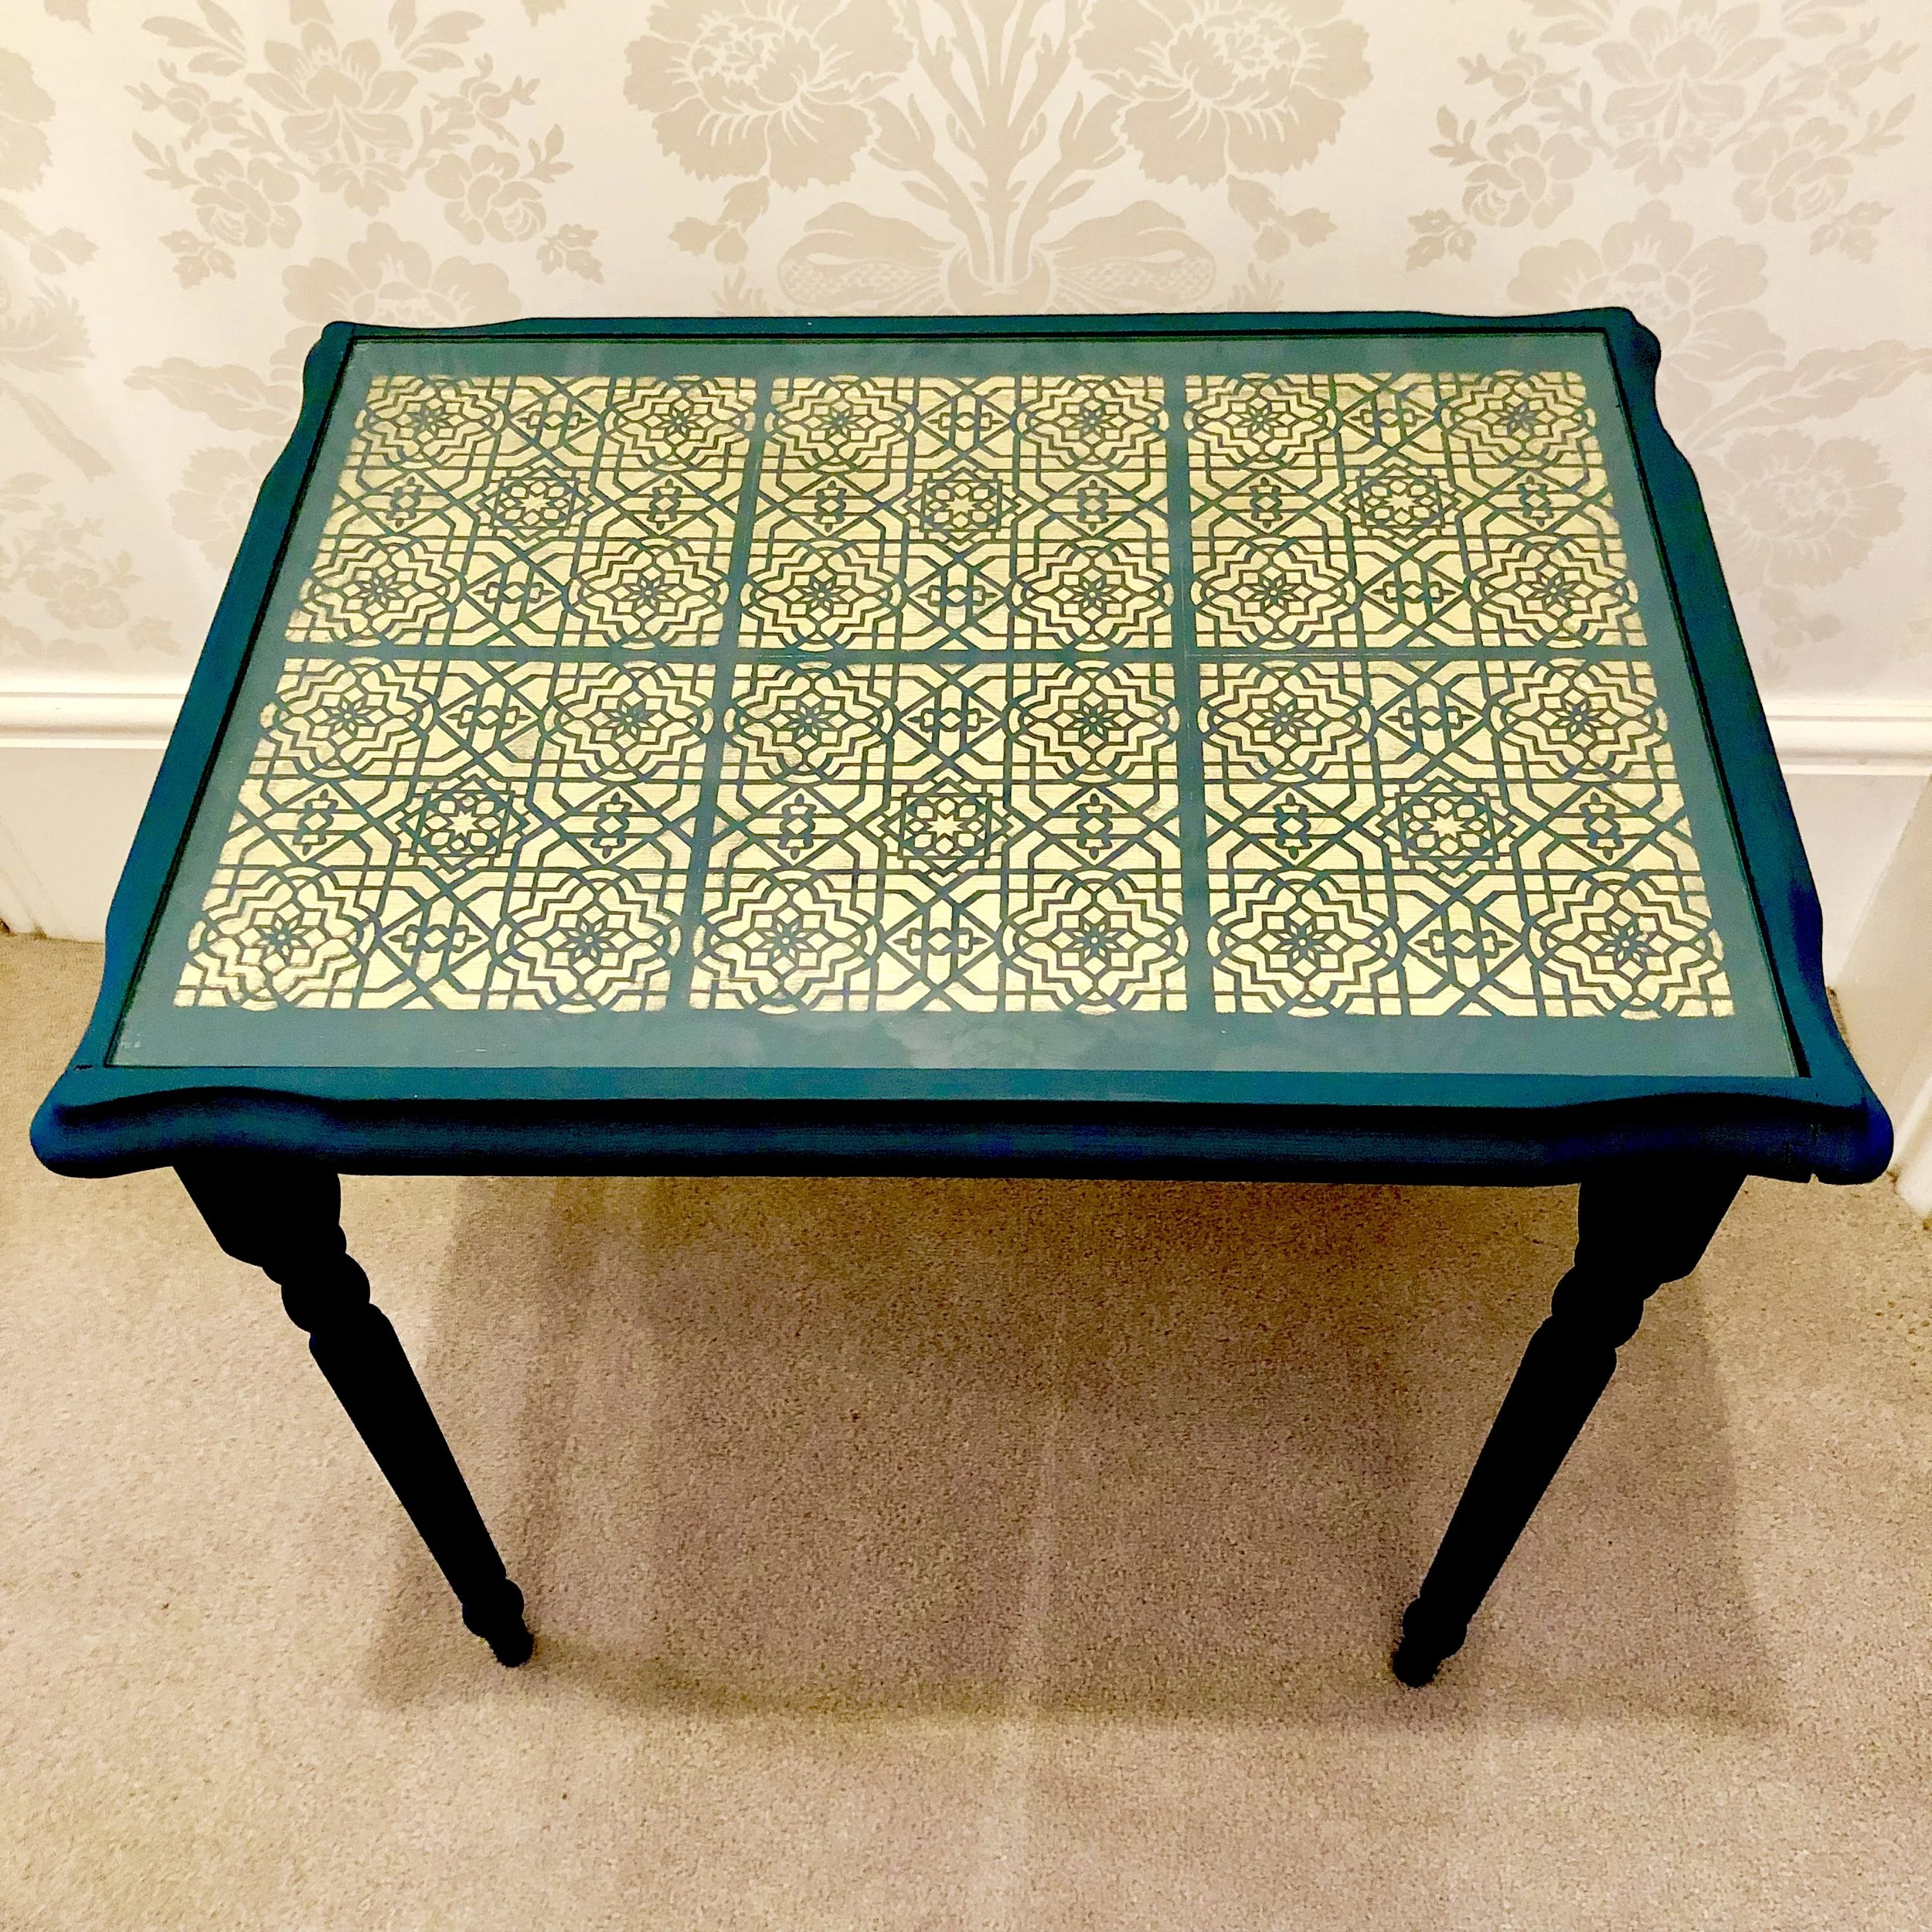
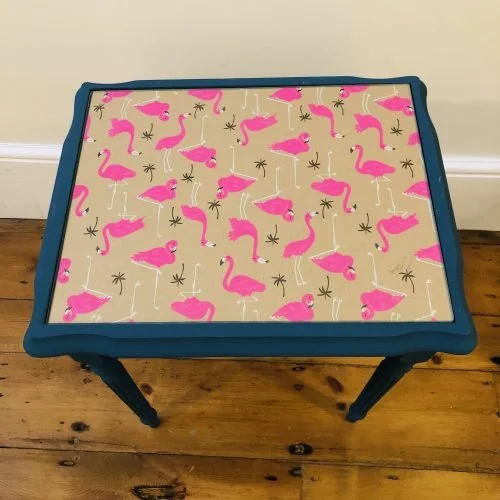
Table tops
For the gold stencilled effect I used gilding wax with a stencil brush (on top of the clear wax) you could also use a spray paint onto an unwaxed surface. The Morrocan tile stencil I got from Amazon
Tip: don’t use masking tape as this may remove the paint. If you need to protect any areas you could use cling film.
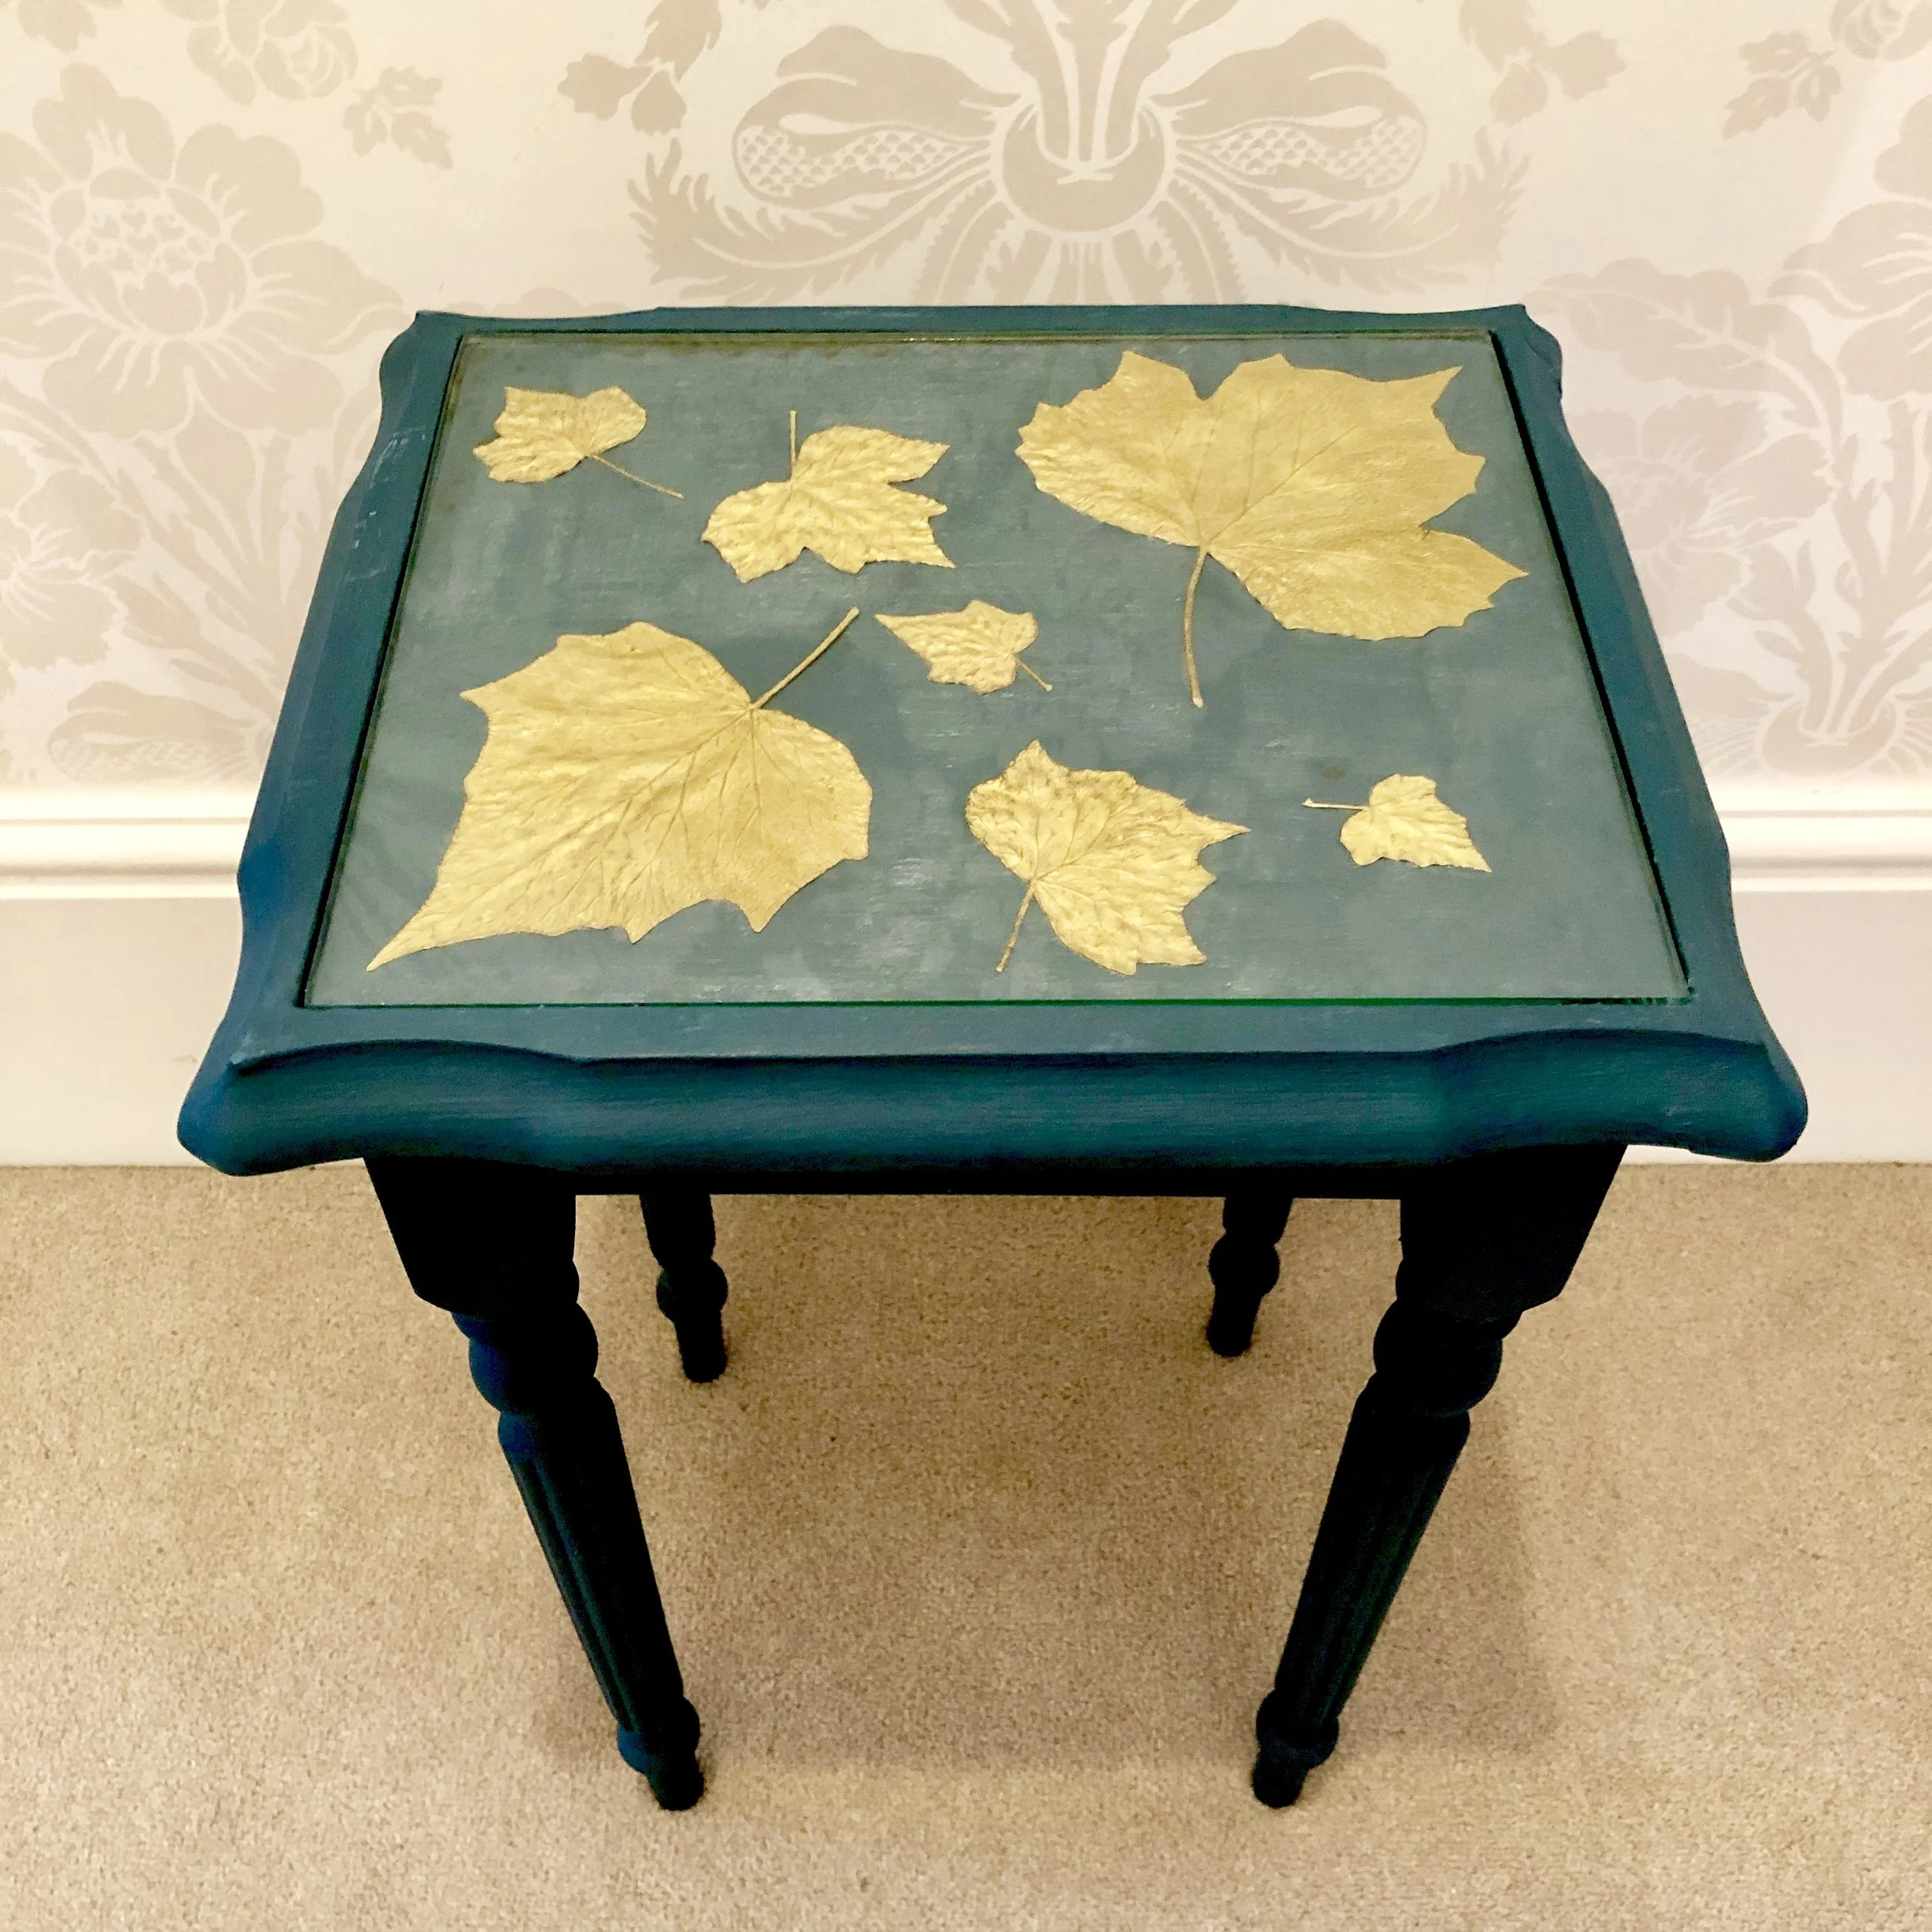
For the gold leaves effect, press the leaves first. If you don’t have a flower press you can place them inside a book, sandwiched between tissue paper. This takes 2-4 weeks, although you can speed it up using an iron or a microwaveable flower press.
2. Spray paint the gold leaves
3. Once totally dry, use a flat brush to spread decoupage medium or PVA glue to the unwaxed table-top. Add the leaves and paste over the top.
4. Wait for each coat to dry and add 3-5 coats
For the patterned paper table top I used wrapping tissue. You could decoupage it, simply place it under the glass or laminate it for longevity. If placing on top, wax the surface first.
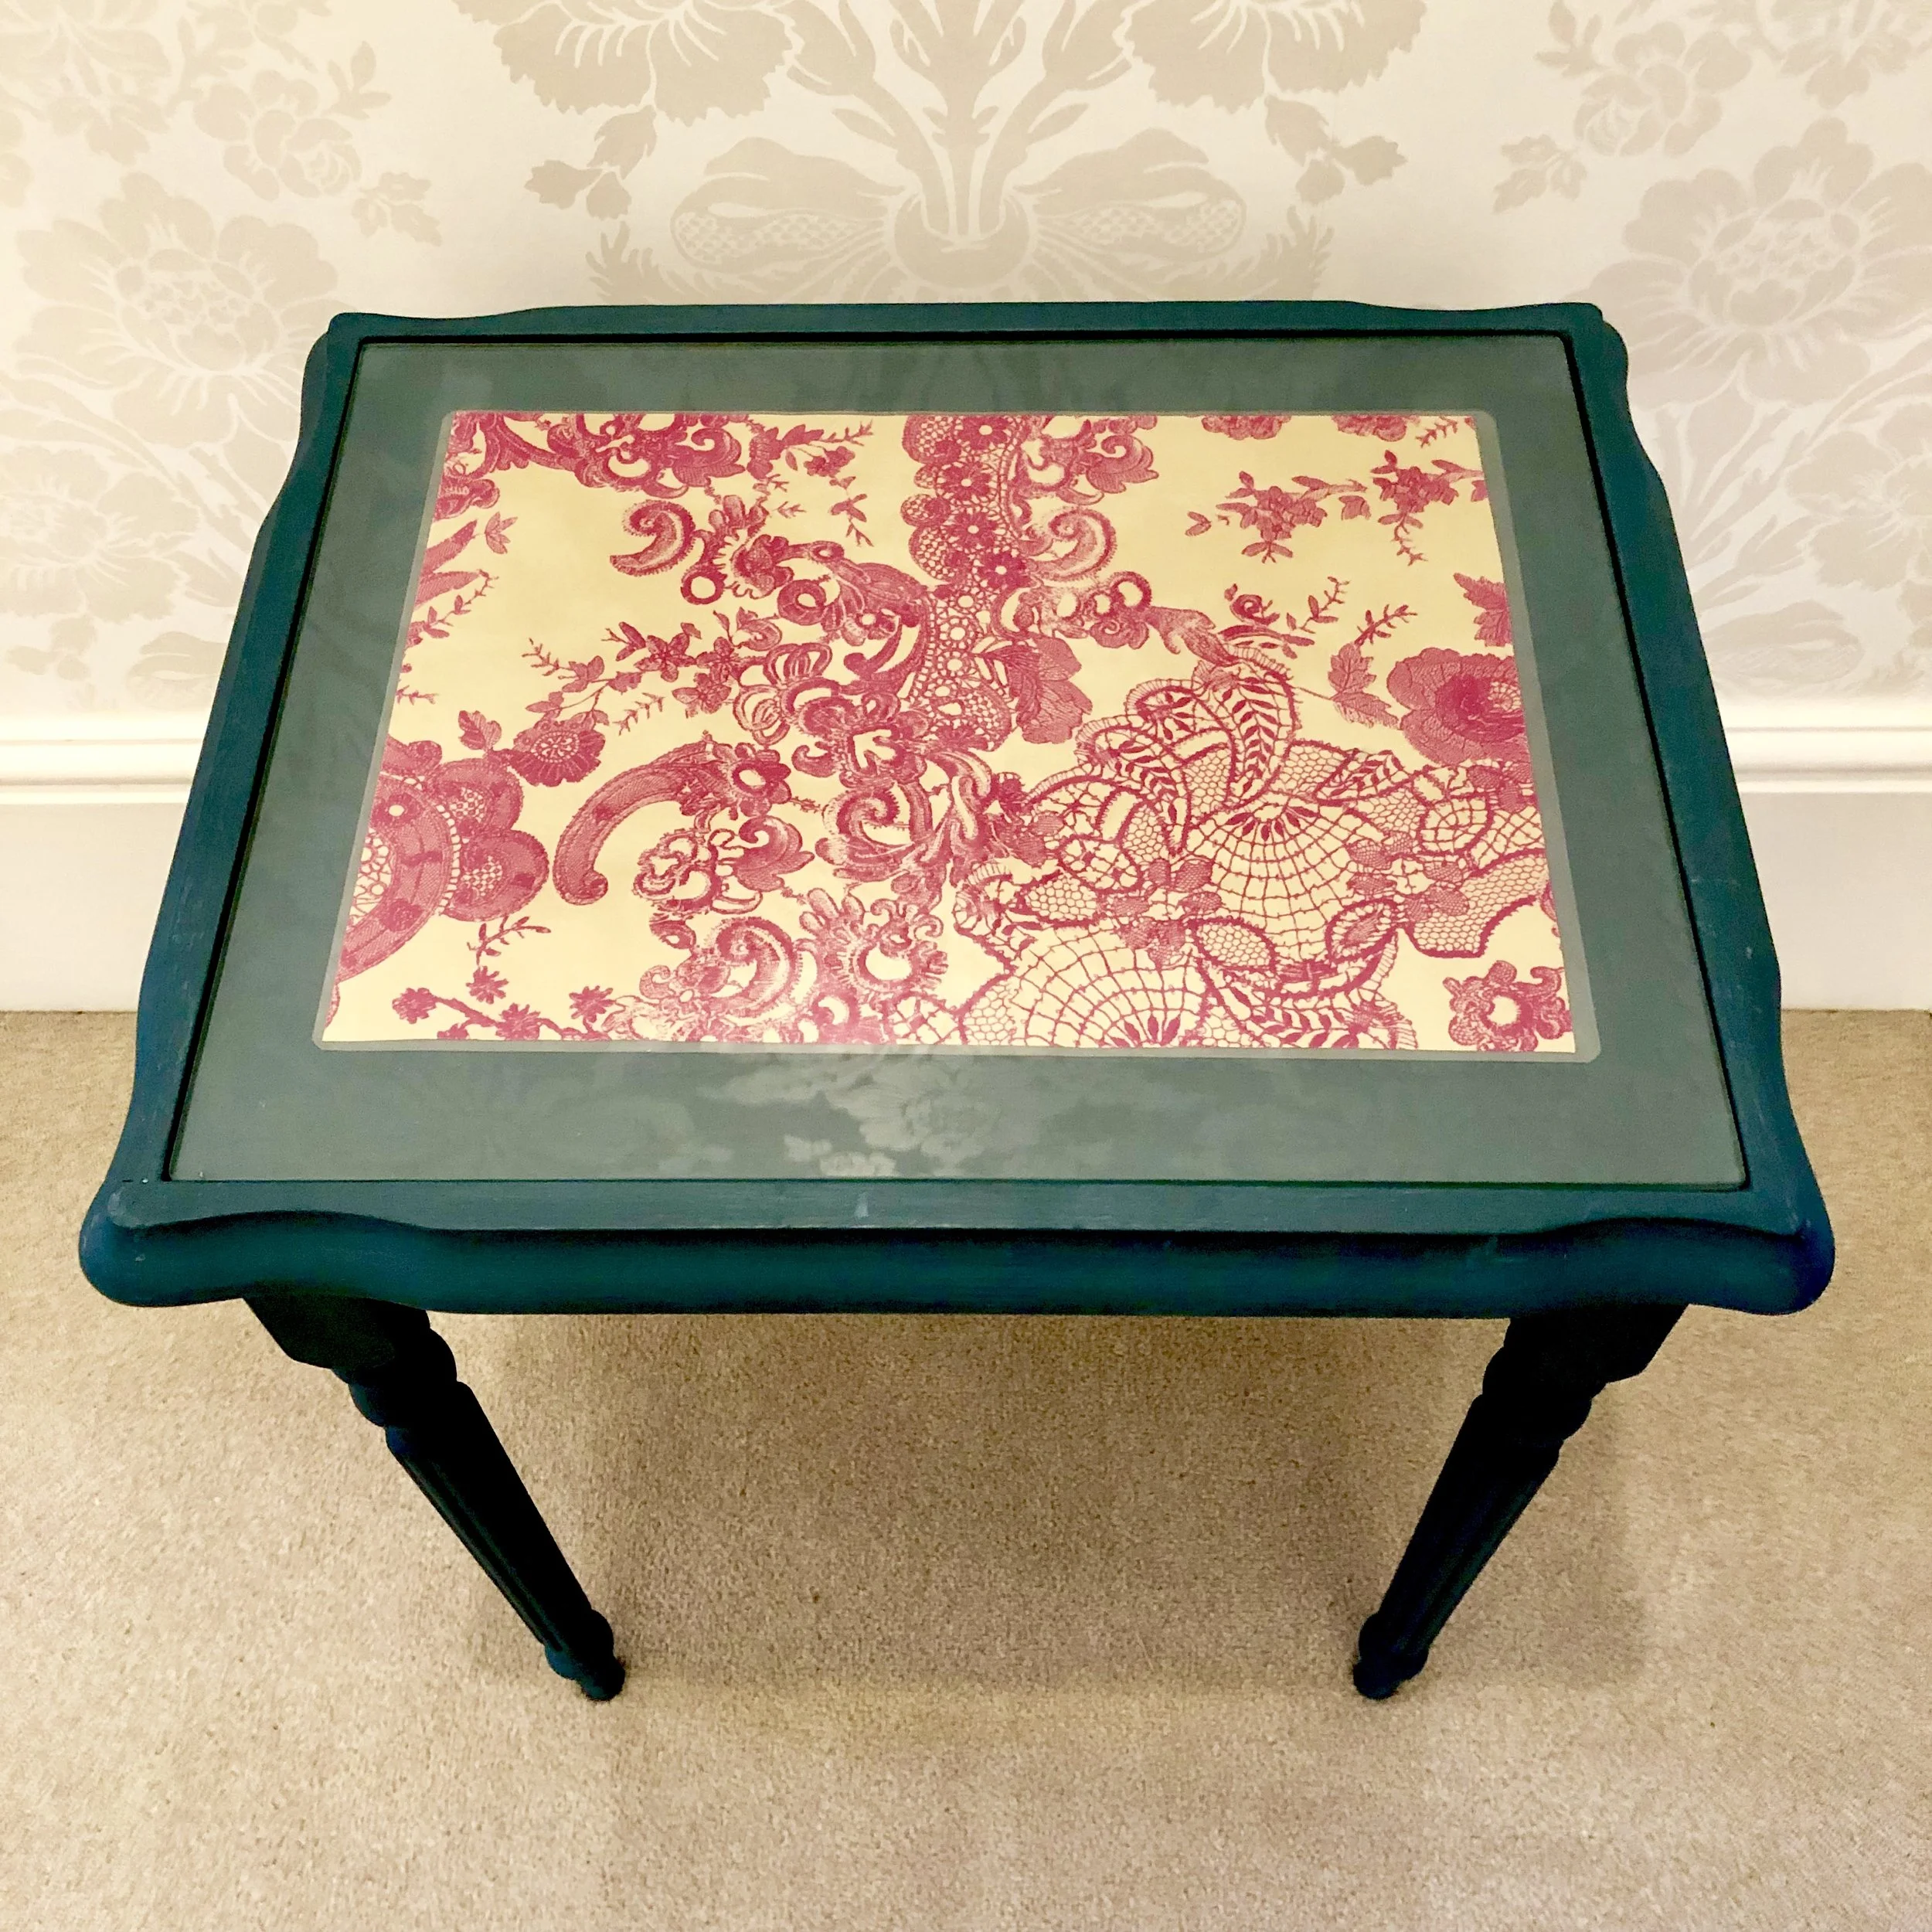
Tip: use the glass top to cut around to get the right size, but always cut a slightly smaller piece so it is protected by the glass. You could use wrapping paper, tissue paper, wallpaper, patterned napkins. Anything with a pattern that takes your fancy works really.
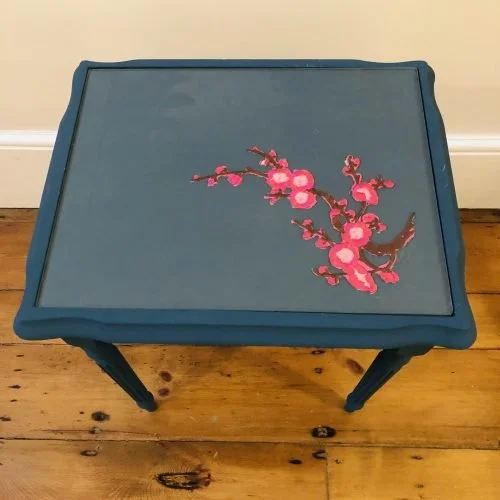
Here are some other really simple options for you:
Upcycling the chair
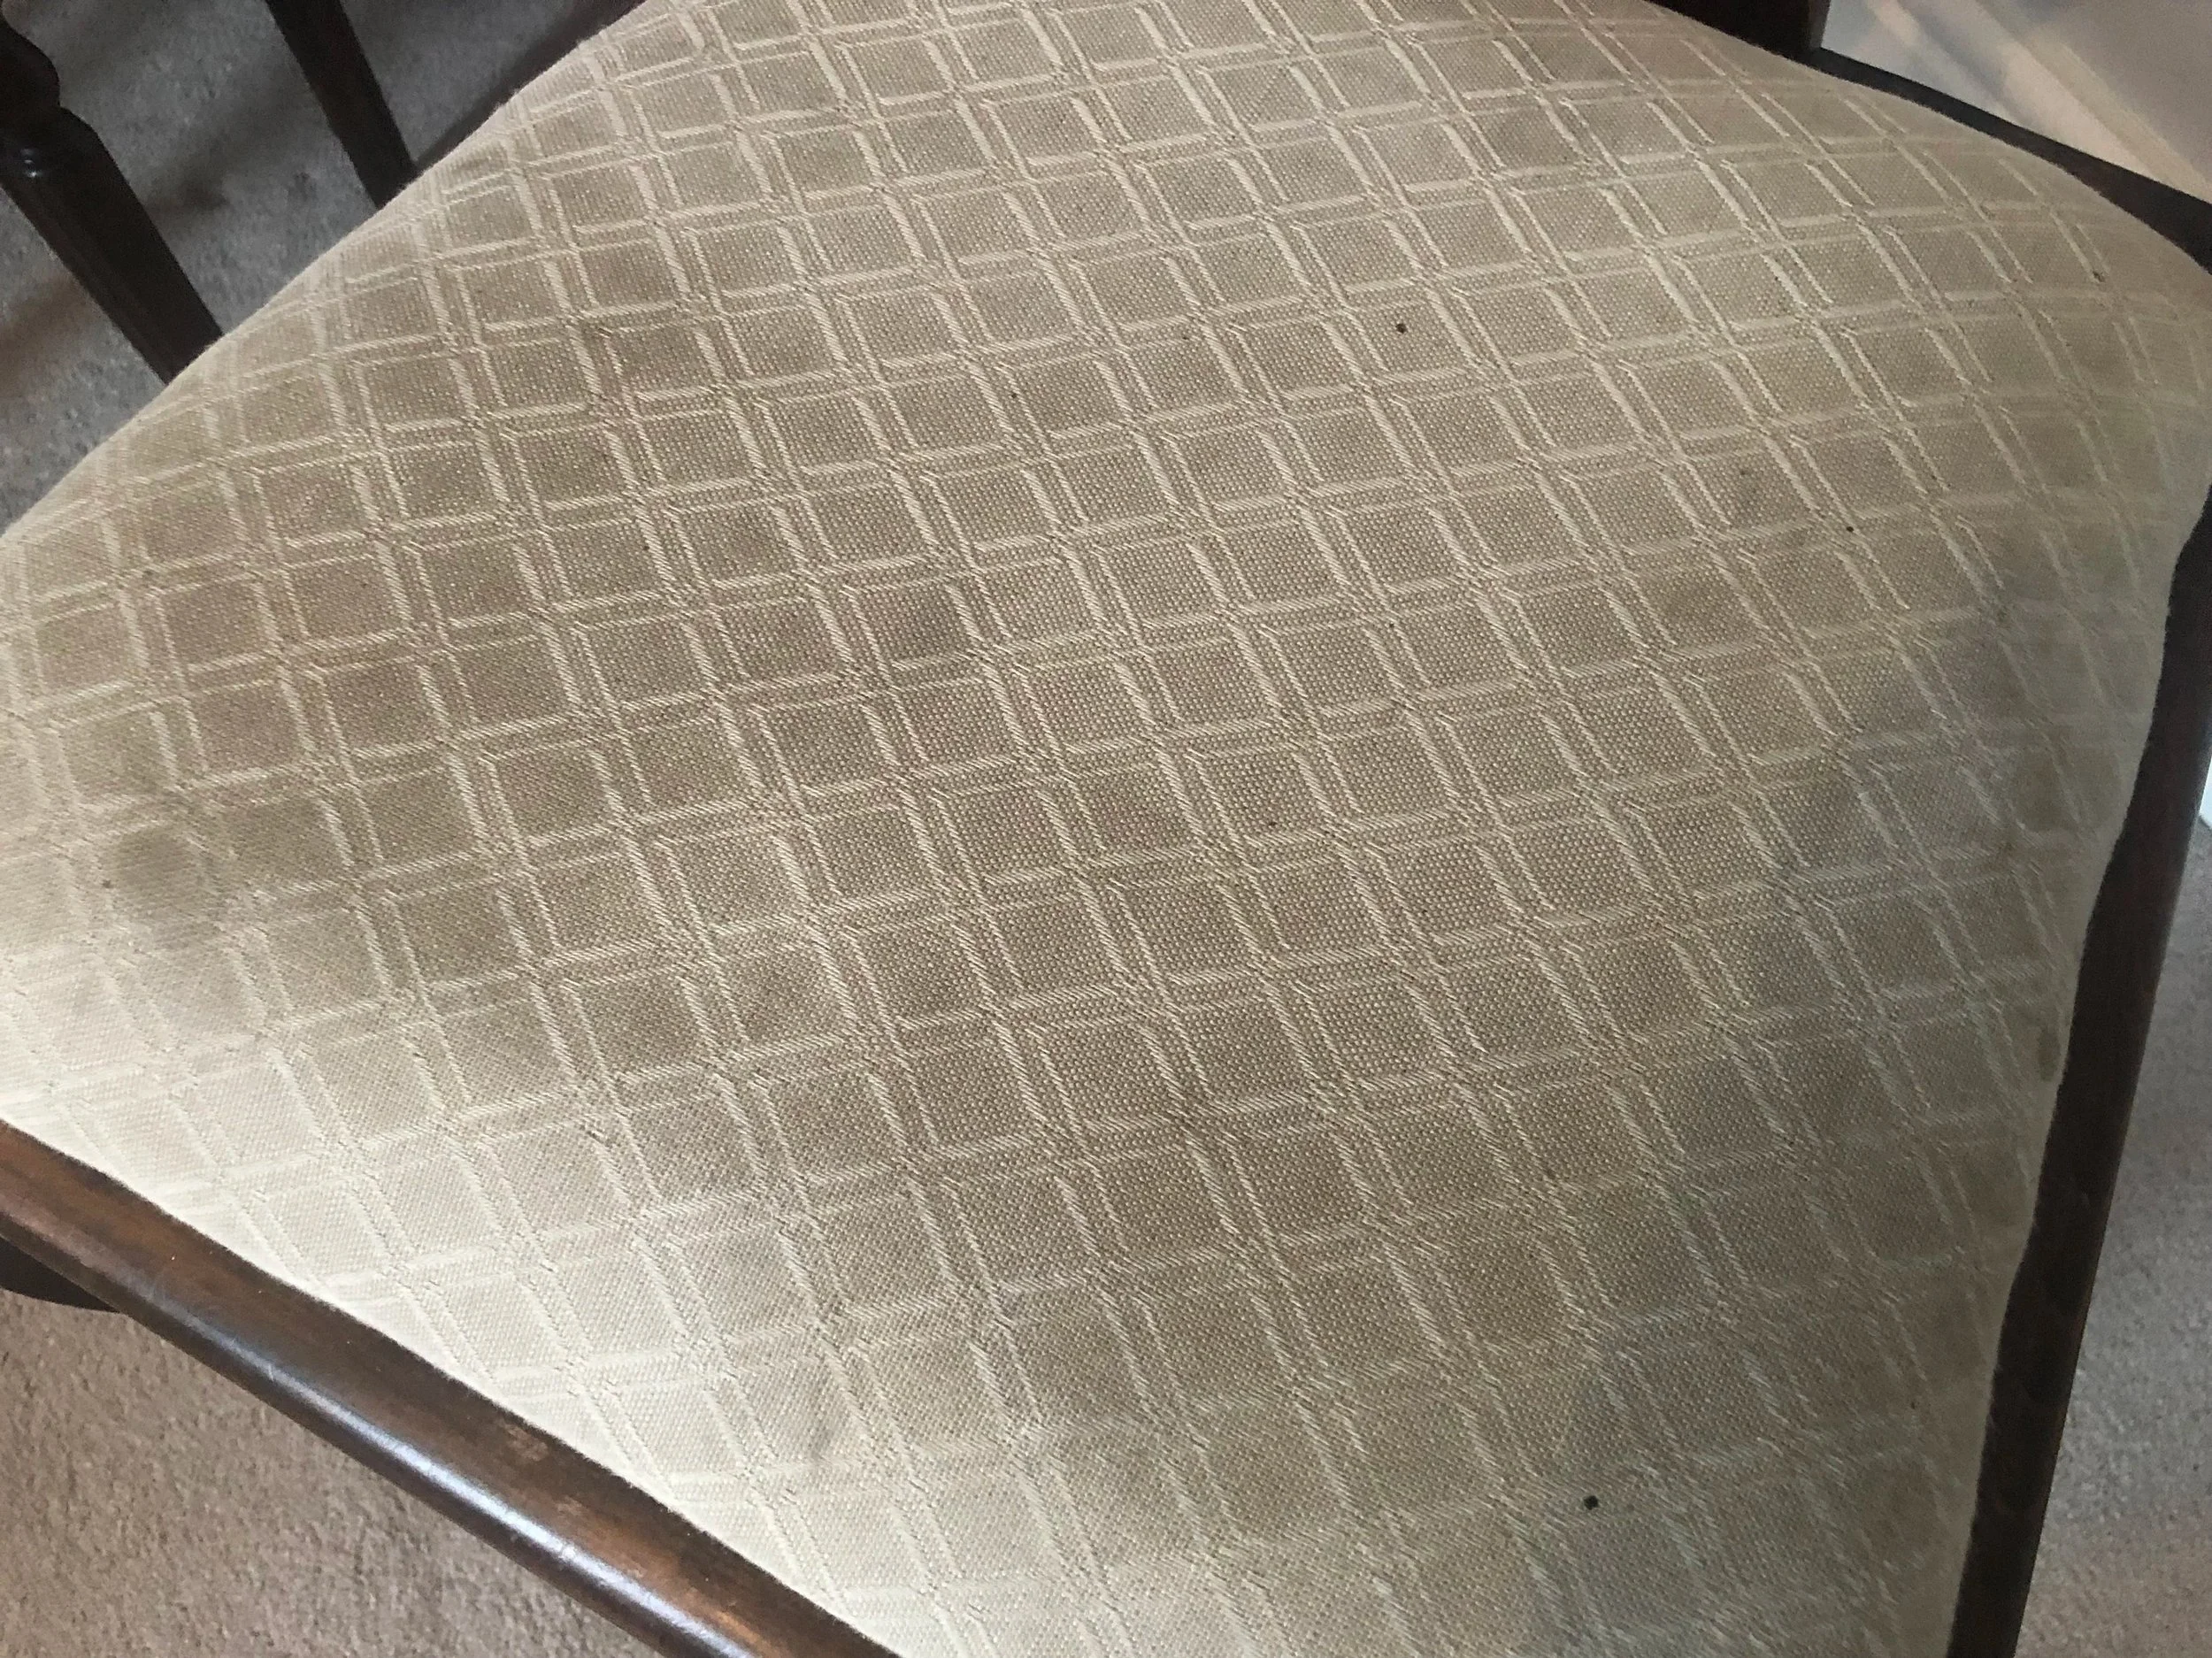
1. Remove the pad and hard brush away any dirt.
2. Dip your brush in water and squeeze away excess so it’s only damp before dipping into the paint.
3. Wait for each coat to dry thoroughly before doing the next one. You will probably need 3 or 4 depending on the pattern underneath and the colour you’re using.
4. You may need to lightly sand before applying the wax.
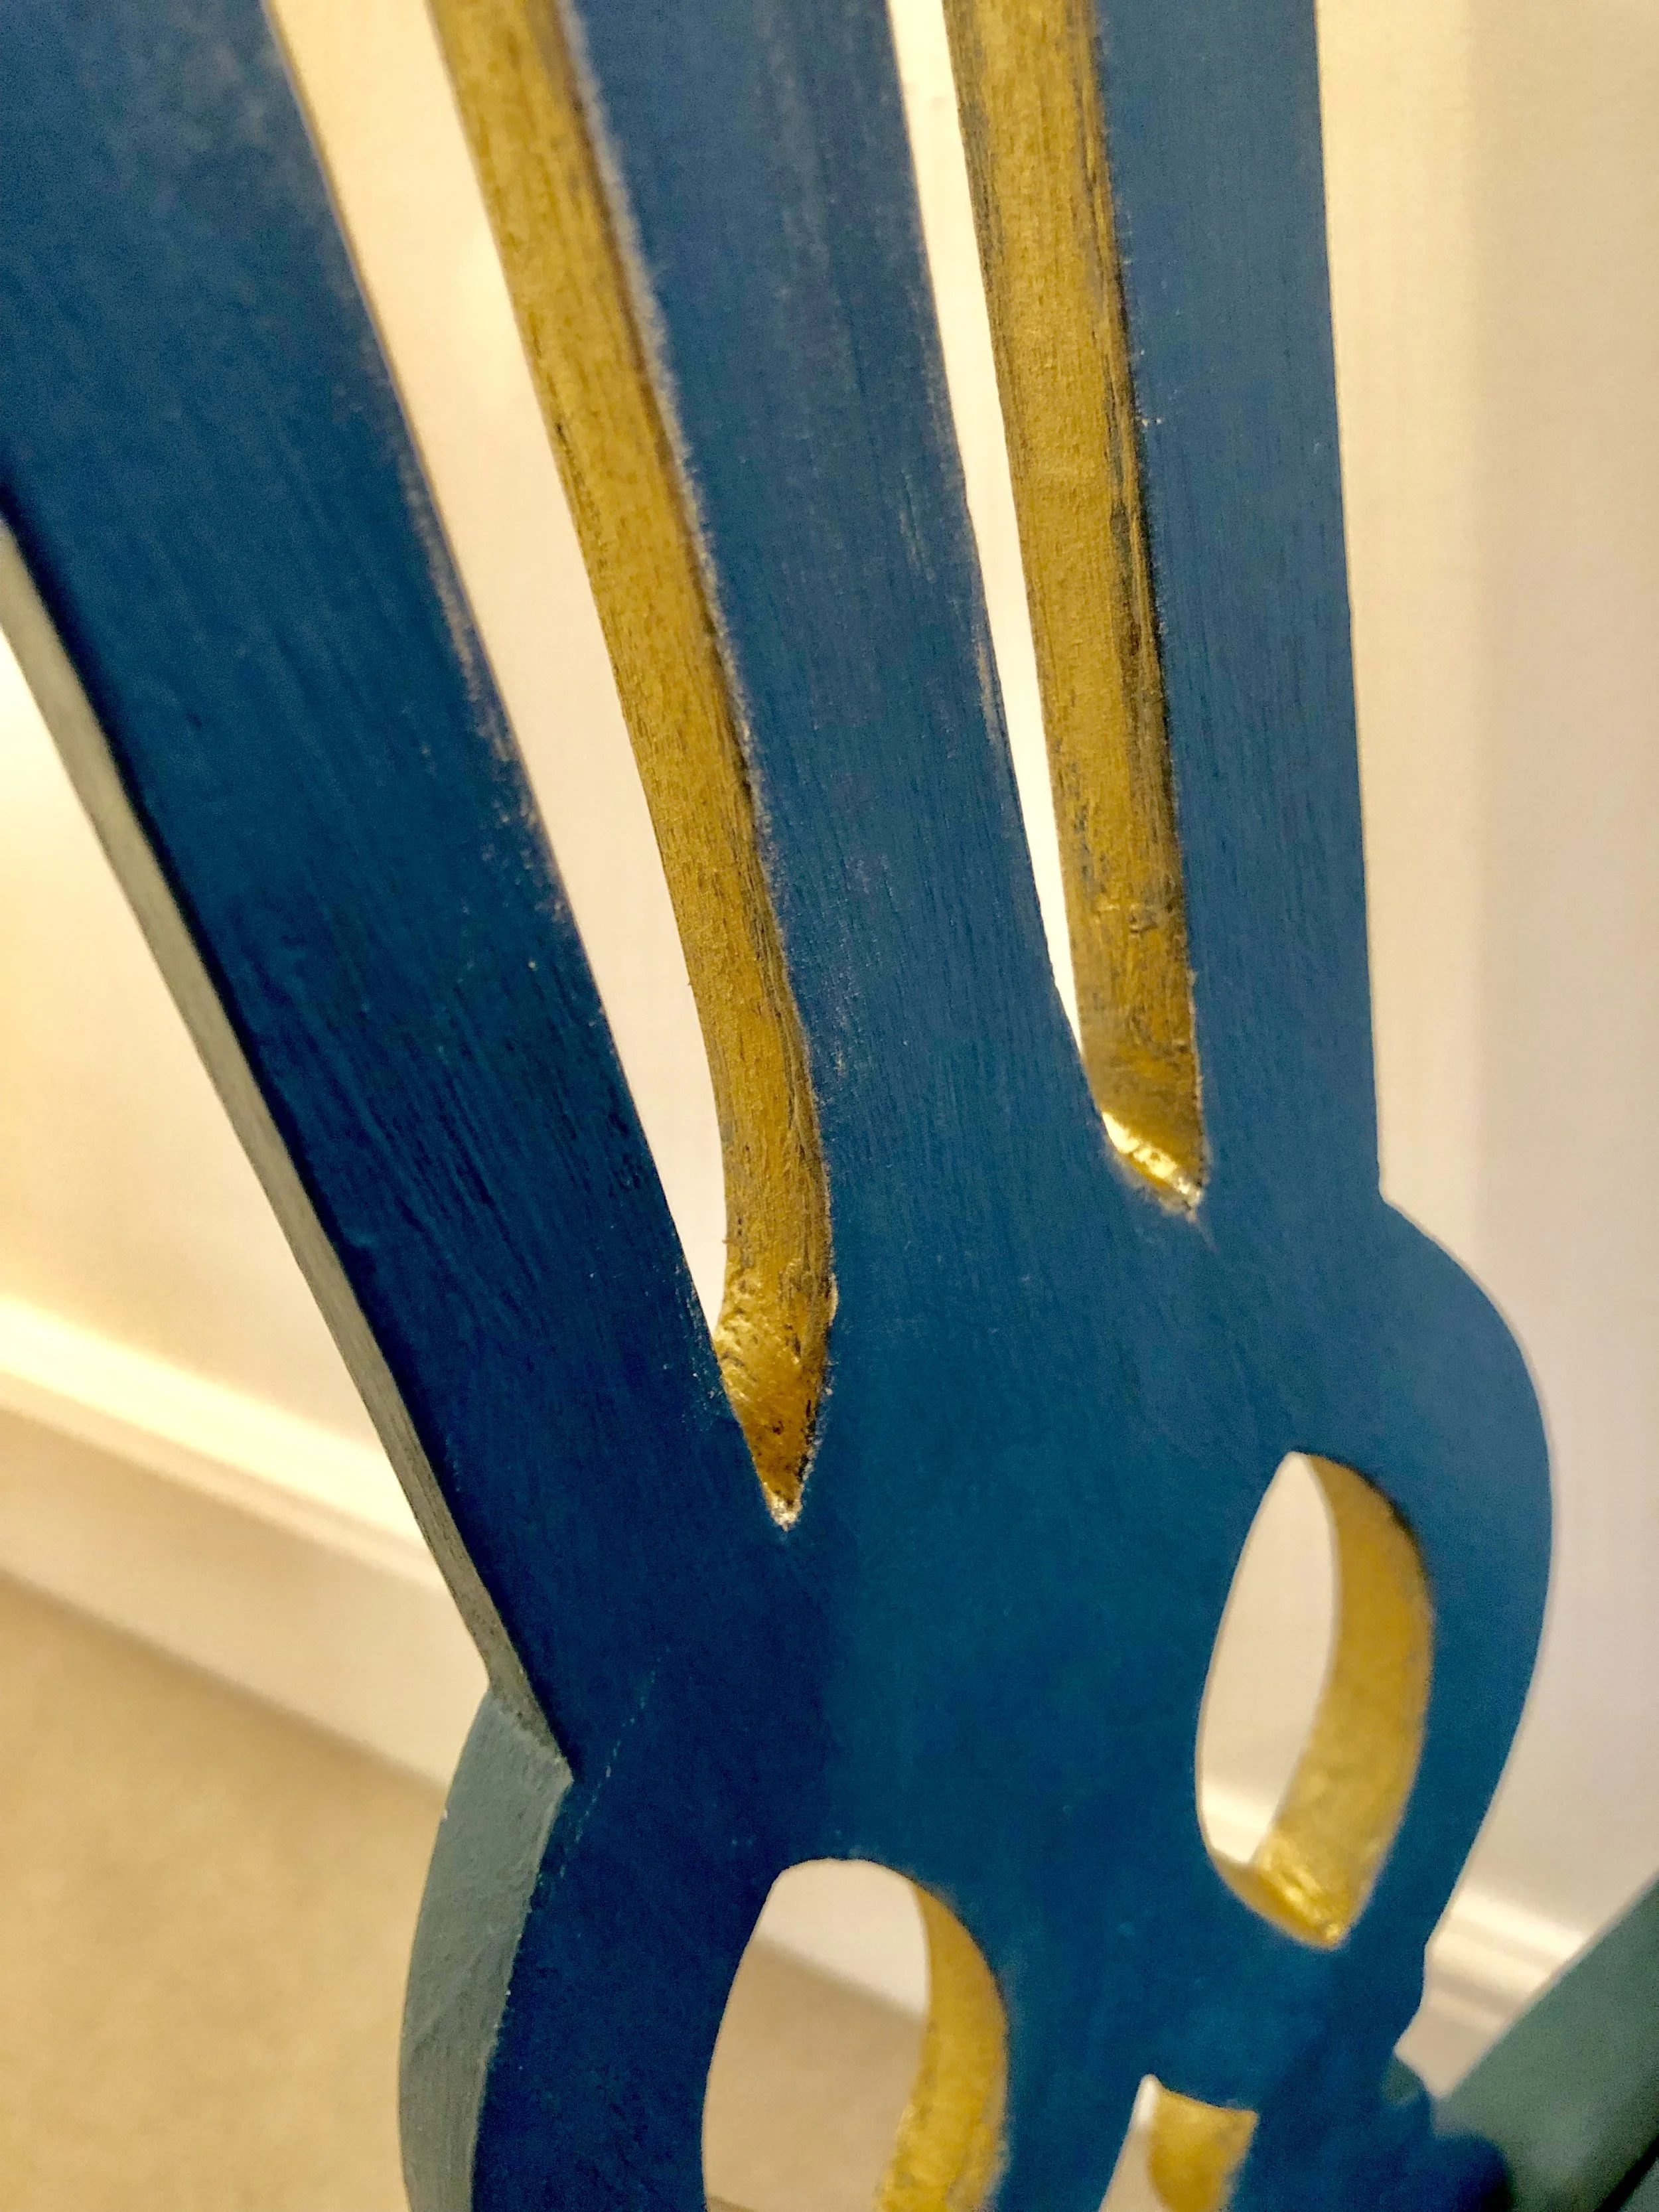
5. Clean the chair and paint using a dry brush. You will probably need 2-3 coats.
Tip: as with the tables, work quickly and methodically, starting with it upside down, painting the legs first.
6. Wax
7. Fit the pad to the chair again, if it’s too tight you can sand lightly.
8. I also added some gold gilding wax to the inside of the detail on the back of the chair.
Simple cushion
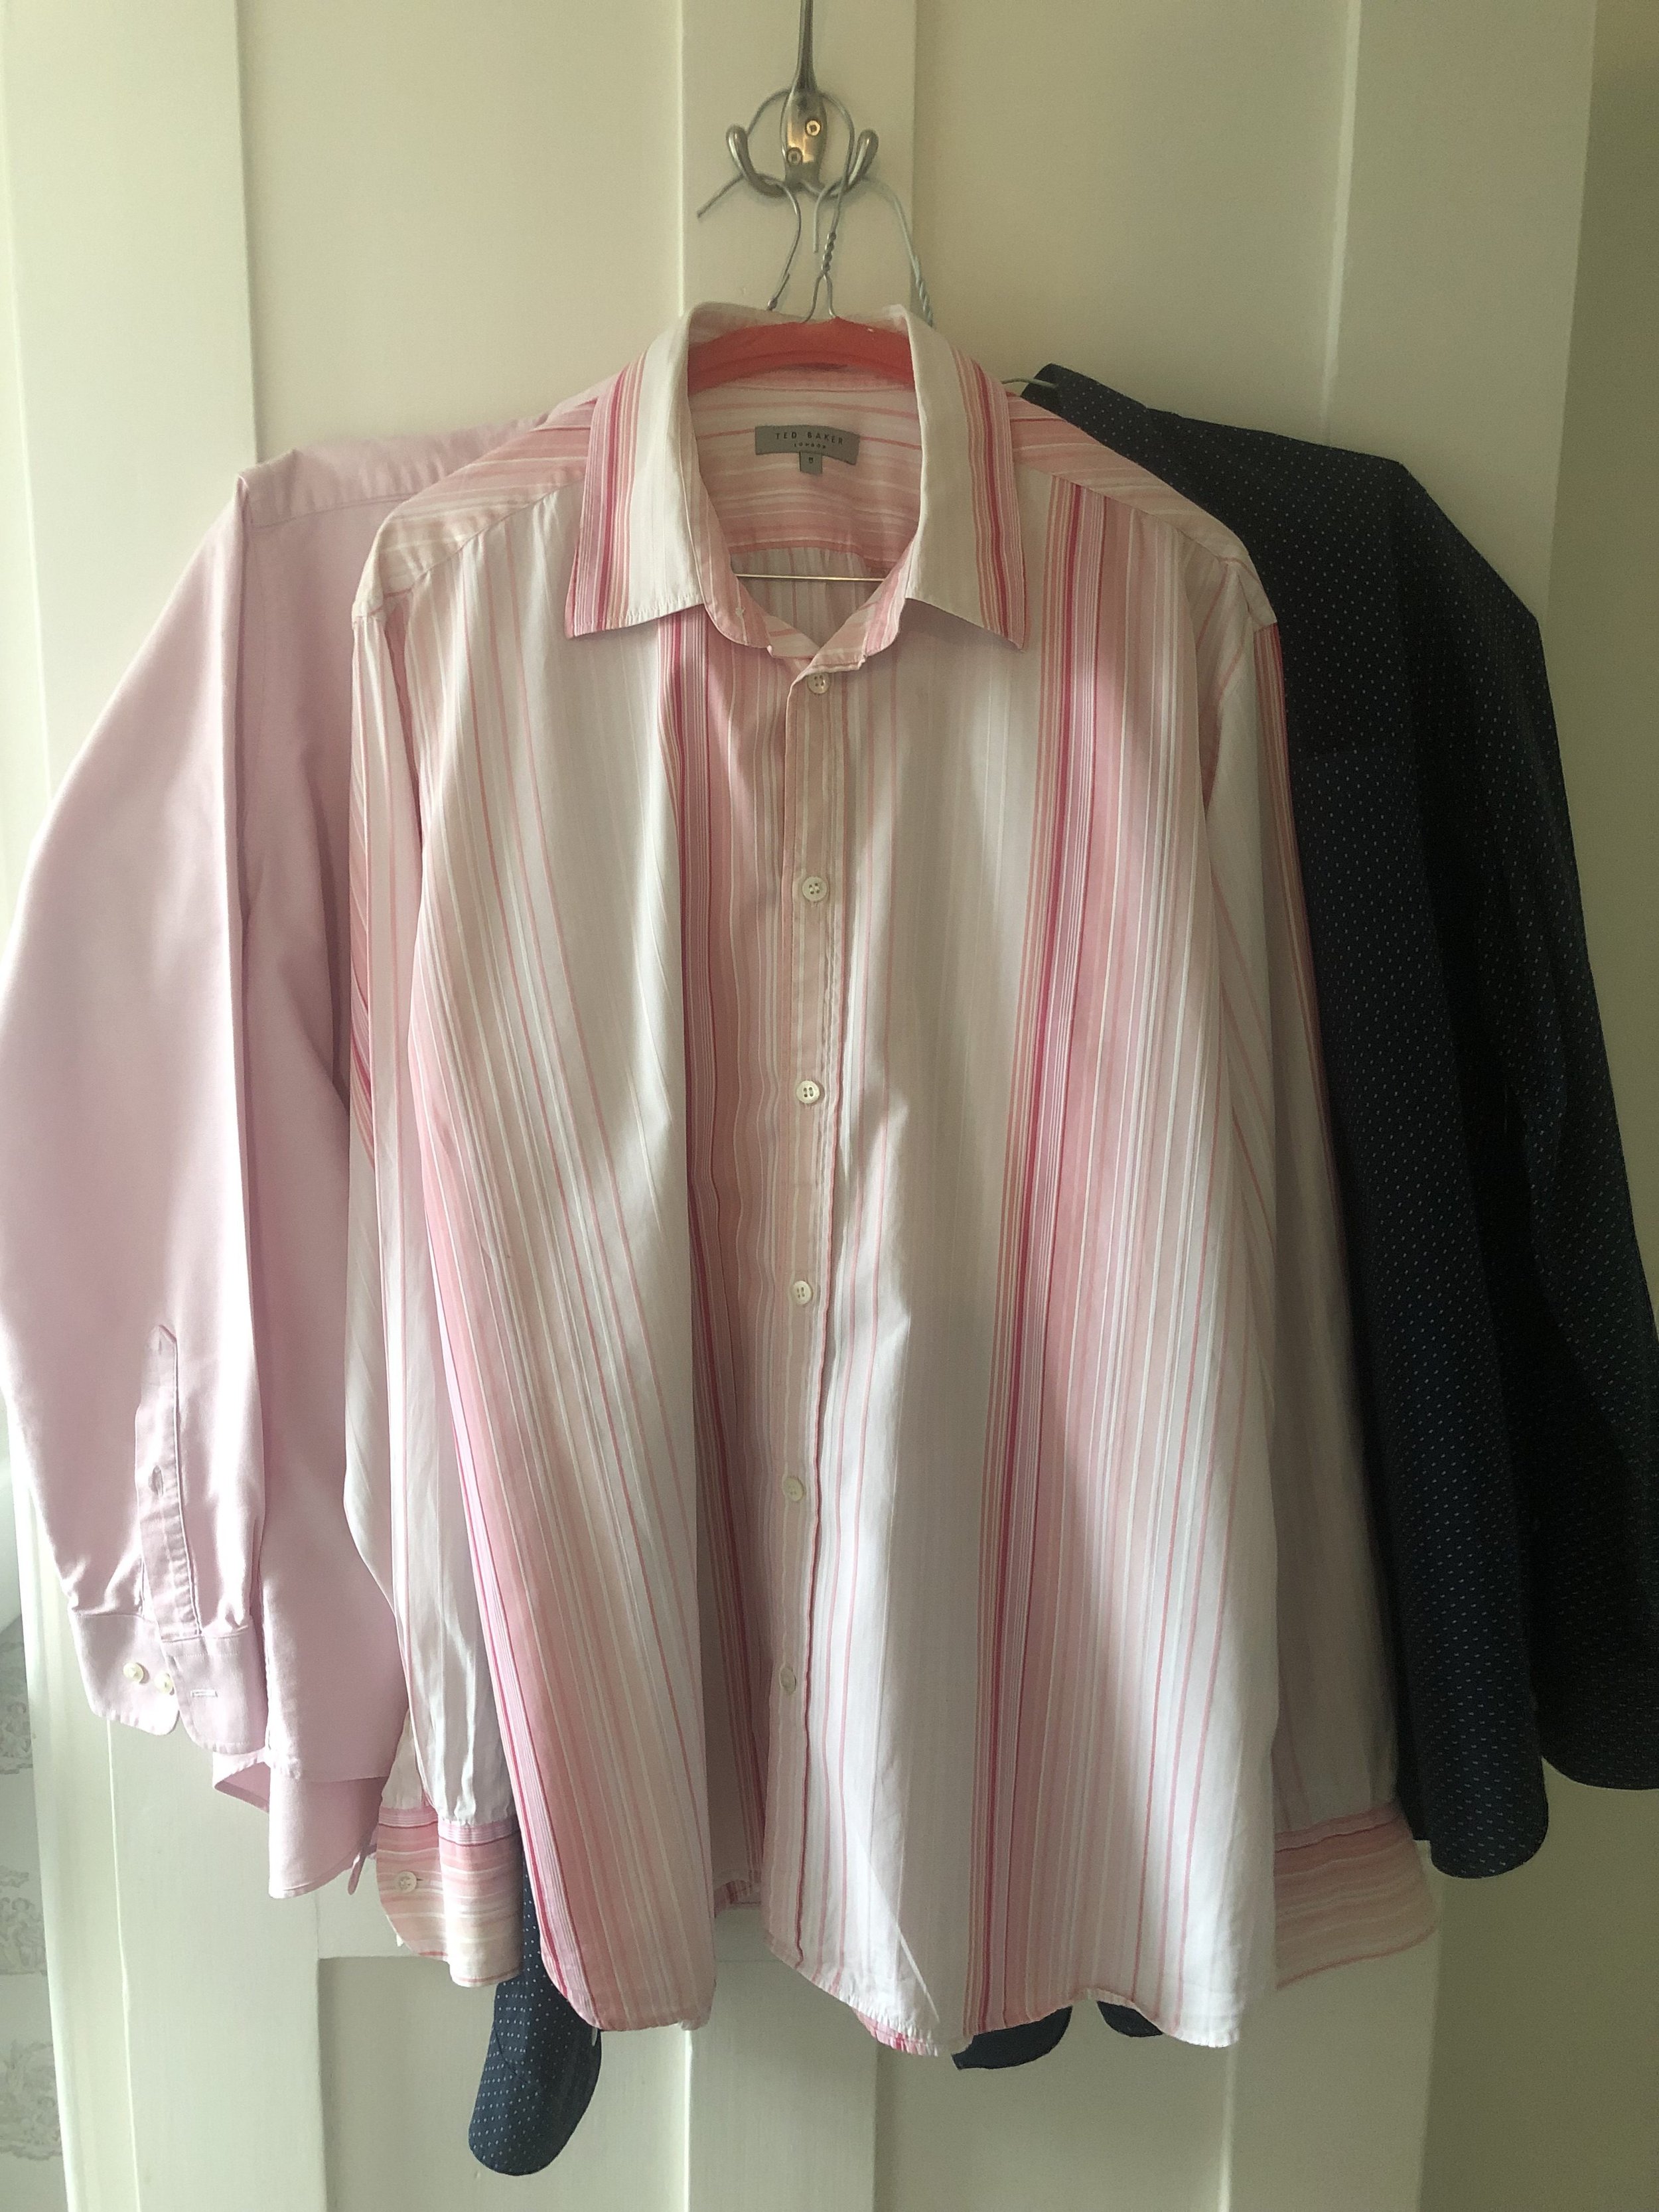
Tip: when choosing a shirt it’s best to go for a less fitted one.
Measure cushion inner
Cut out guide paper to size of one side for the cushion
Turn the shirt inside out and pin the paper through both sides of the shirt, making sure the buttons are where you want them to be!
Cut both sides together leaving a 1.5-2cm hem around the guide paper
Sew around the guide paper
Iron and turn the right way round
Add cushion inner
Here's a video and blog post for further guidance.
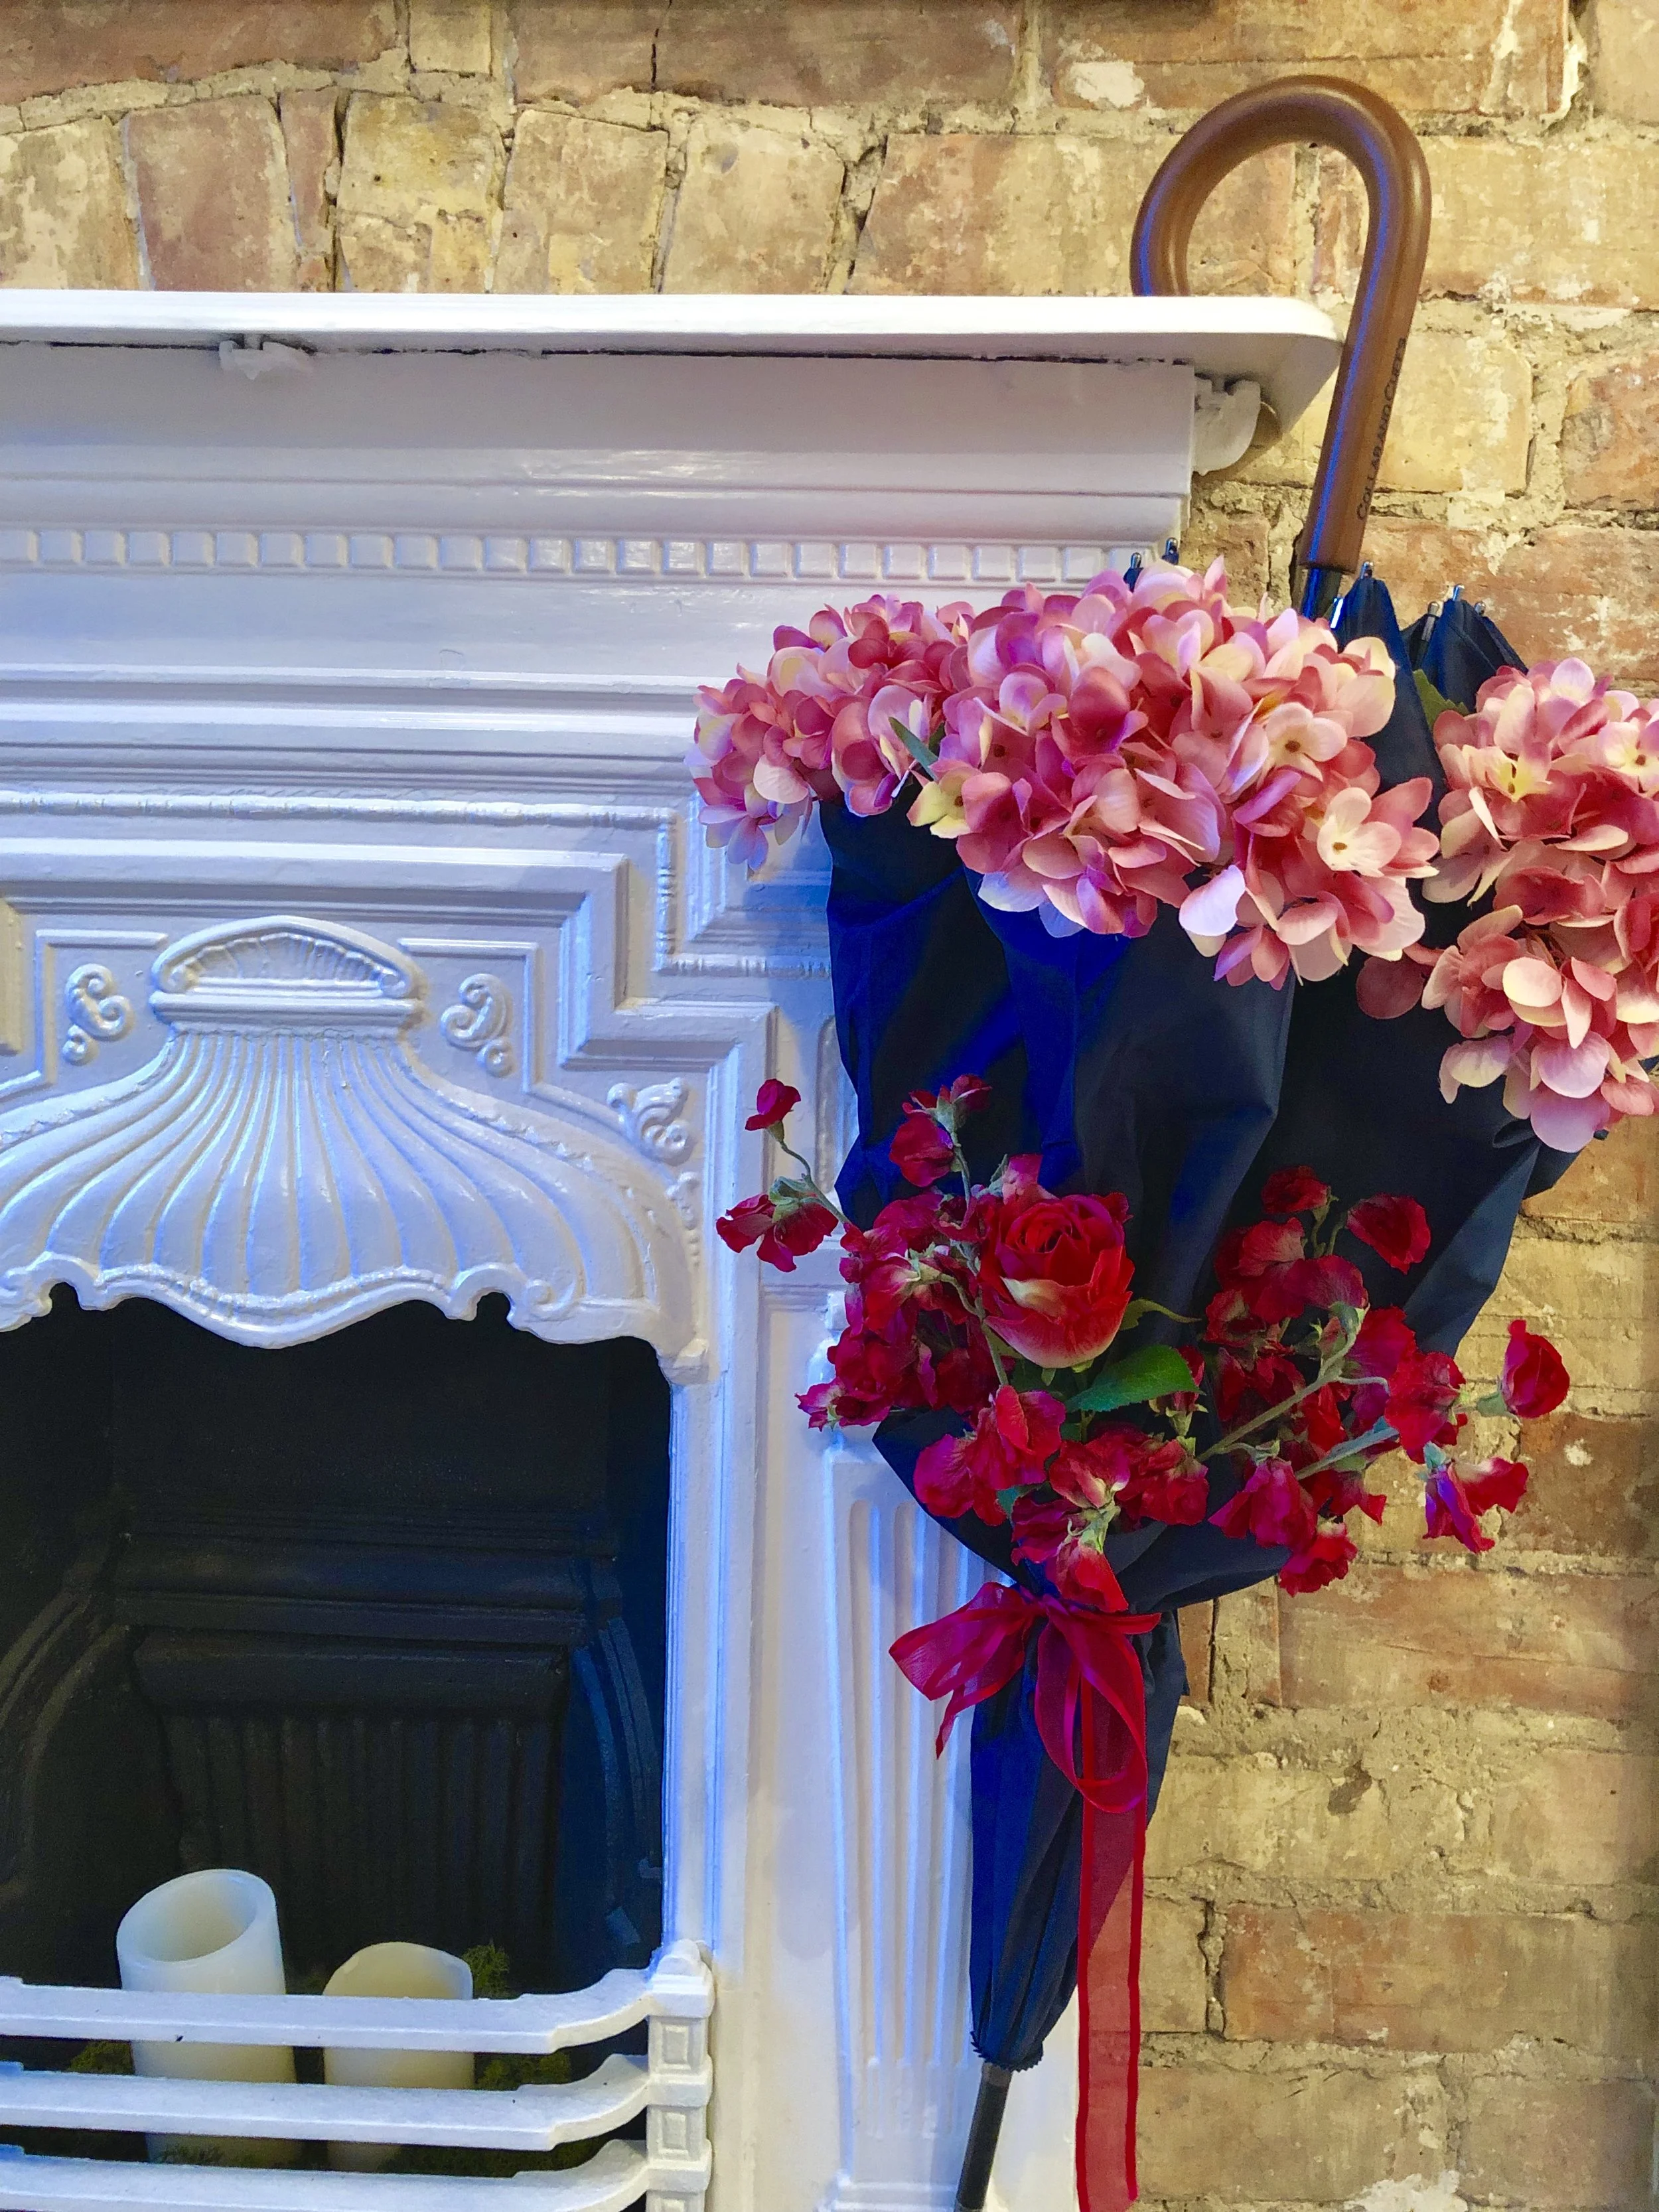
Umbrella decoration
Open umbrella slightly
Add flowers to three sections
Tie with bow
Hang for everyone to admire
Tip: If using real flowers, try flower foam or a bottle with water to sit the stems in.Here's a video to show you how to do it.
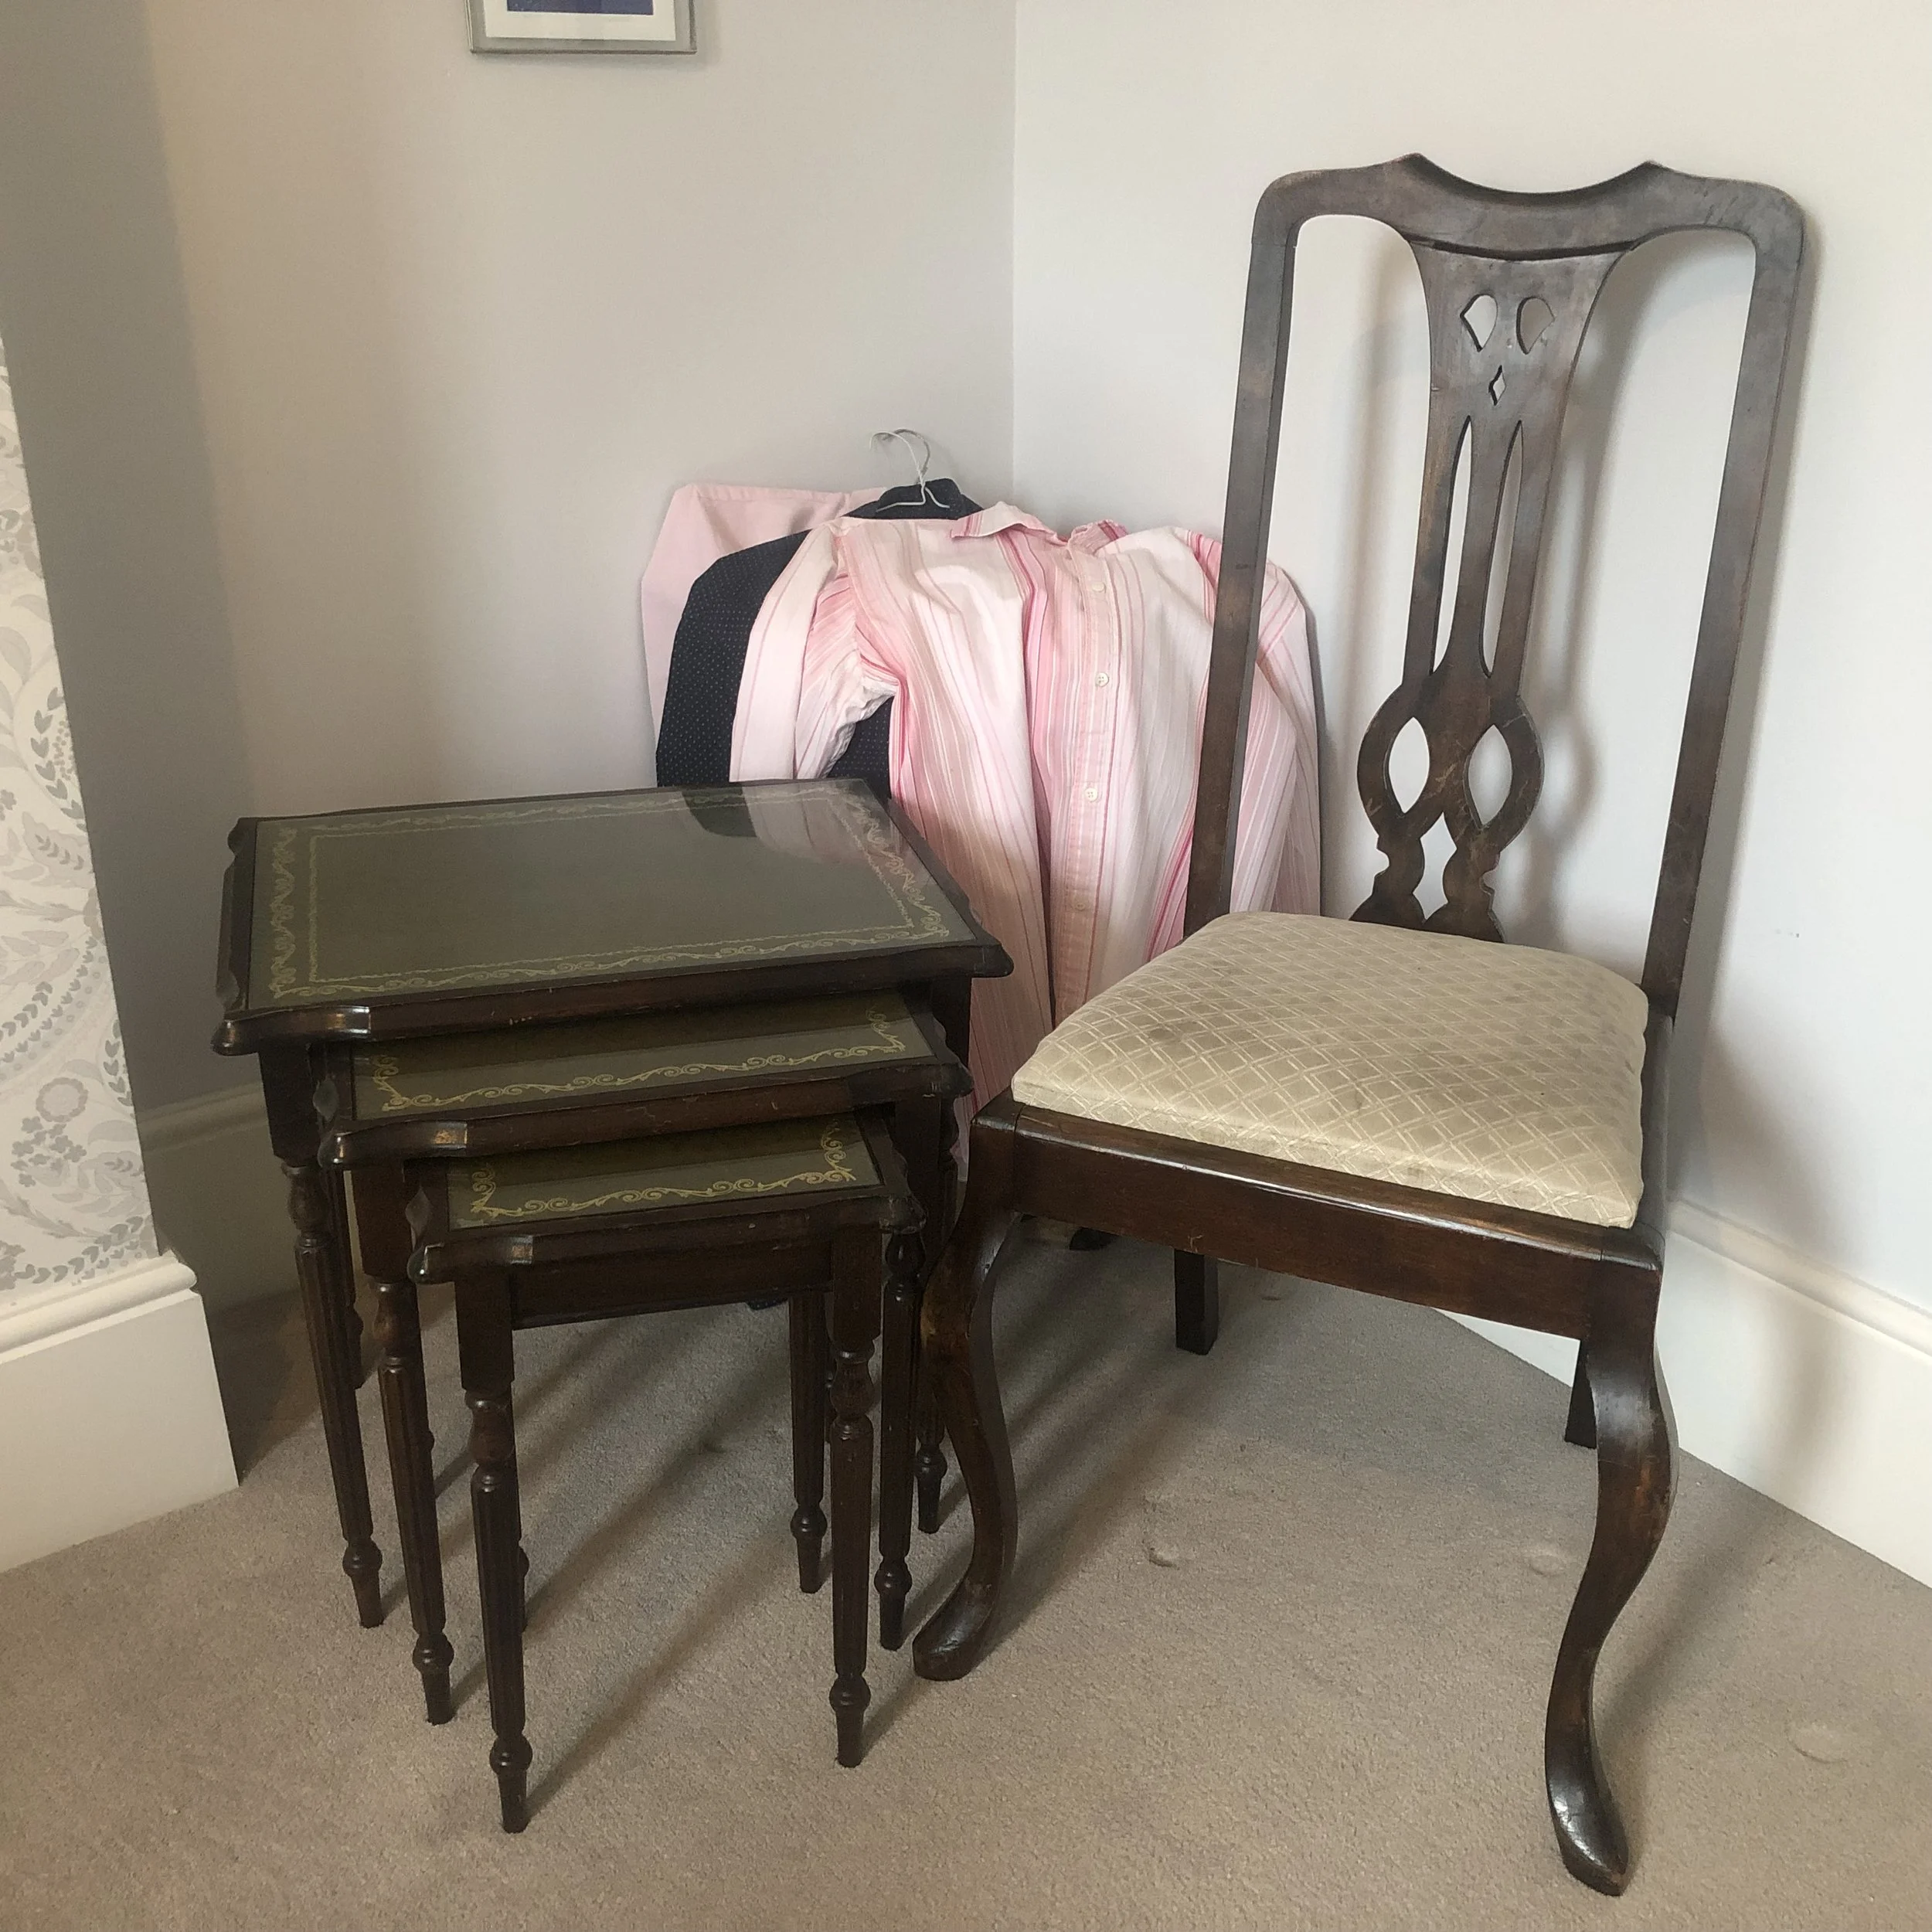
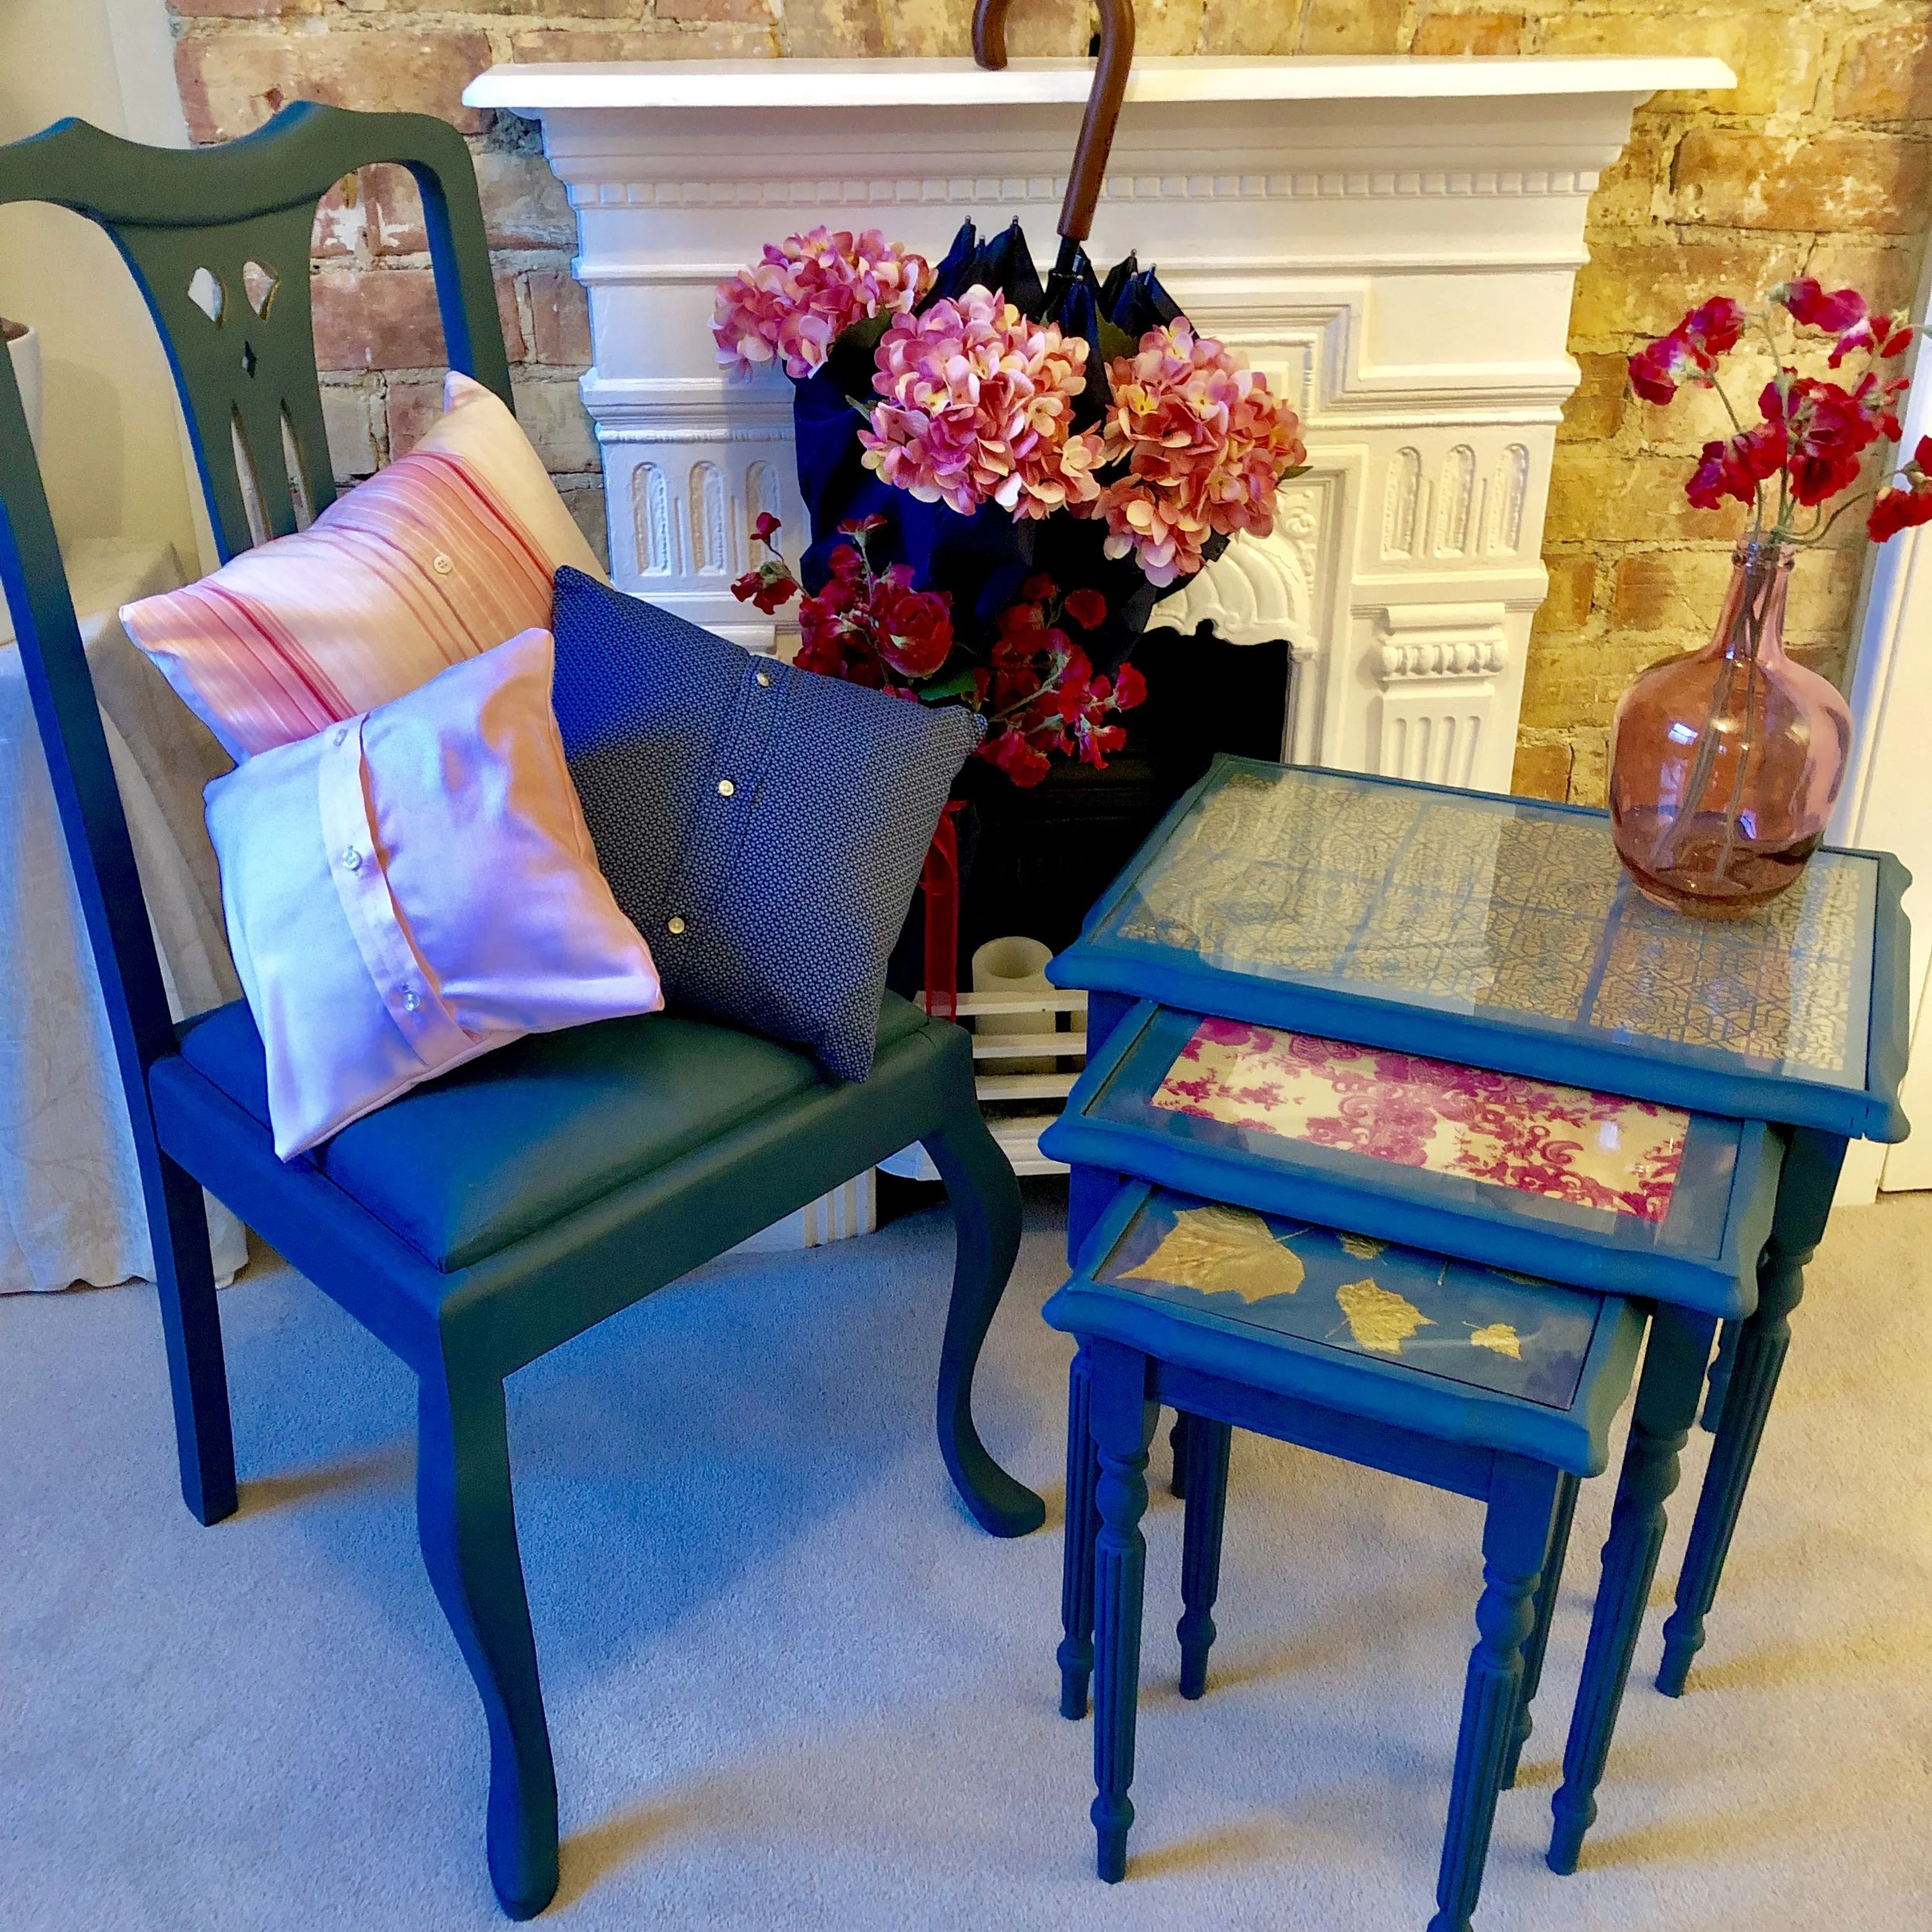
So here is the final 'before' and 'after' of This Morning upcycling. Hopefully this has inspired you to get upcycling!
Please do write your comments below. I'd love to answer any questions you have, hear your feedback or any advice you have to offer my readers!
Why not subscribe for free so you never miss a post or video?
Please come be social and I'll give you daily updates of what I'm up to. Find me on Instagram, Linkedin, Twitter and on The Home Genie TV Facebook page.