Roof Lantern Feature in My Self Build
This is my post on the roof lantern I’ve included in my self build. If you can’t view the video, please click here.
Roof lantern sure to wow!
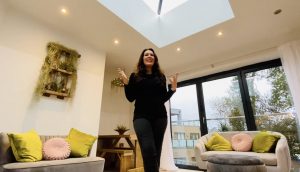
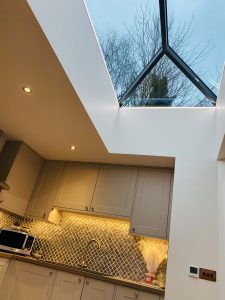
 So the latest installment about my build is focused on my Korniche Lantern. So it should be, as anyone who has stepped into the main room has said ‘wow’ because of it.
My main concern when doing this build was that it wouldn’t have enough light as it’s north facing.
The best solution for this problem is to have a roof lantern, which could essentially capture the light wherever possible, but I have often thought of lanterns as being an expensive addition.
HOWEVER, in my research I came across the innovation award winning Korniche Lantern which was not only affordable, but also apparently so easy to fit that even I could do it!
 DIY roof lantern?!
I’m pretty certain I could have done it myself, but my builder had less confidence in me and frankly wanted to crack on! Talking of which, it was pretty impressive how quickly we were able to install it – no need for silicone when constructing it.
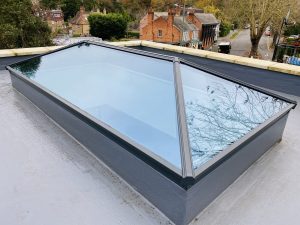
The other reasons I went for it were that it’s a full aluminium structure and is stronger than a lot of lanterns because of its minimal structure of larger areas with fewer rafters.
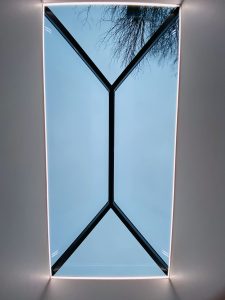
I love its slim and sexy profile – it’s all so seamless with aluminium bosses connecting the ridge and rafters so you get uninterrupted sight lines, which is so much more attractive.
 Obviously when you have a lot of glass you have to consider heat loss, and as we have bifolds in this room as well, this was an important factor.
The techie bit!
The Korniche lantern has a thermally broken system with industry leading Q-lon gaskets and U values from 1.2. So what with that and the 10 year guarantee on glass and profile it was an easy decision.
I could have gone for a bespoke RAL colour, but I went for anthracite with a slight tint in the glass to reduce glare.
When I step into this room, even on a cloudy day, I feel happy, and I’m sure that’s down to the roof lantern. To me it has been a game ch anger for the feel of the whole property.
One final tip though, is make sure whoever installs it removes the little stickers – there’s still one I haven’t got to it yet and it annoys me every time I see it!
Just want to state that I did receive a discount for the Korniche, but only after I’d already chosen it. It was a gesture so they could use my video themselves but the views are all my own.
If you want to see the before photos and video of this plot, check out How To Build A House. There’s also a post and video on the Juliet balcony I’ve installed. If you’re interested in the internal doors I chose, have a look at my post and video Glass Doors To Enhance Interiors.
Please do write your comments below. I’d love to answer any questions you have, hear your feedback or any advice you have to offer my readers!
Why not subscribe for free so you never miss a post or video?
Please come be social and I’ll give you daily updates of what I’m up to. Find me on Instagram, Linkedin, Twitter and on The Home Genie TV Facebook page.
 DIY roof lantern?!