Upcycling - An Absolute Beginner's Guide
This is my beginner’s guide to upcycling. If you can’t see the video please click here.

What is upcycling?
I've been upcycling since before the term 'upcycling' was invented. In a way it's sad that it even needs a name these days as it shows what a disposable world we live in.
Upcycling is basically taking an item that might not be fit for purpose anymore, has become dated, or could frankly just be better, and fixing, changing and/or decorating it.
The idea really is to make it better than it was, but that is a very subjective thing. The final piece will always be unique though and whilst it may only be loved by you, it could also be admired by all who come across it.

What can be upcycled?
Anything can be upcycled - apart from maybe anything made out of asbestos... no seriously!
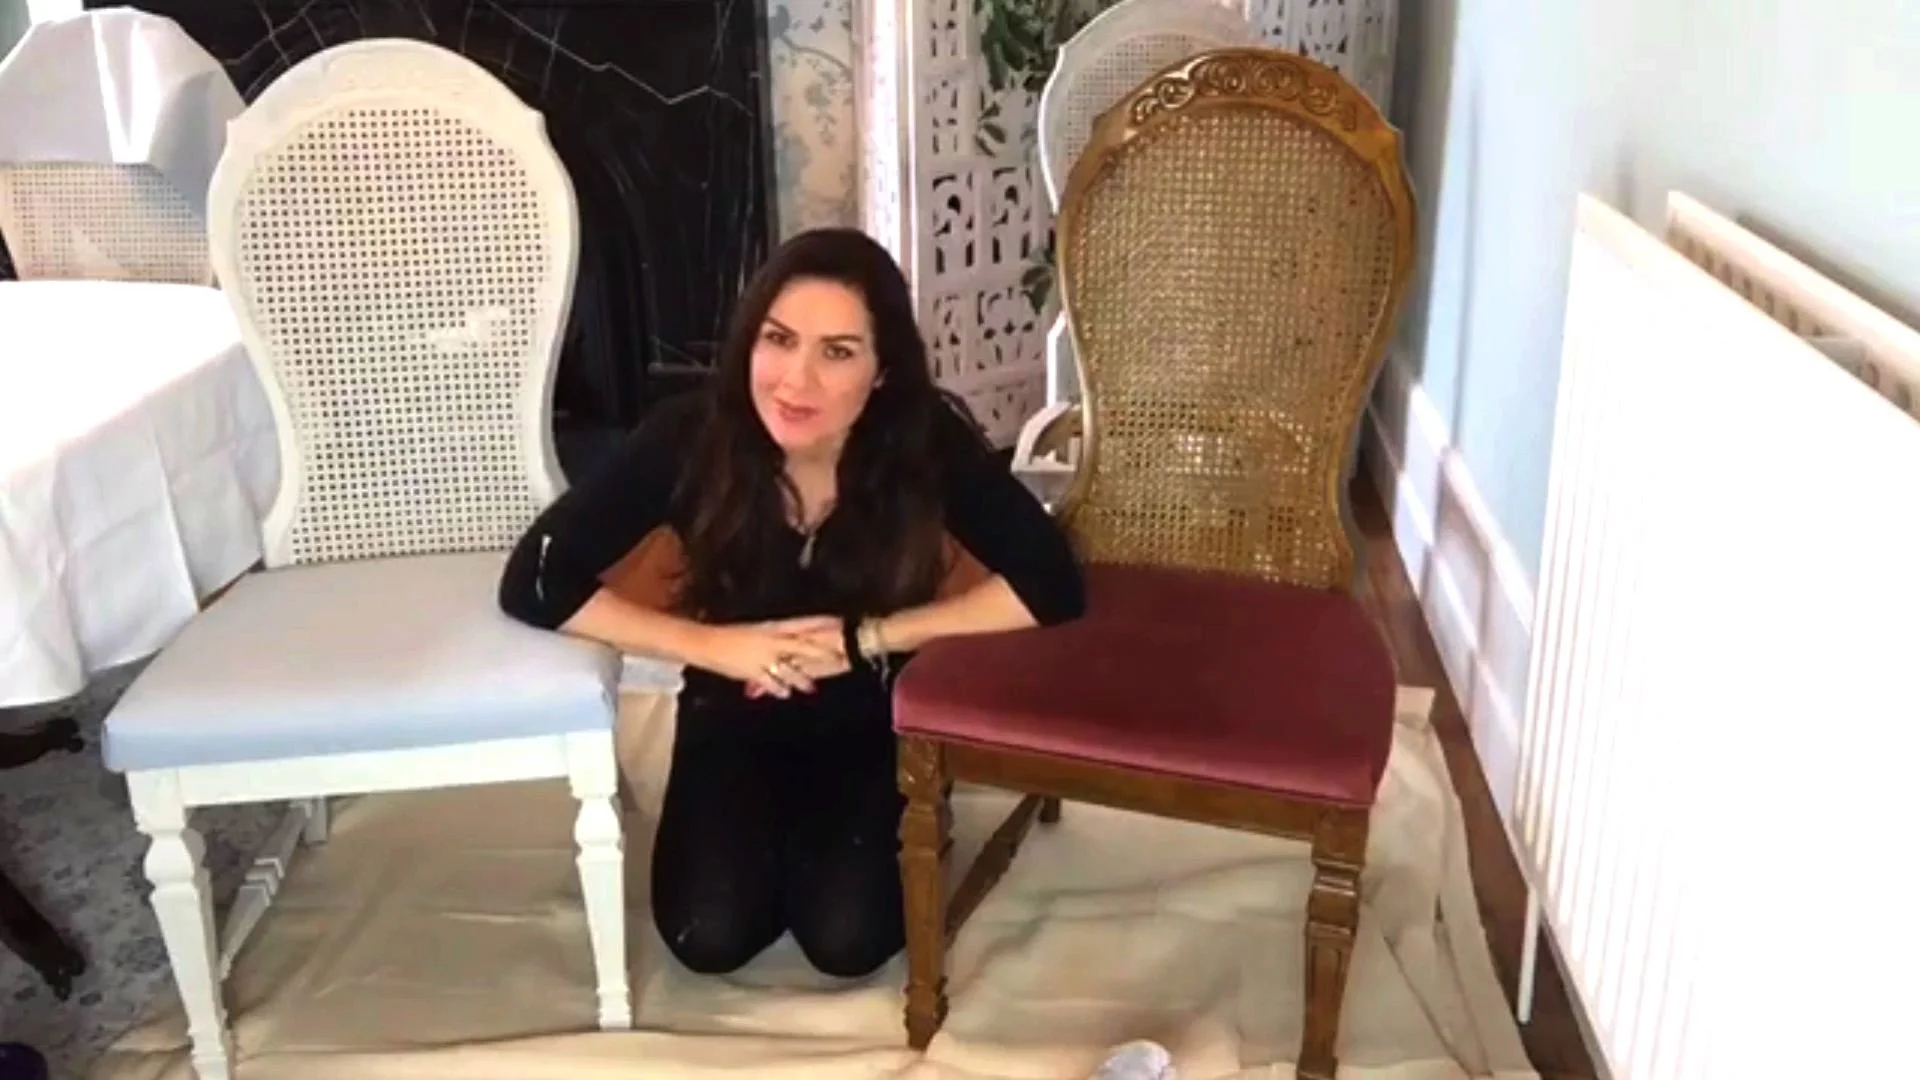
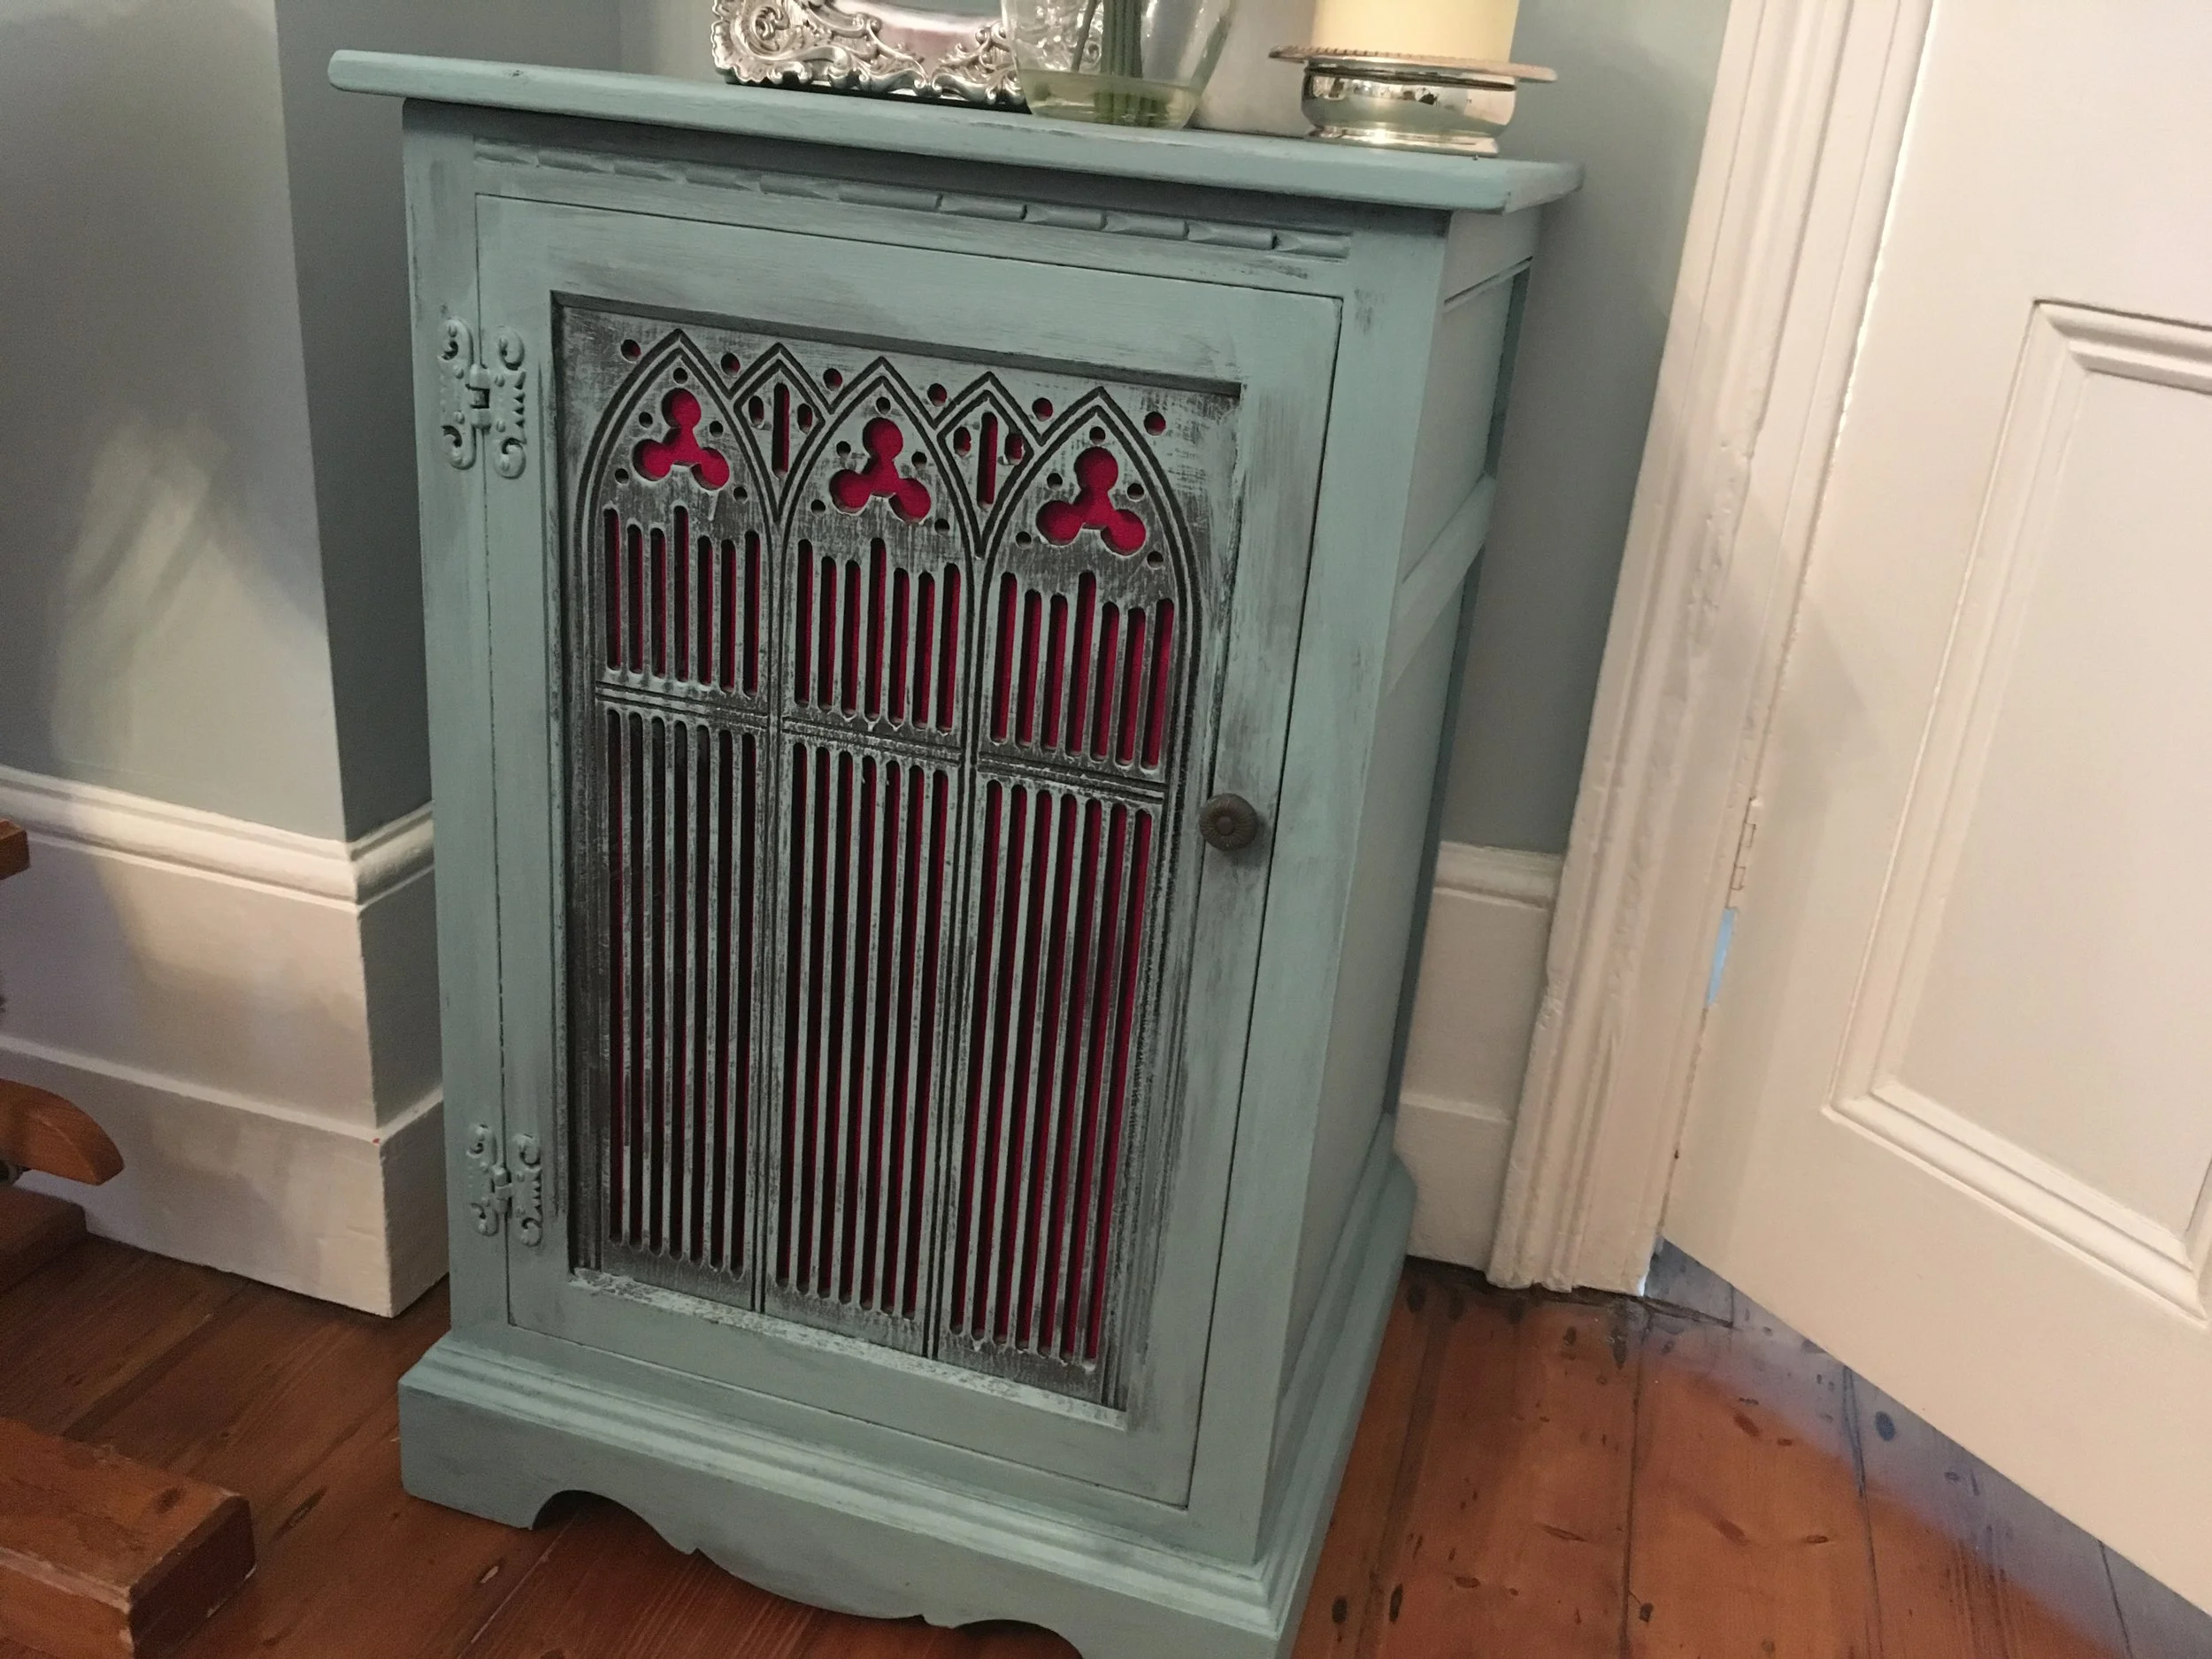
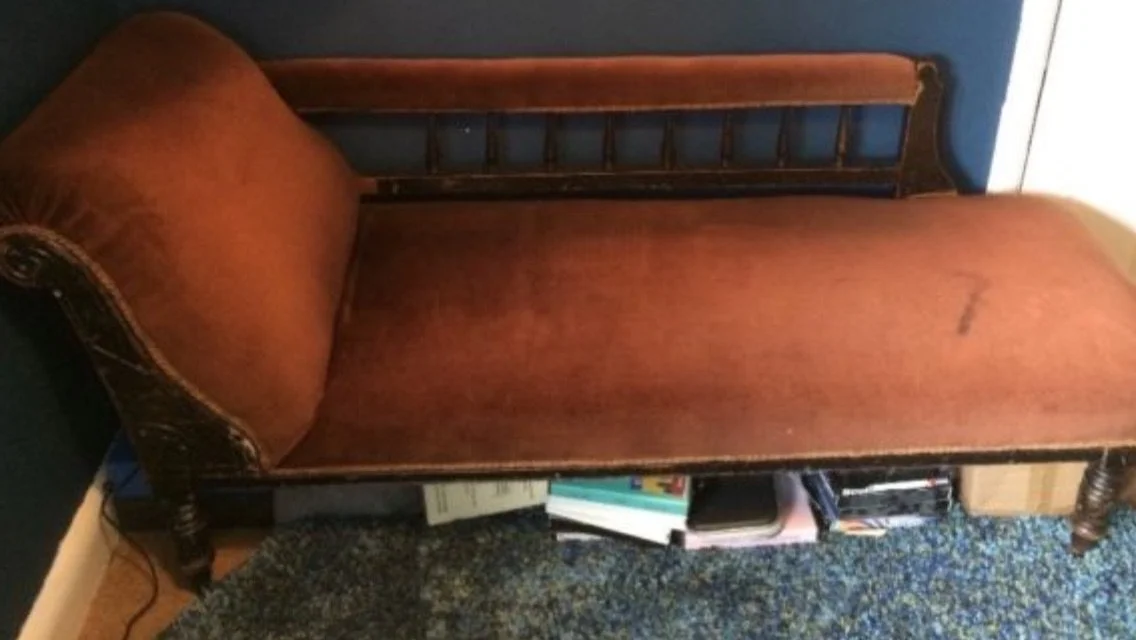
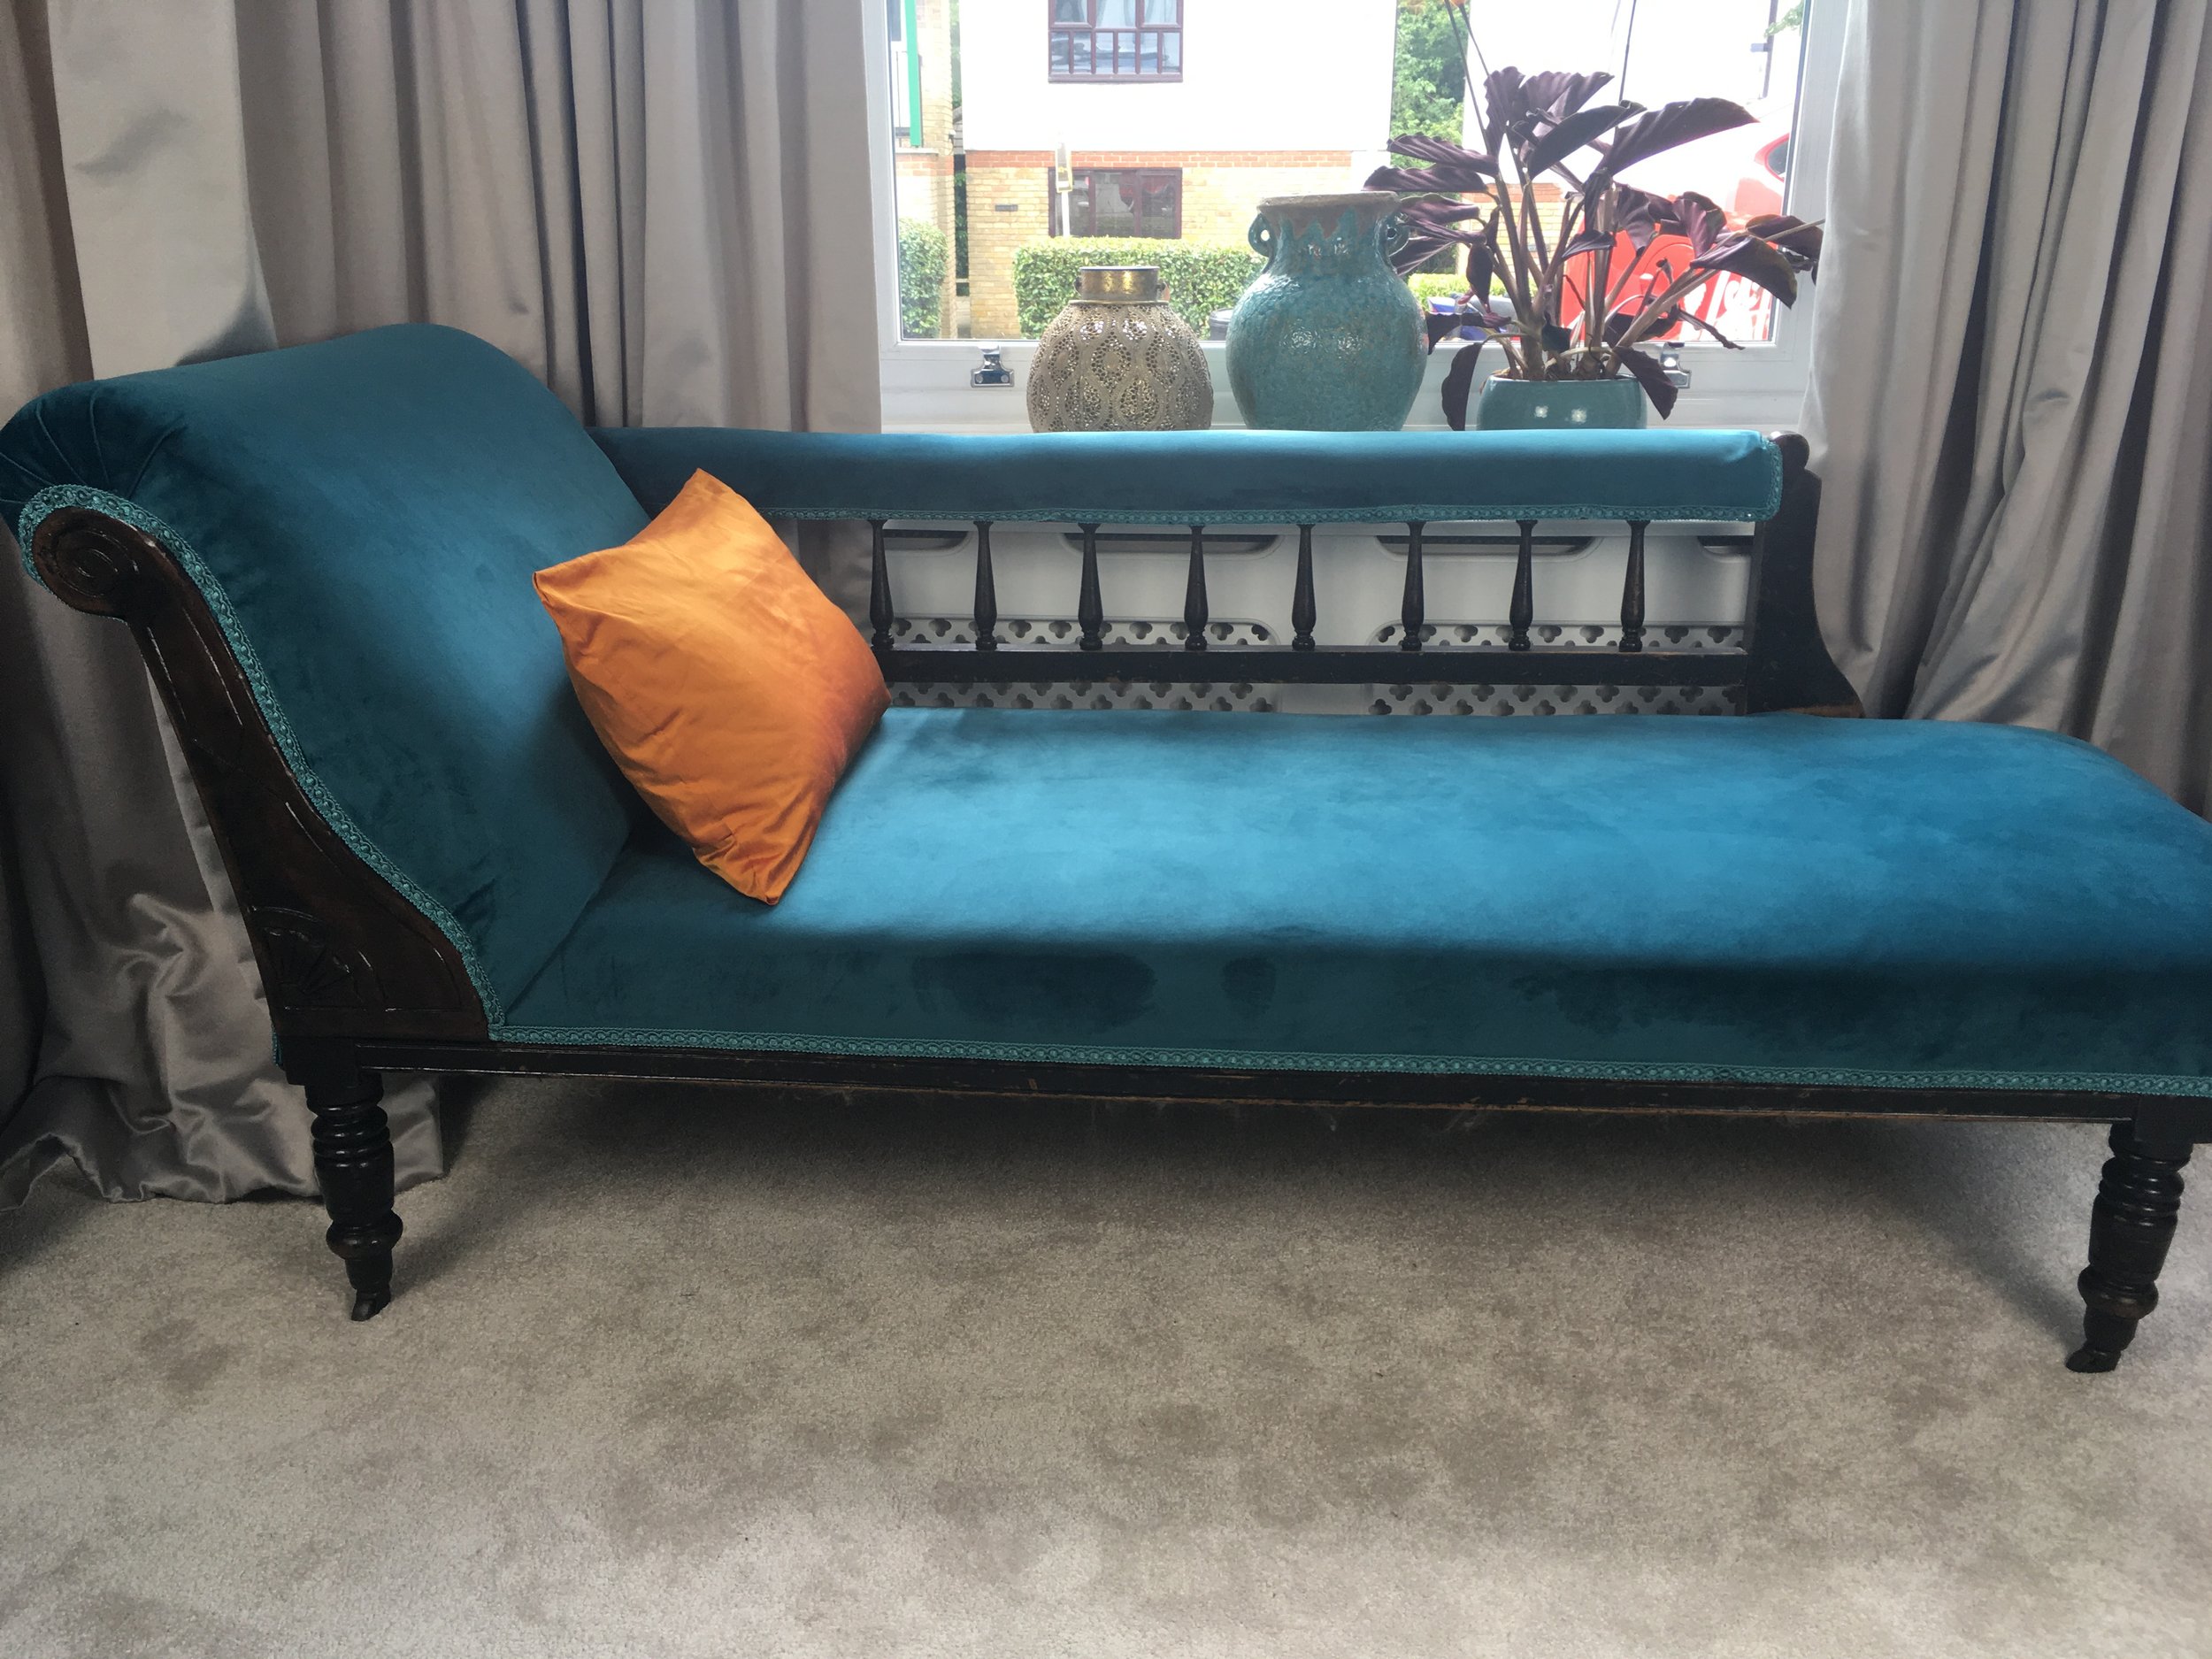
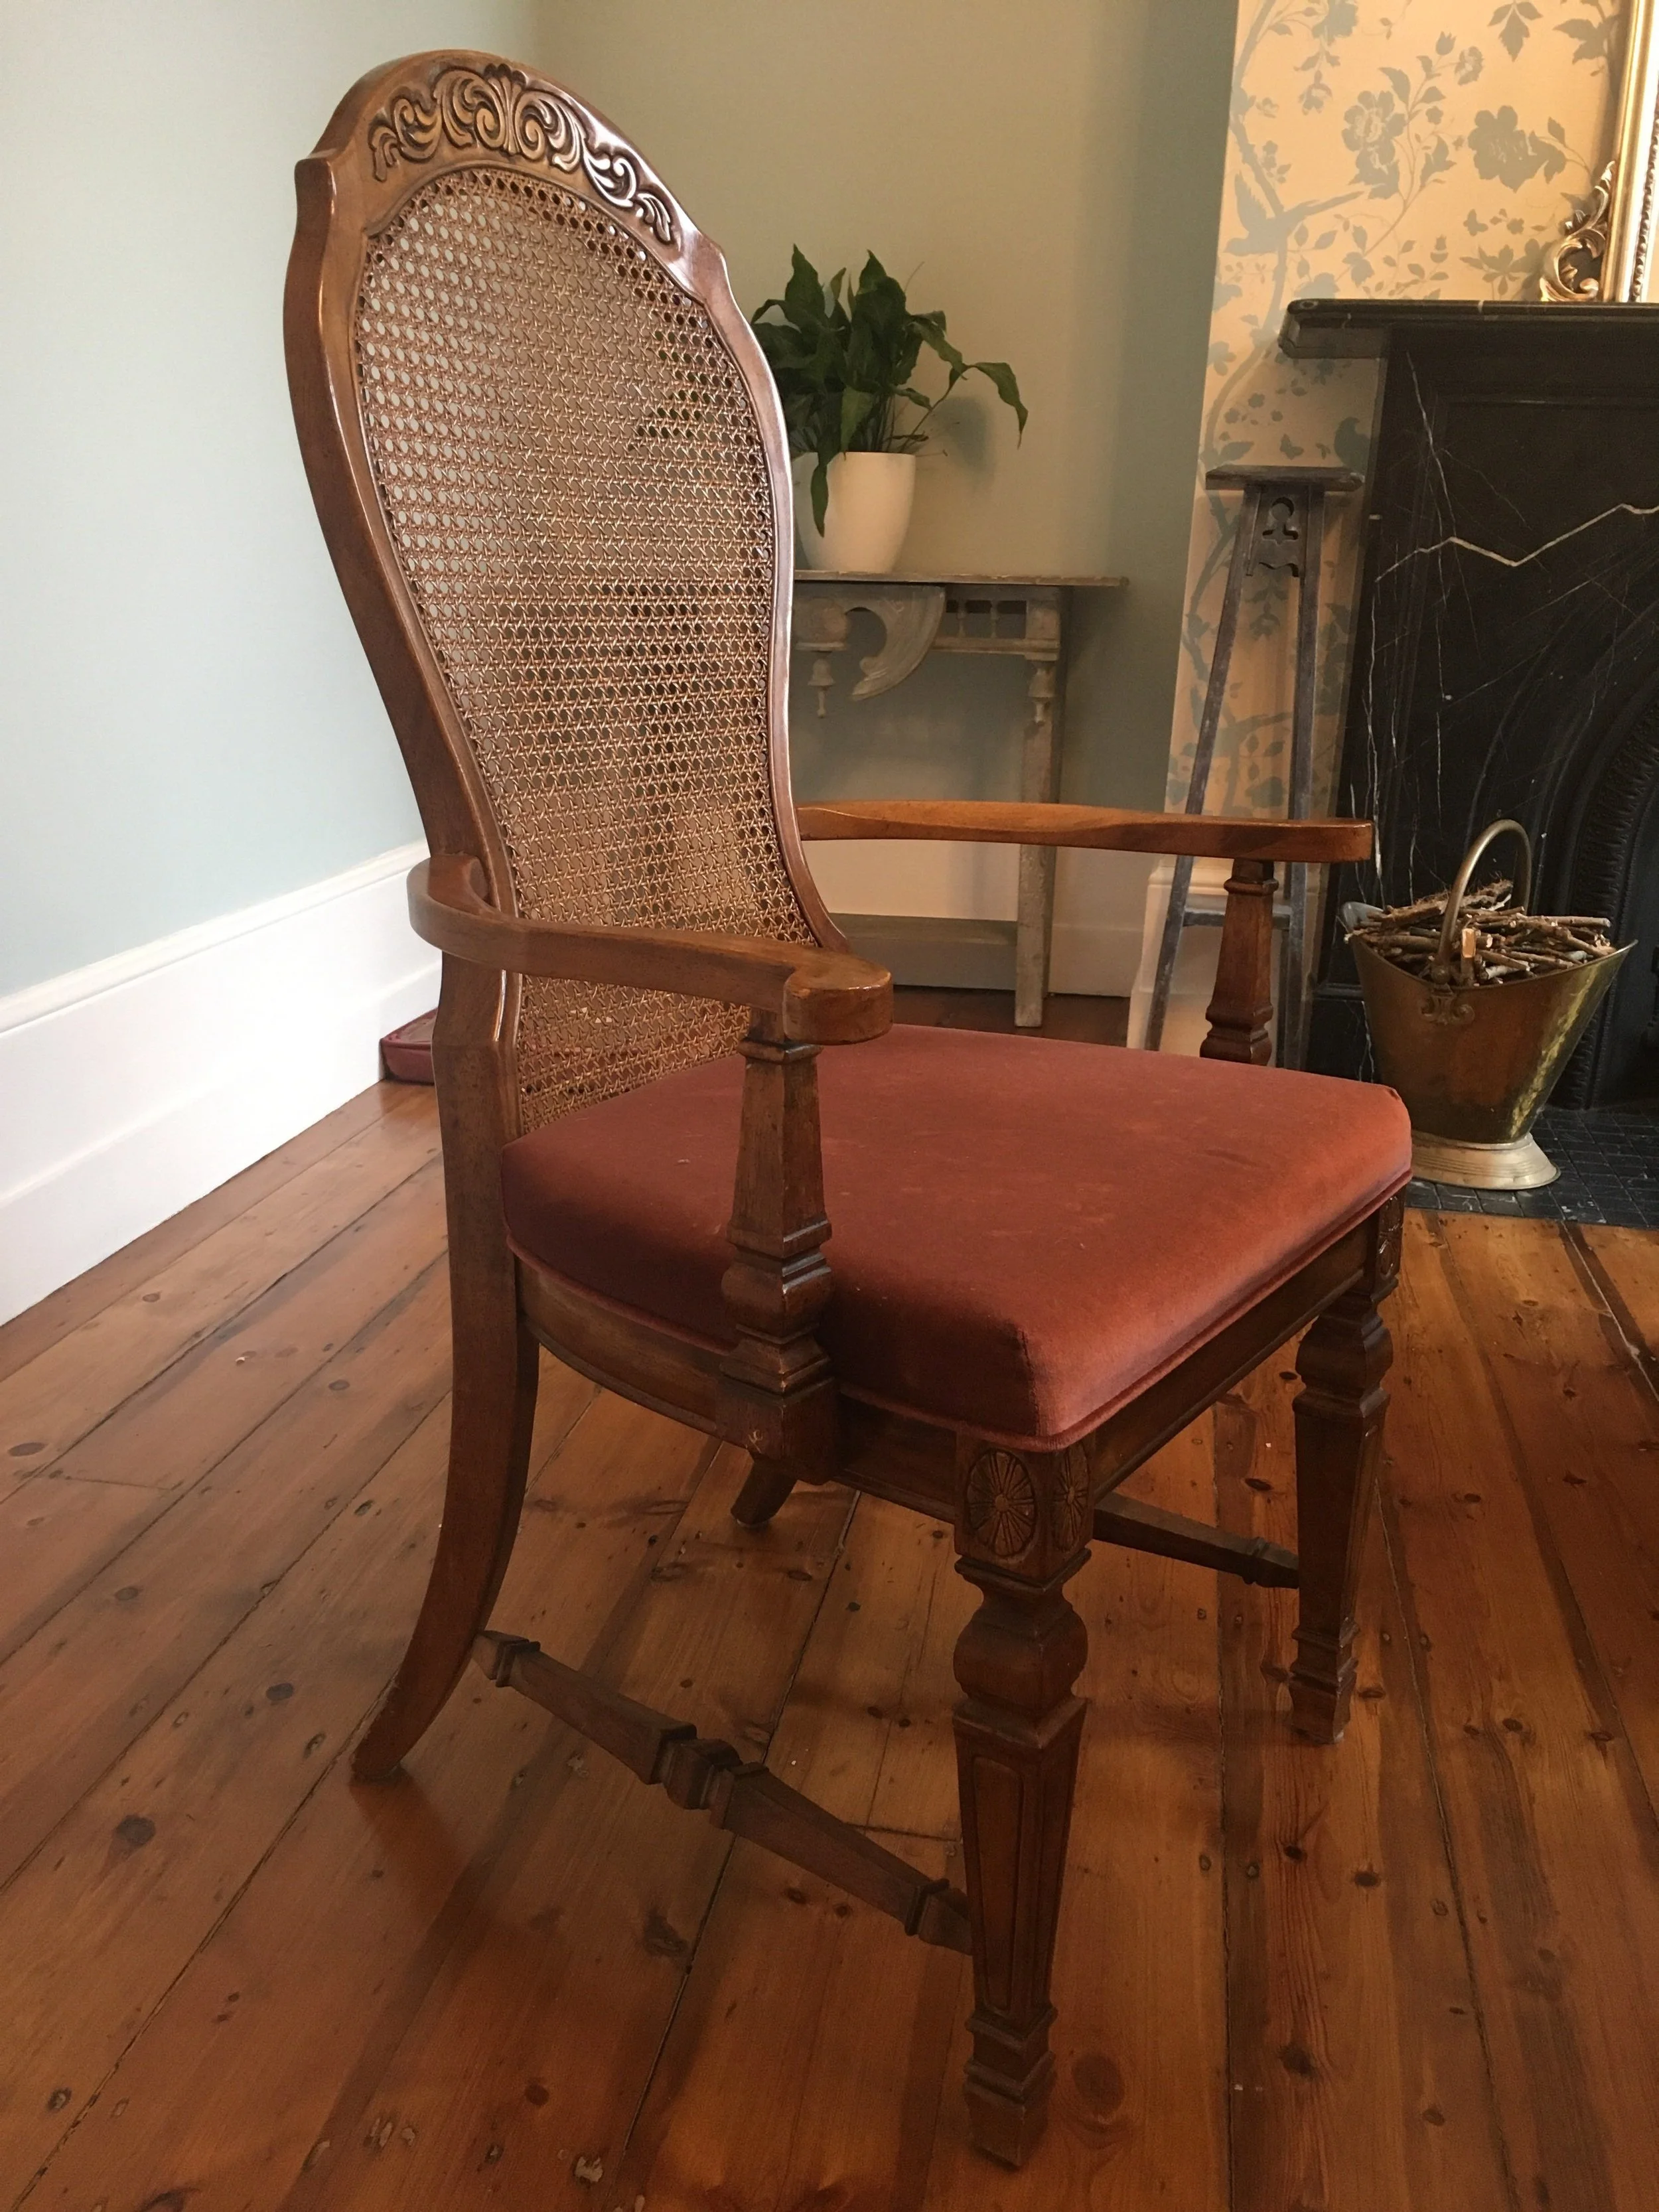
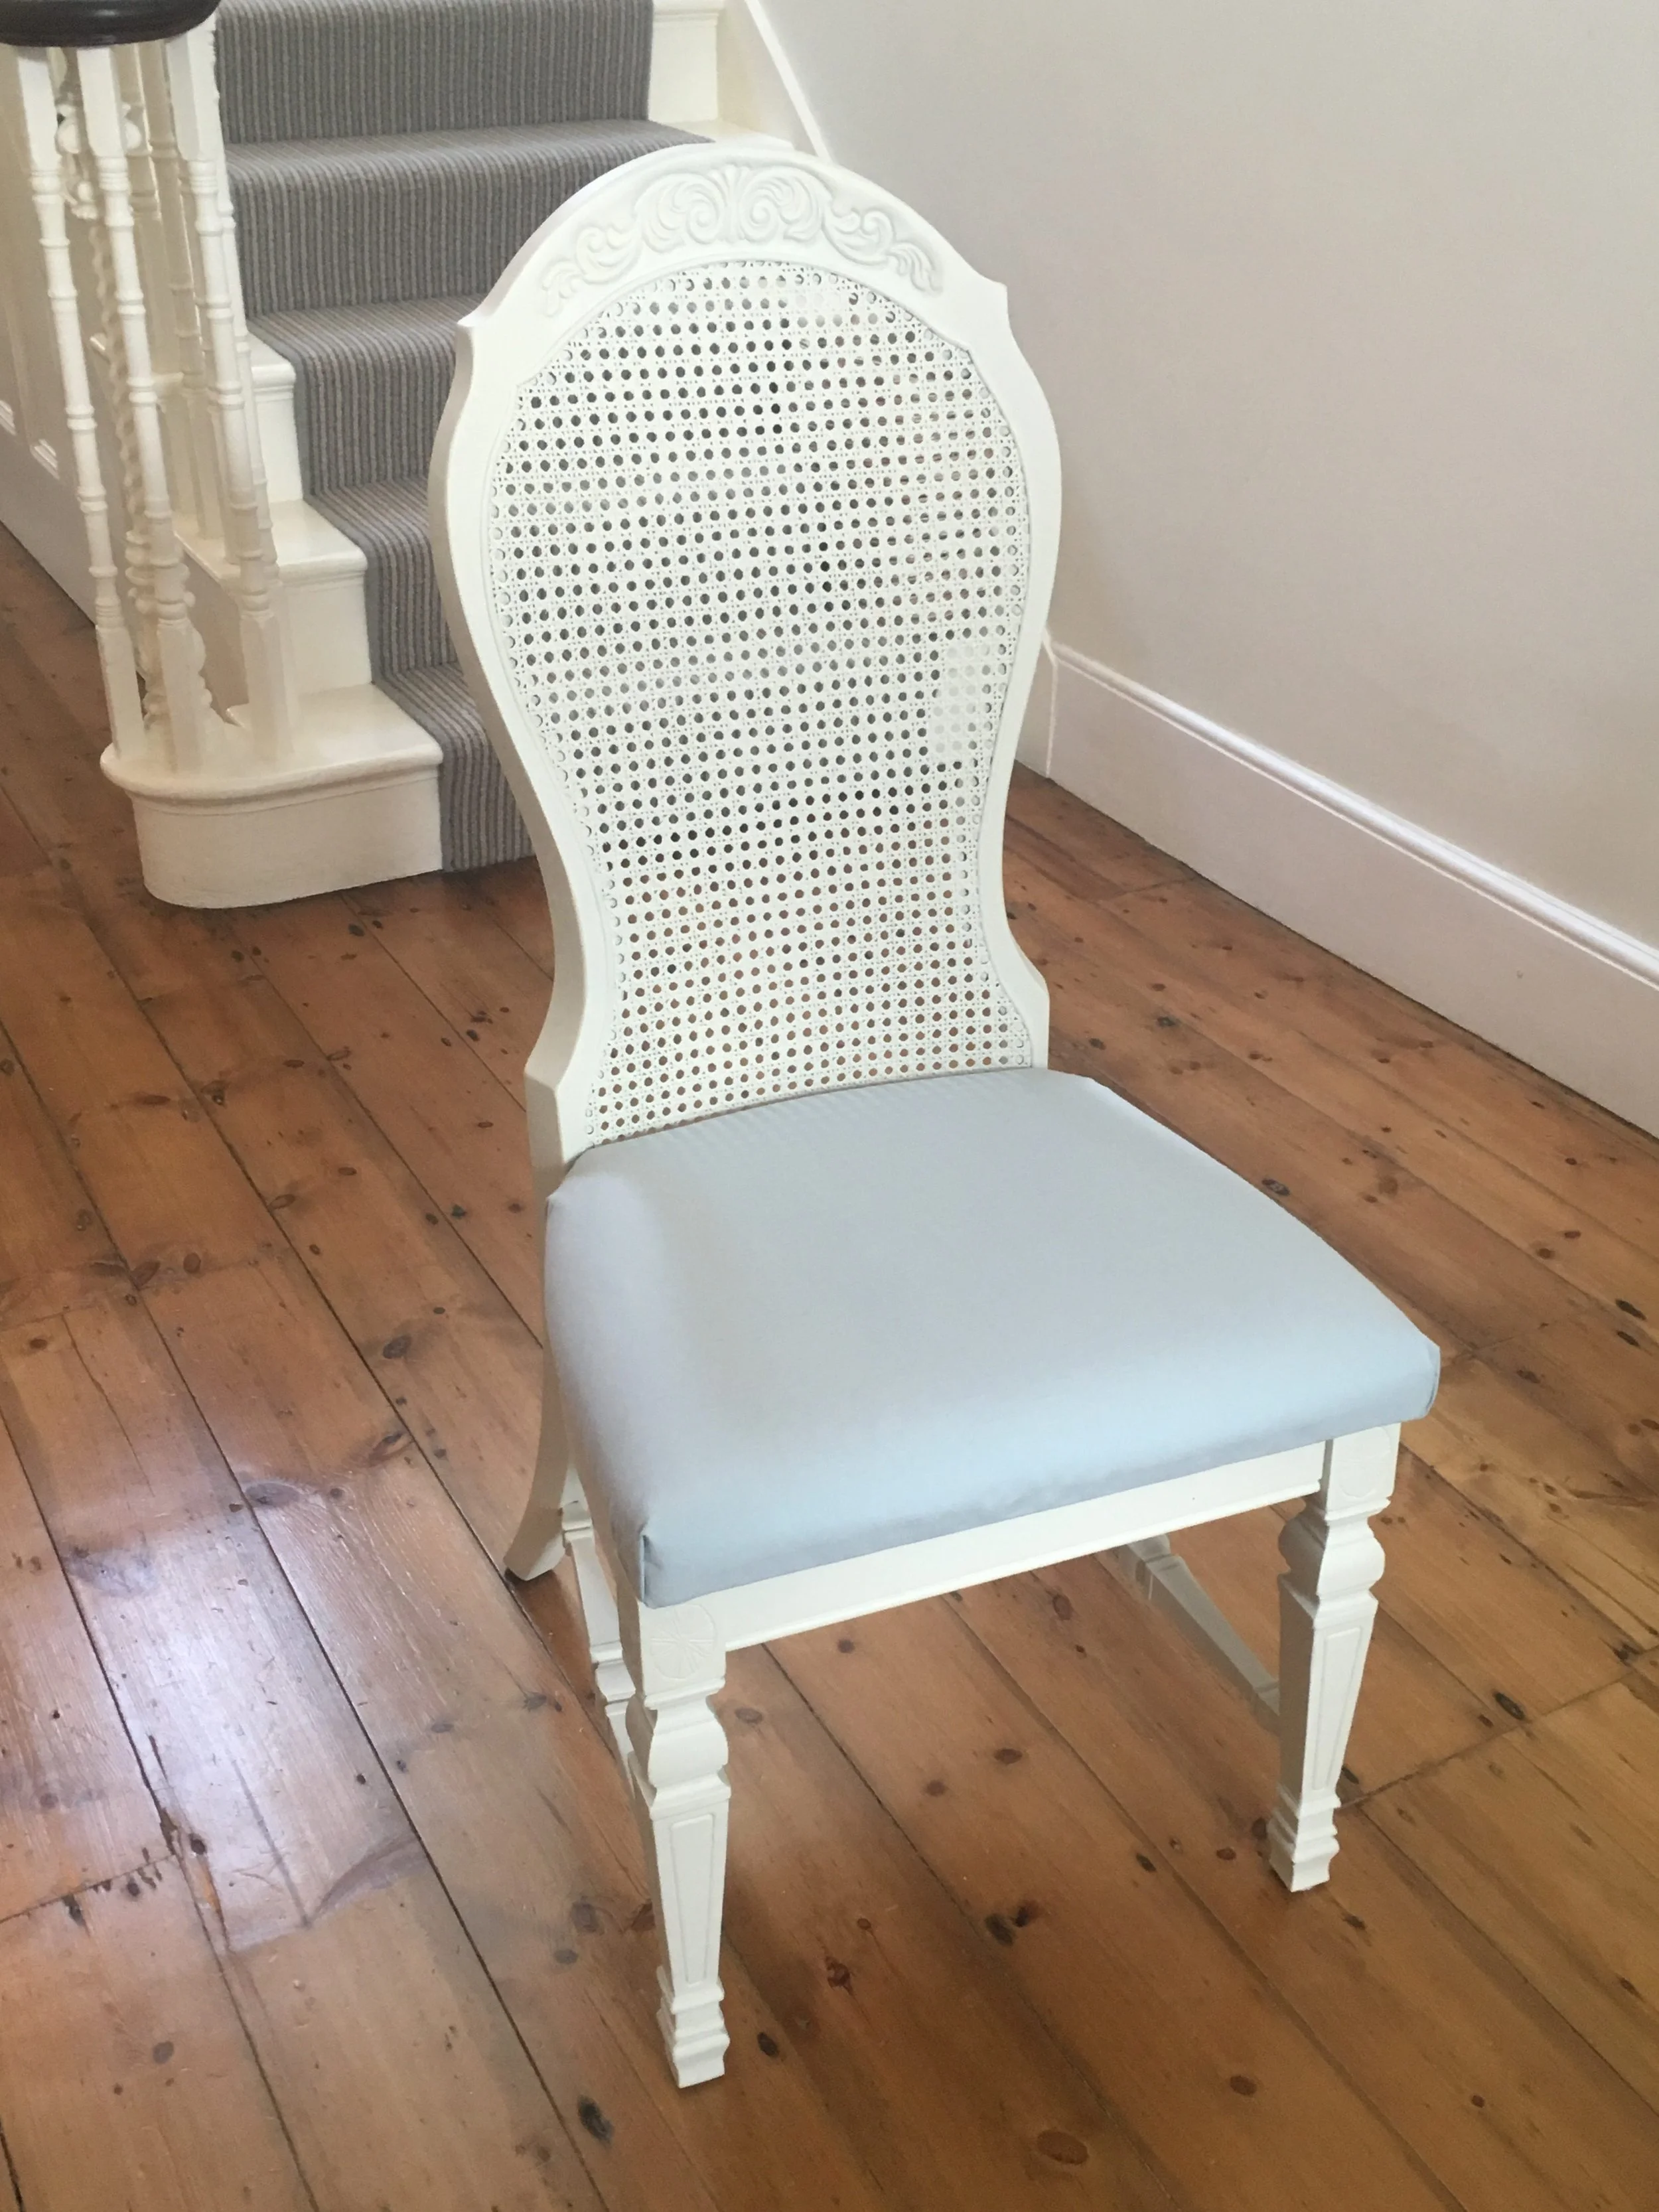
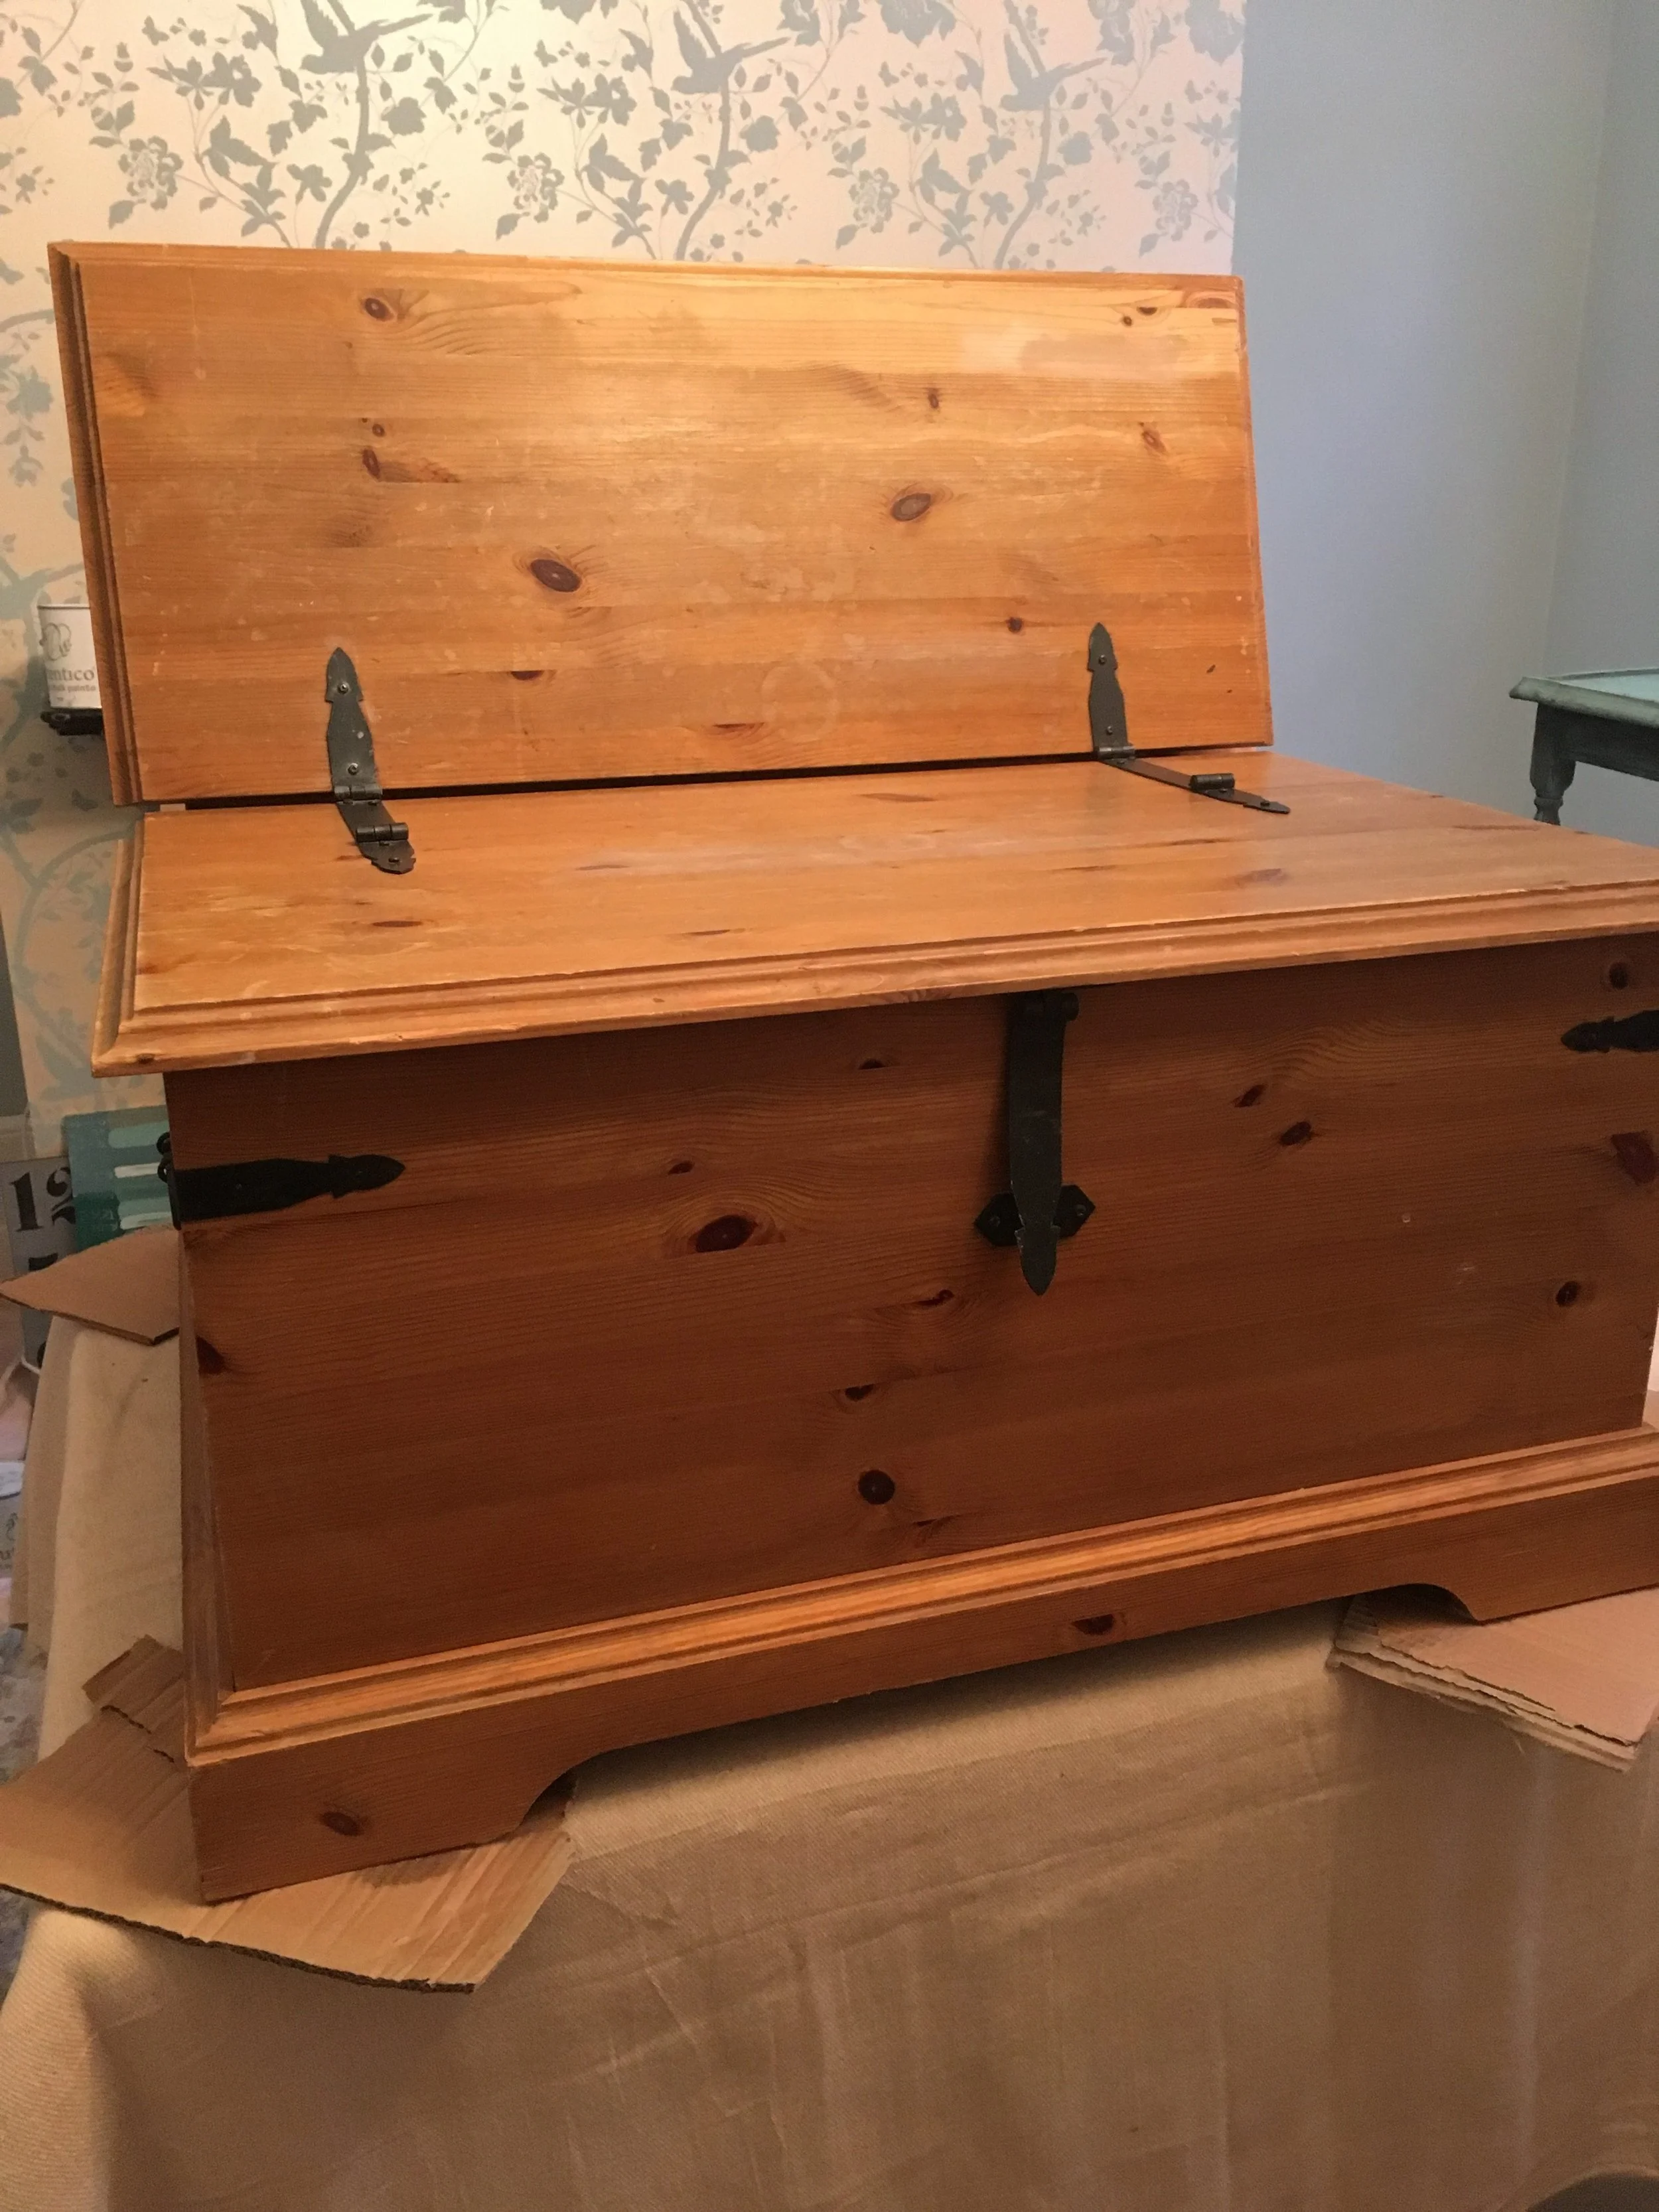
I've always loved taking elaborate but knackered furniture (often unloved replica antiques) and injecting them with the wow factor. But even an Ikea bedside table can go from boring to brilliant.

How do you do upcycling?
Some items I've upcycled have needed fixing as well and this can usually be done with very basic DIY skills and tools, but a good way to start is by painting.
I'll deal with the fixing side in future posts. Let's focus on upcycling with chalk paint.
The brilliant news is that these days we are spoiled by products on the market which make upcycling quick, easy and affordable.
Often the prepping of a product is the bit that puts people off. Using a chalk paint takes that extra time and effort out of the equation.
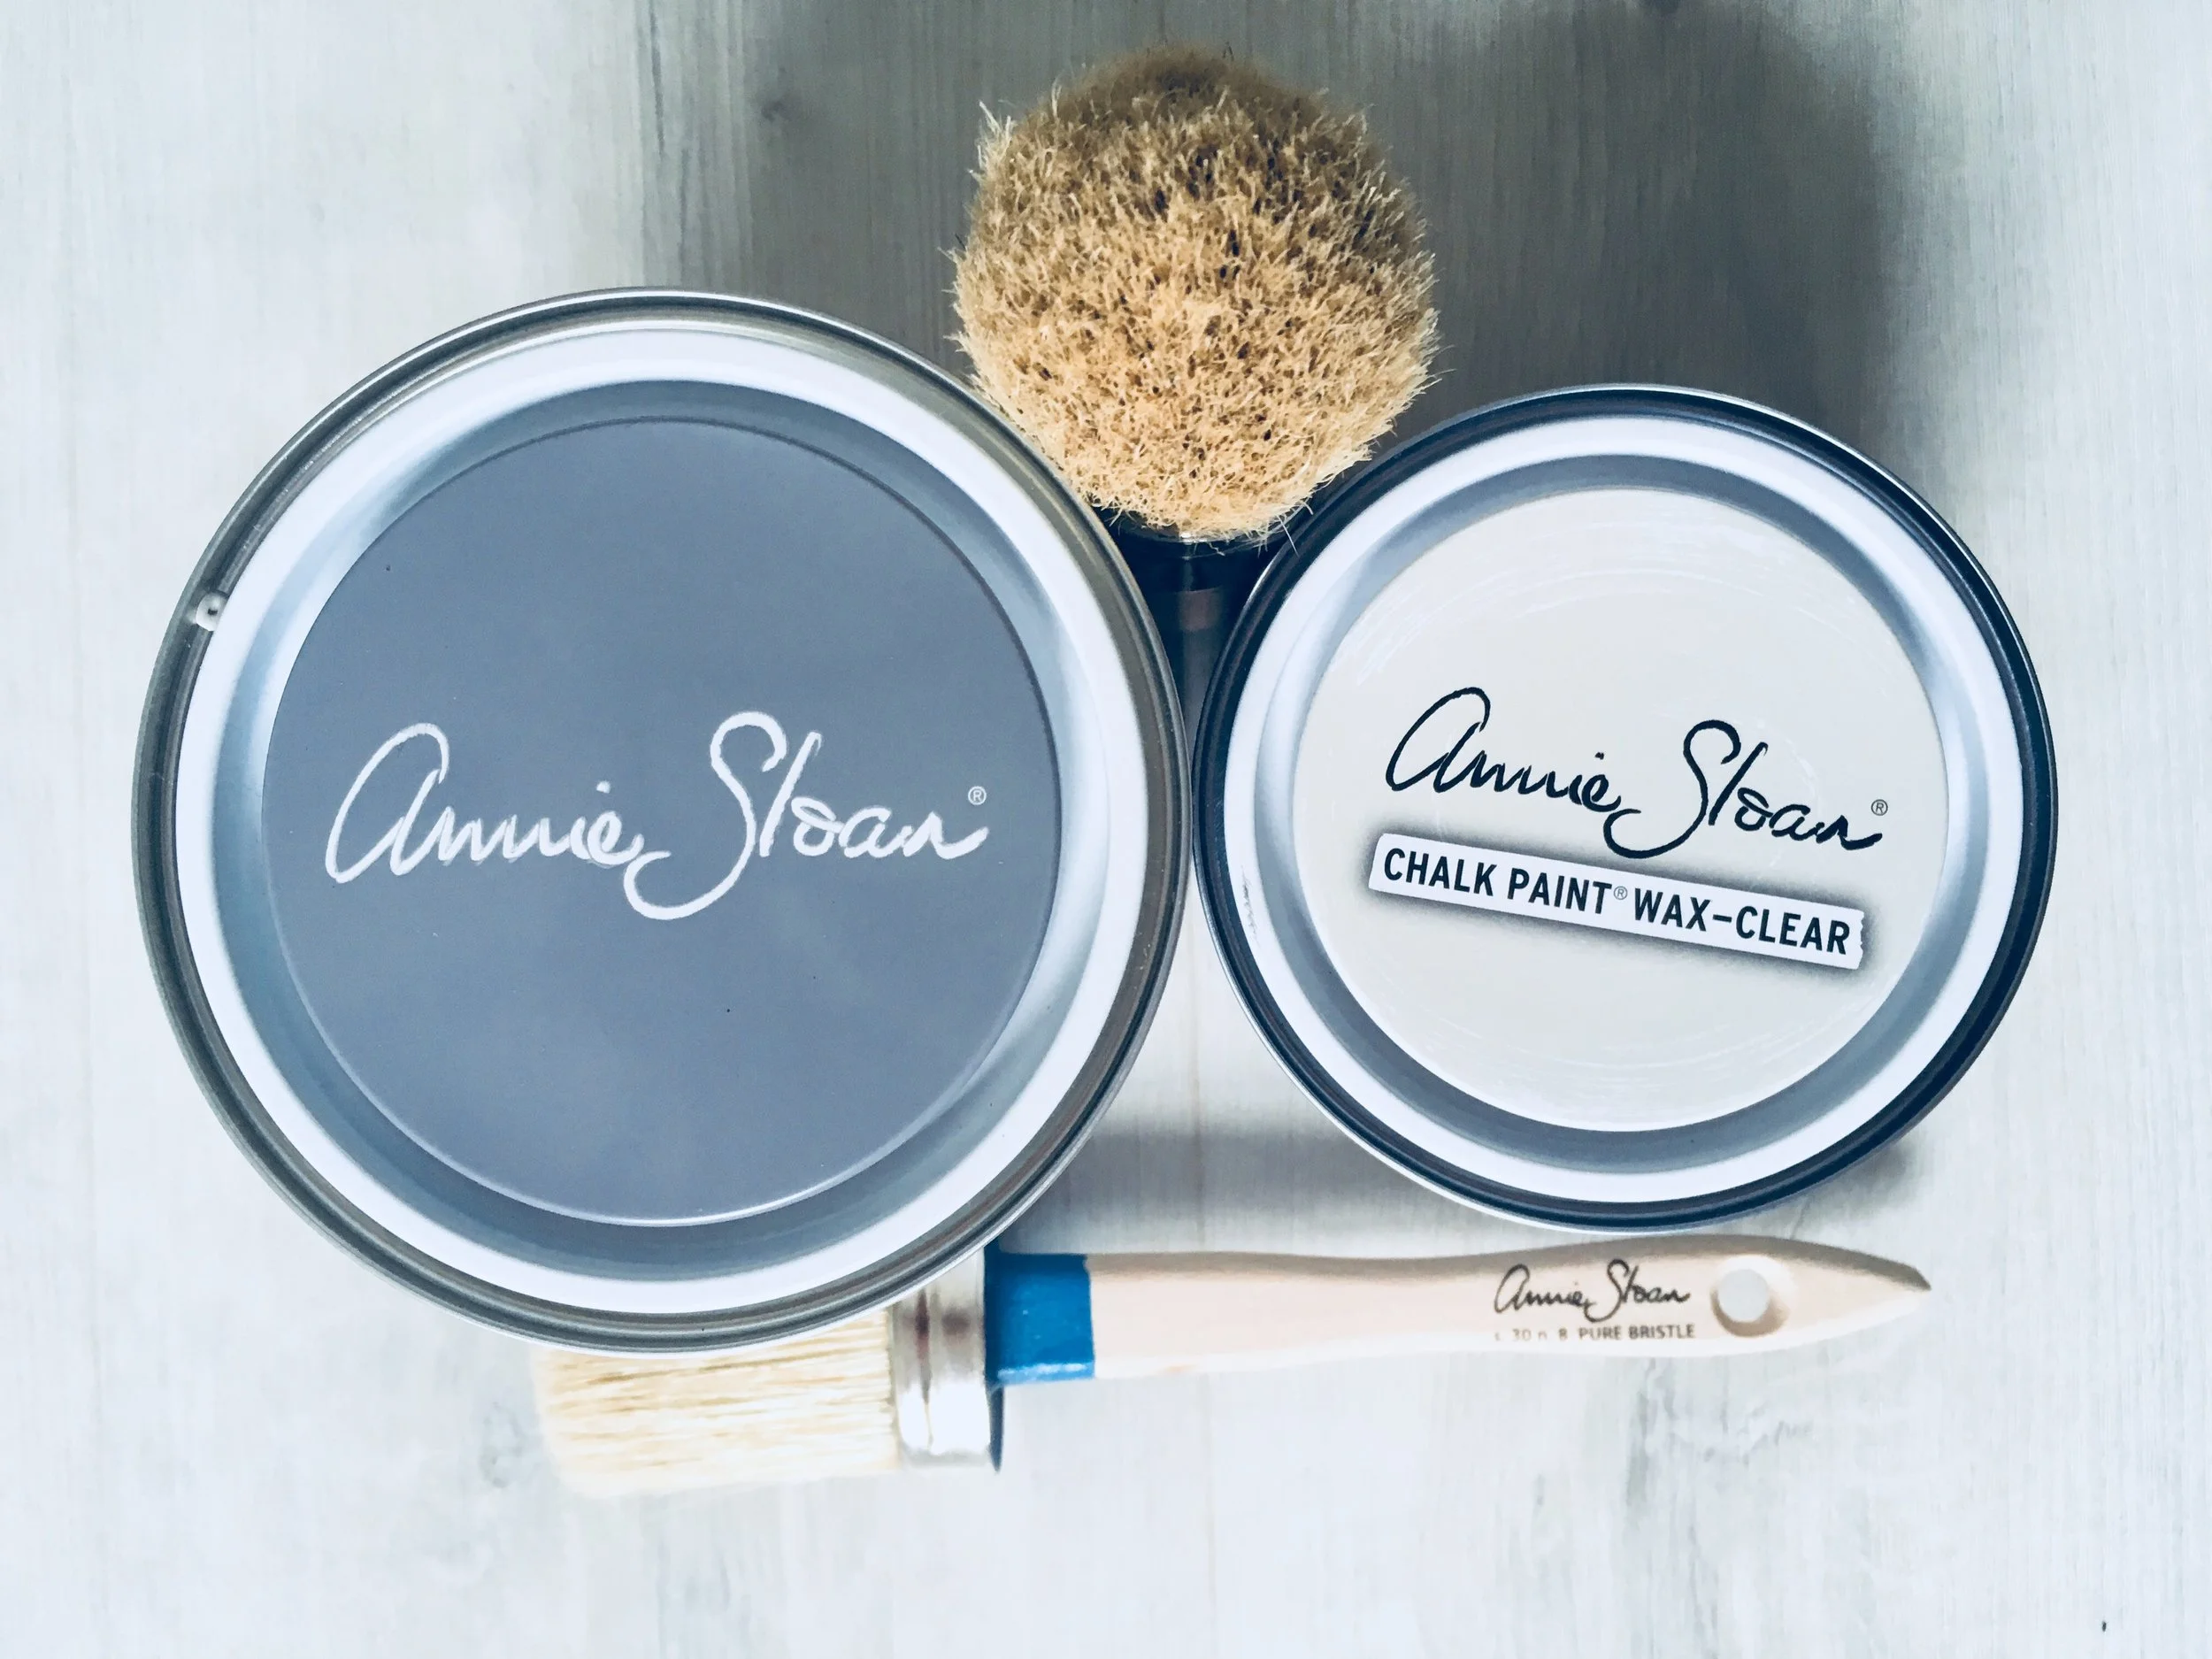
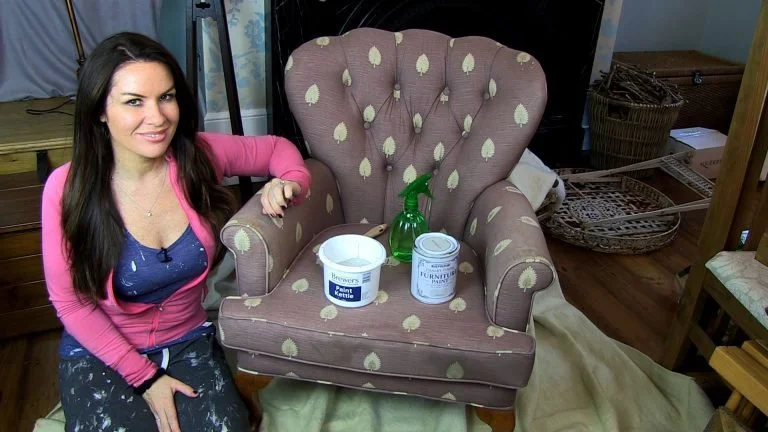
For this demo I'm using Annie Sloan as it's great for beginners, but there are others on the market I've also had excellent results with.
How much does upcycling cost?
A litre tin of Annie Sloan paint costs under £20 and will cover about 13 square metres. So the answer is 'not very much'!
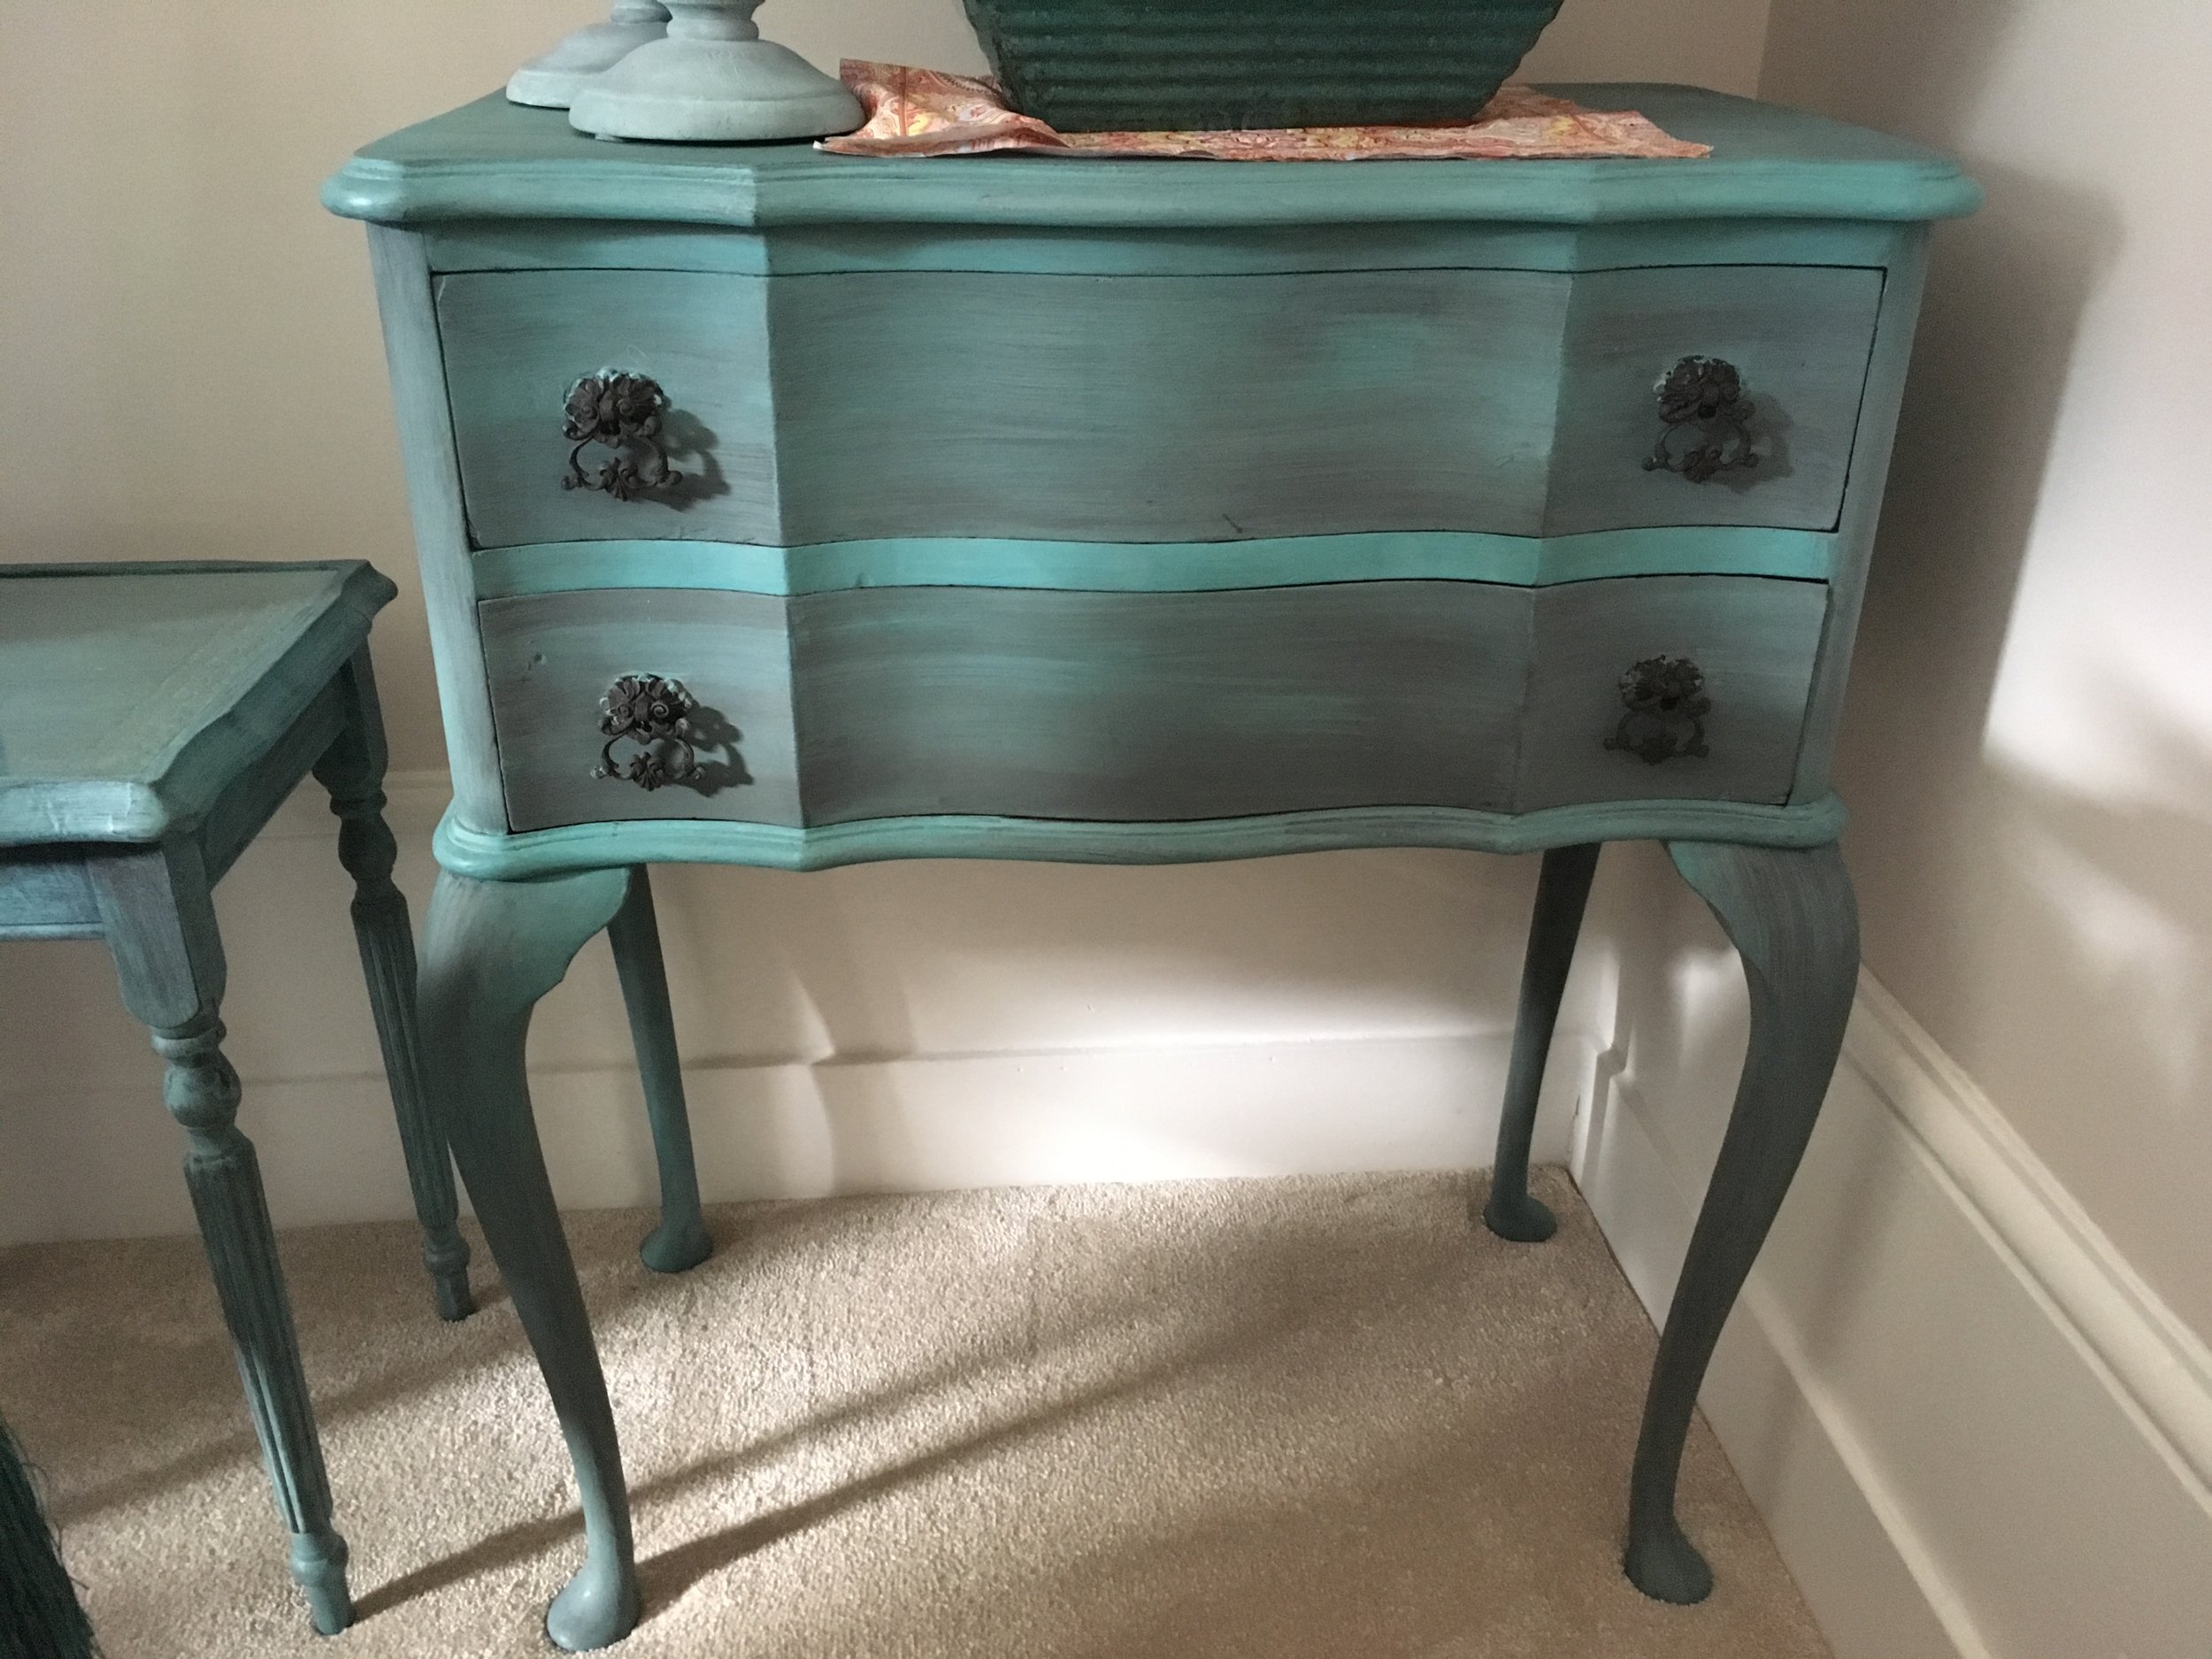
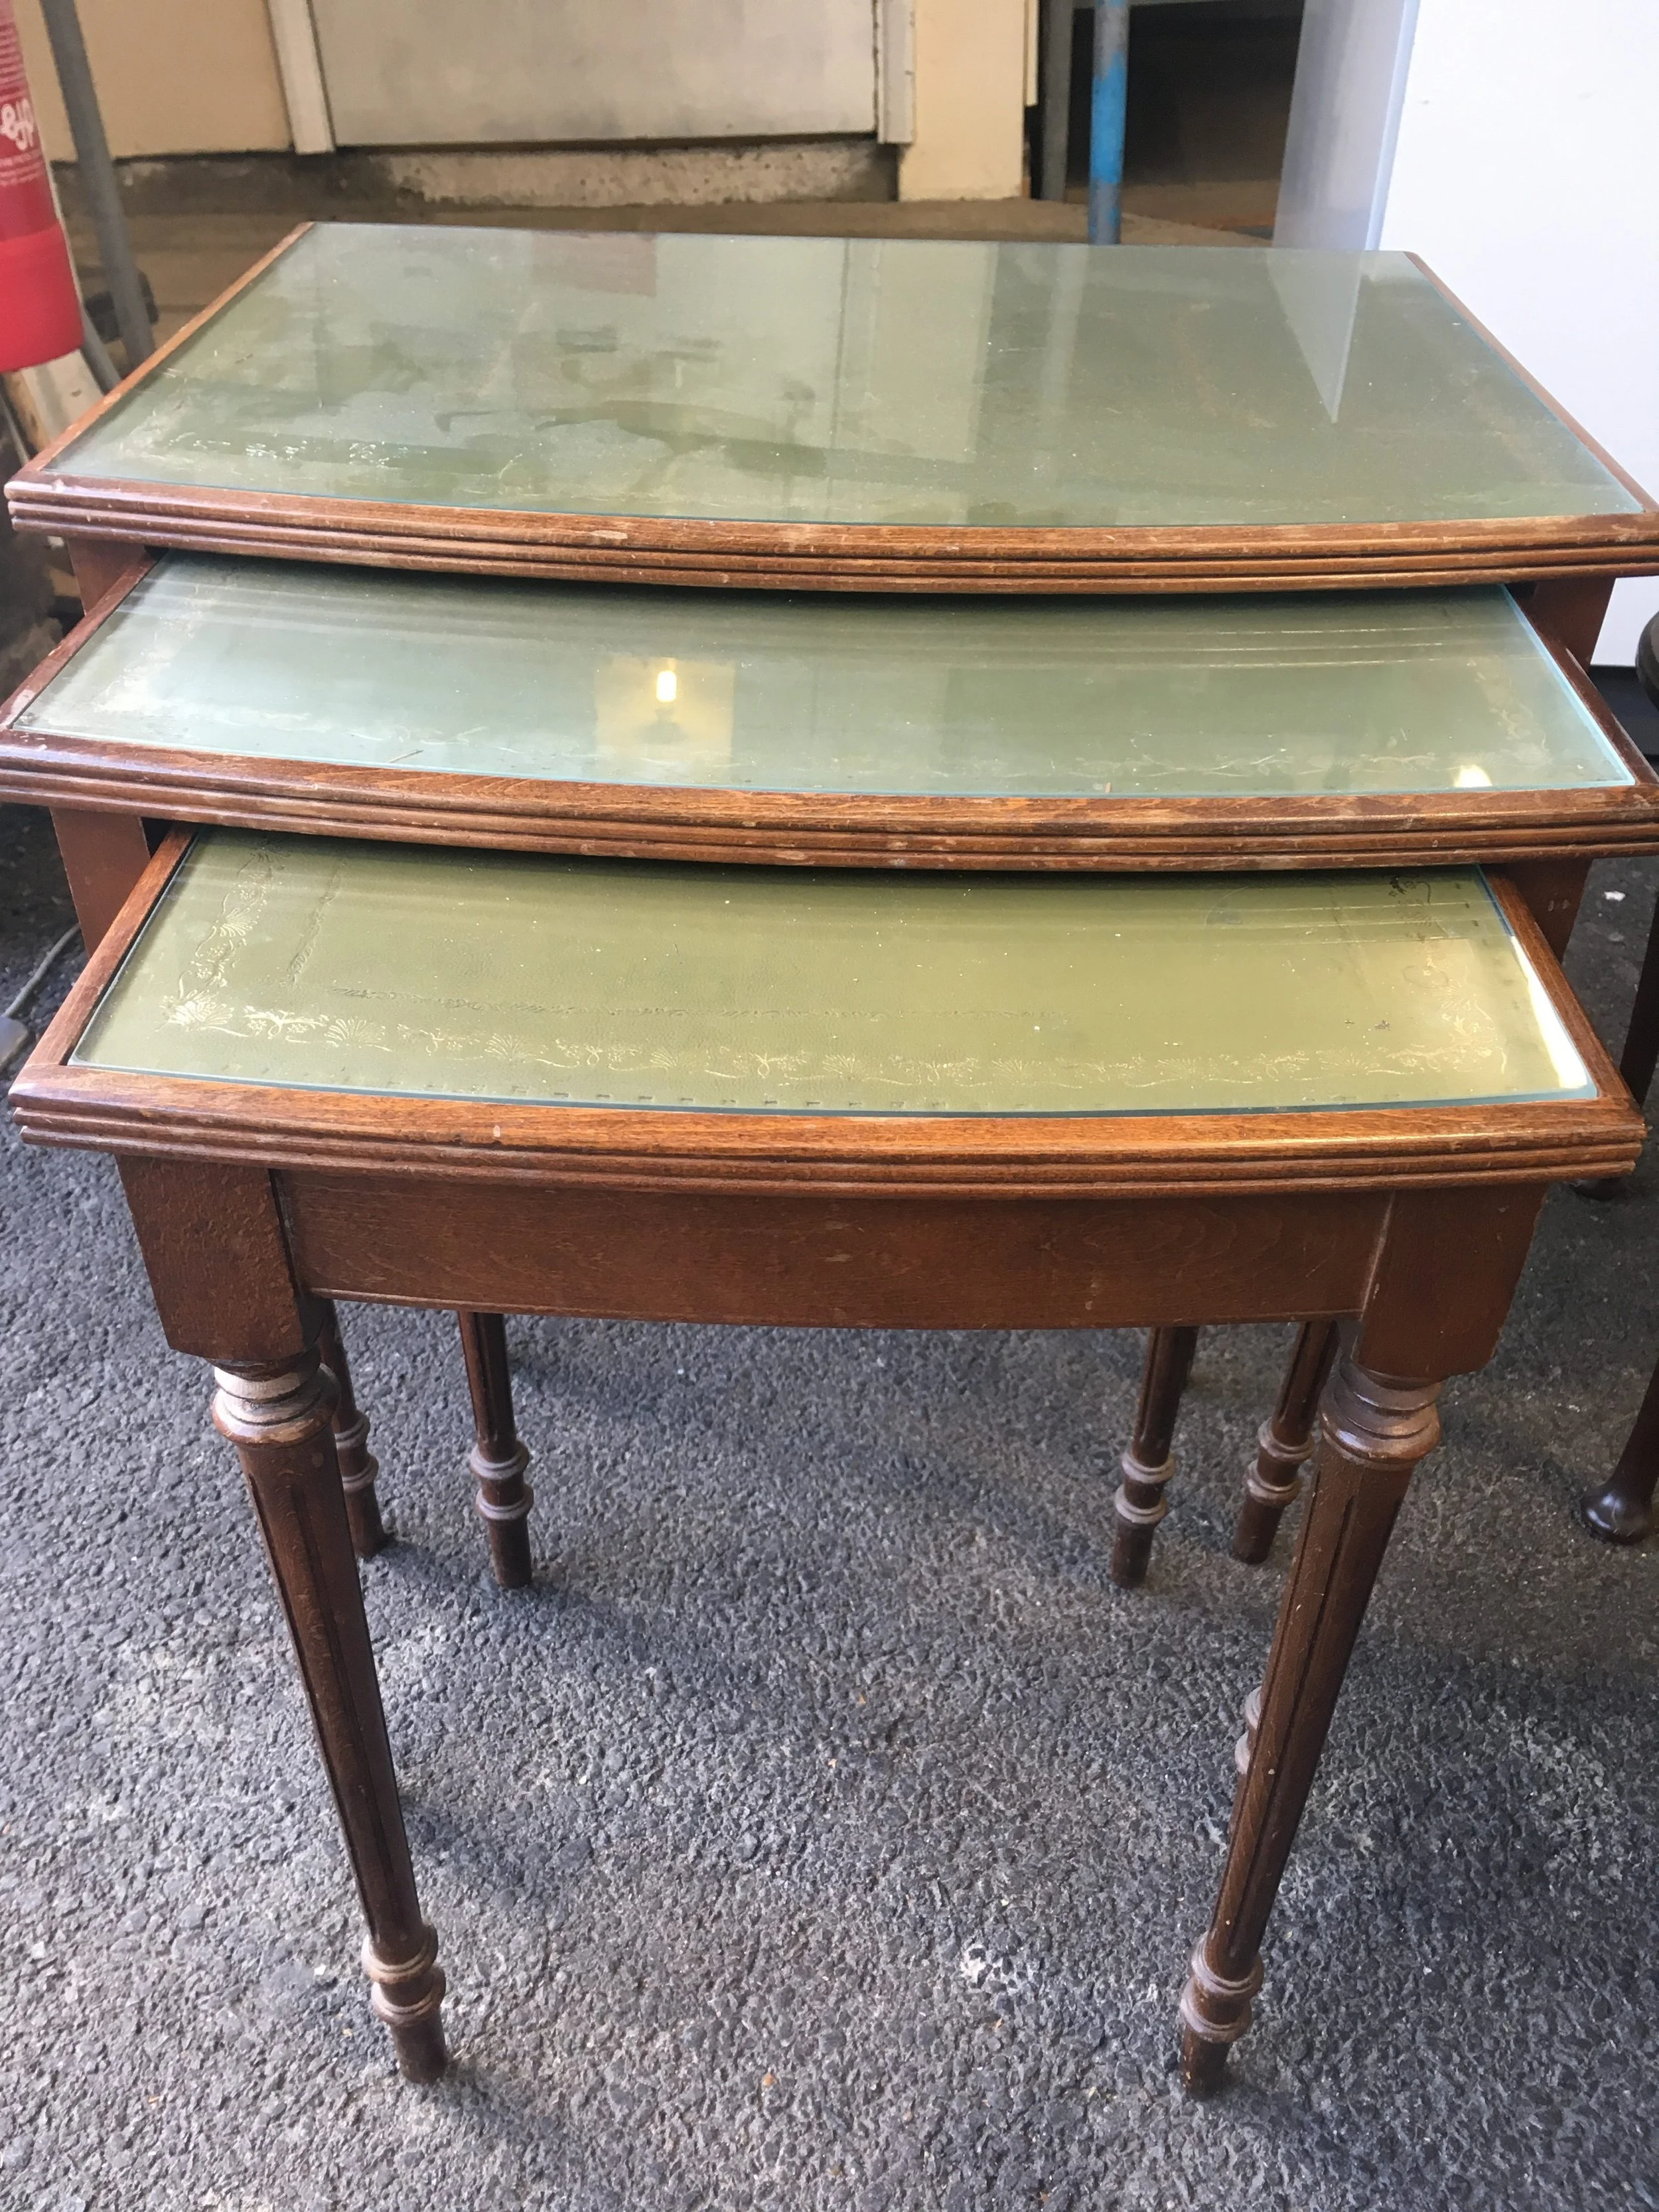
In fact for this demo I'm painting a small nest table so I could get away with a tester pot for a fiver.
I've tended to only ever need two coats, but with some items you might only need the one. If you water it down you will find it goes even further as it's pretty thick stuff.
You want to wax this at the end to seal it and that costs about a fiver for a small tin which will go a long way. Two coats are generally needed.
It definitely helps to have the right brushes, but this isn't essential - particularly if you're dipping your toe in for the first time.
How long does upcycling take?
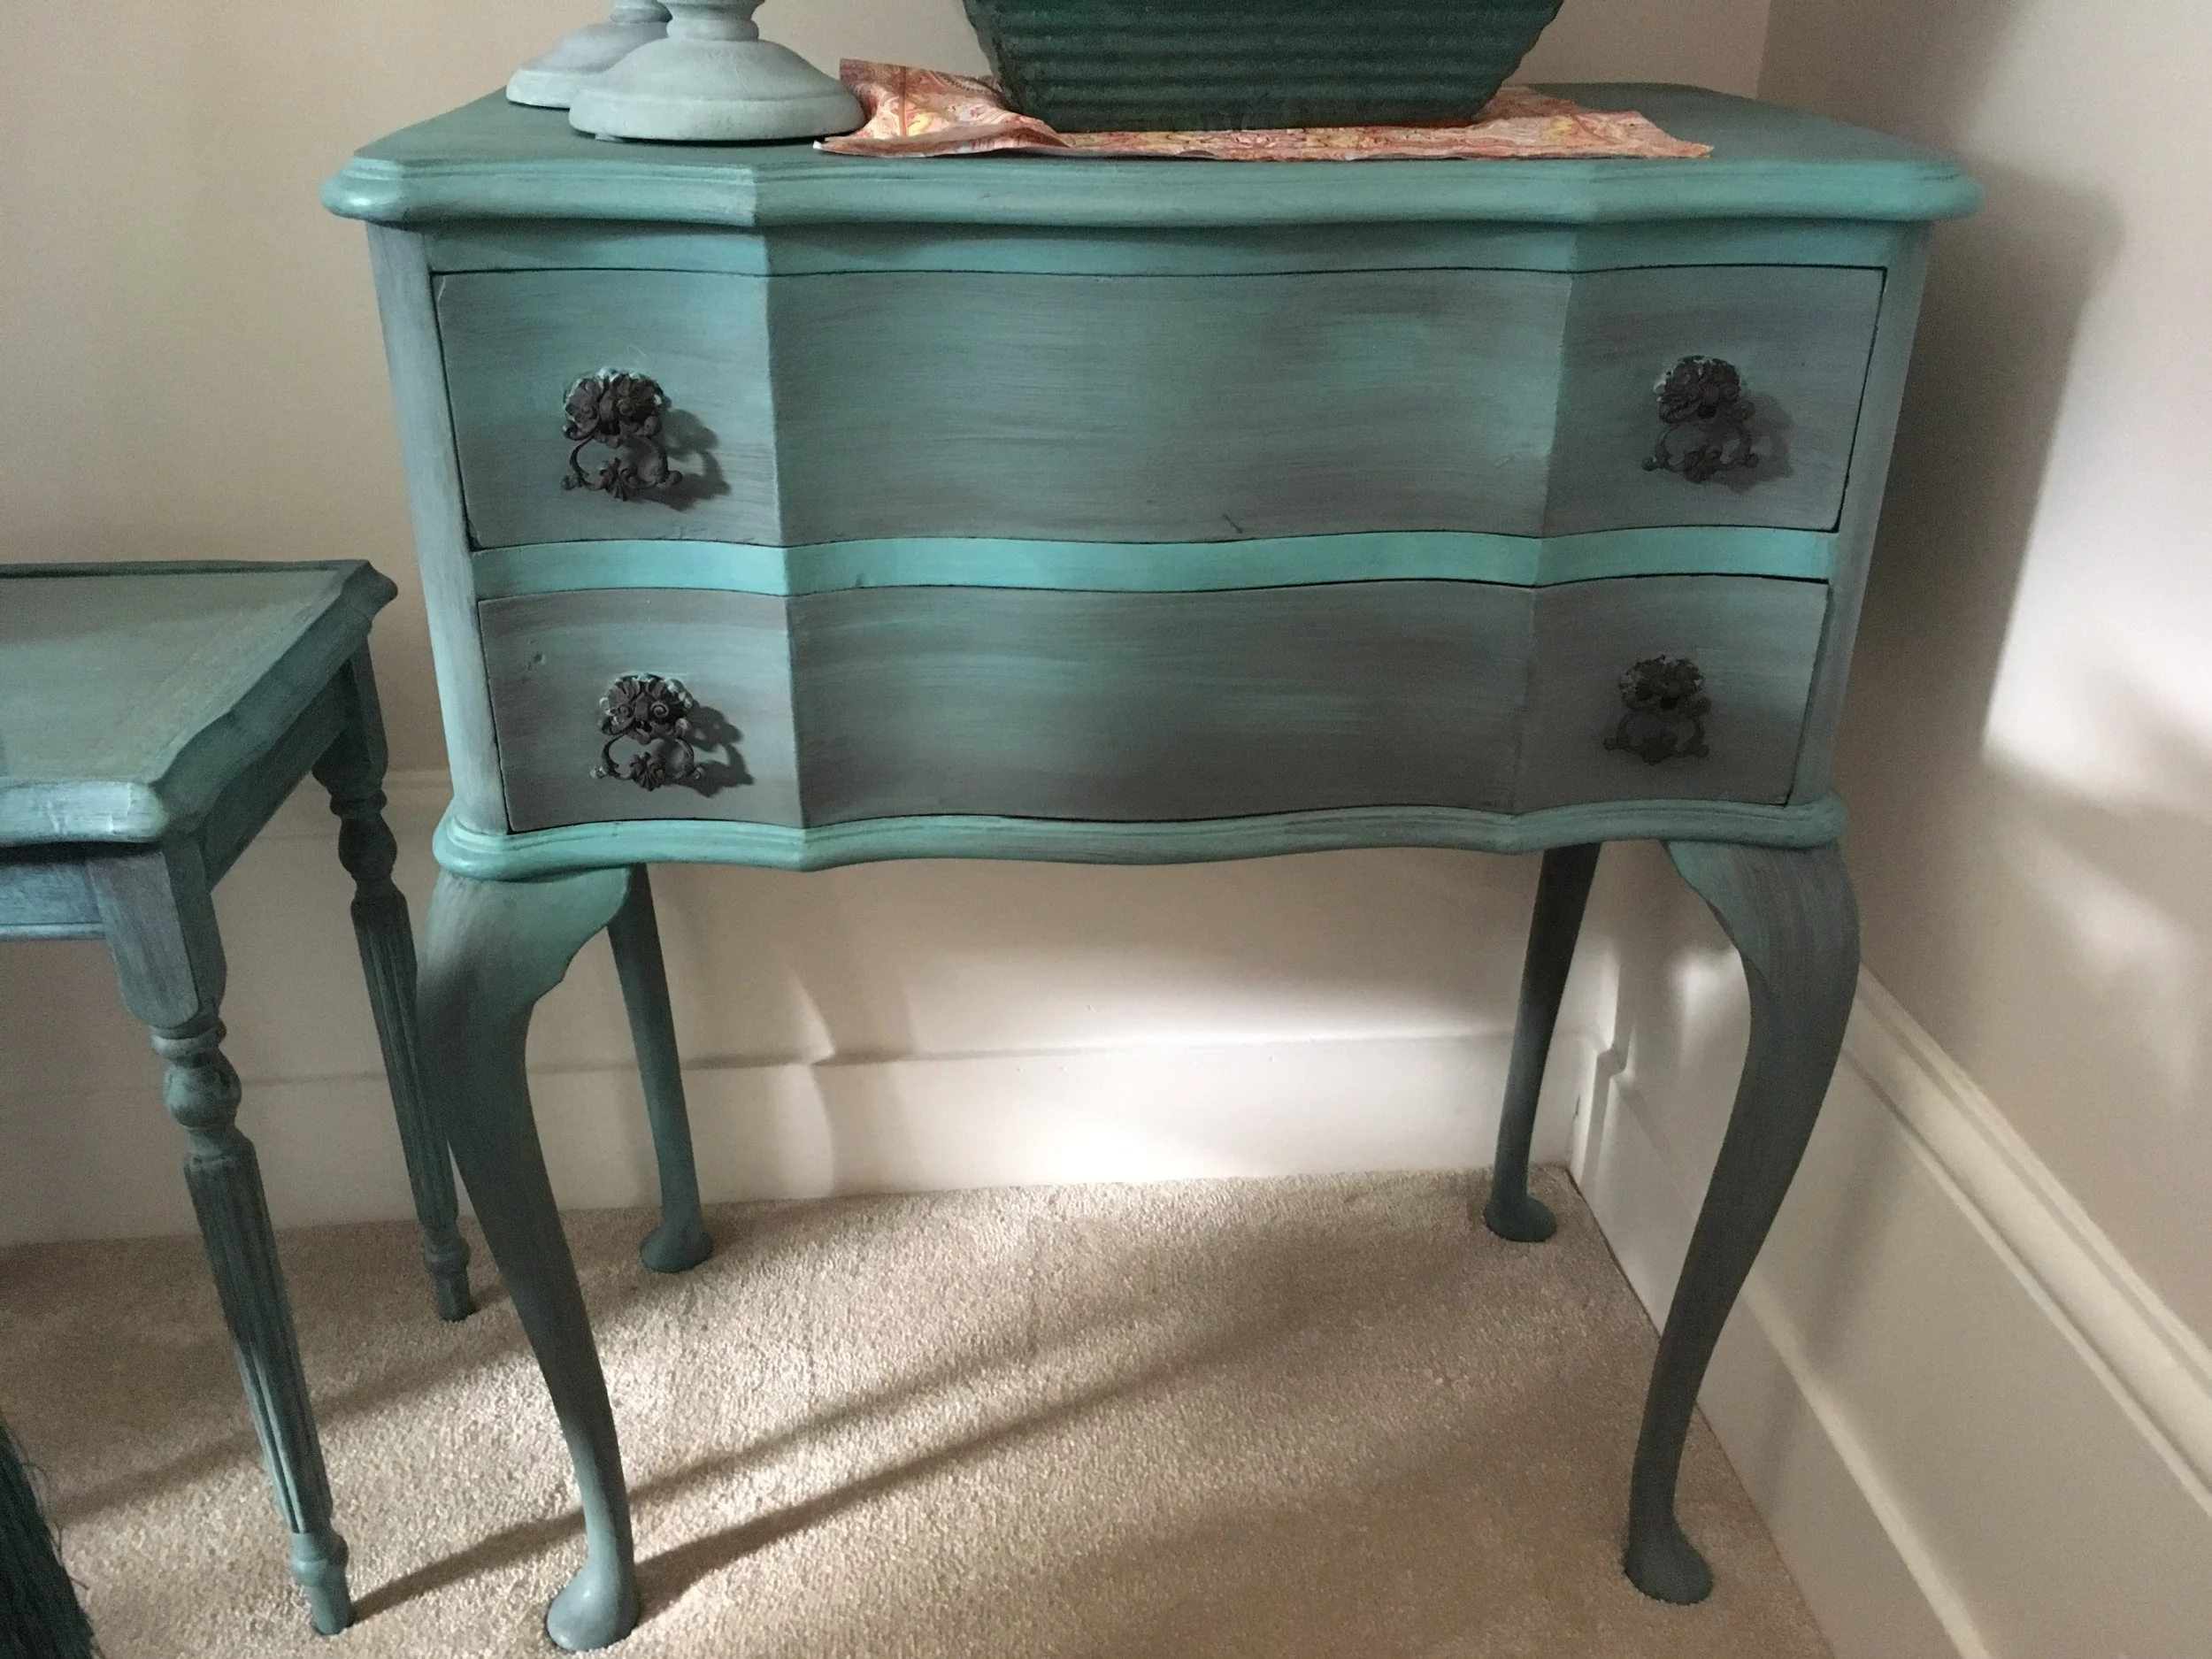
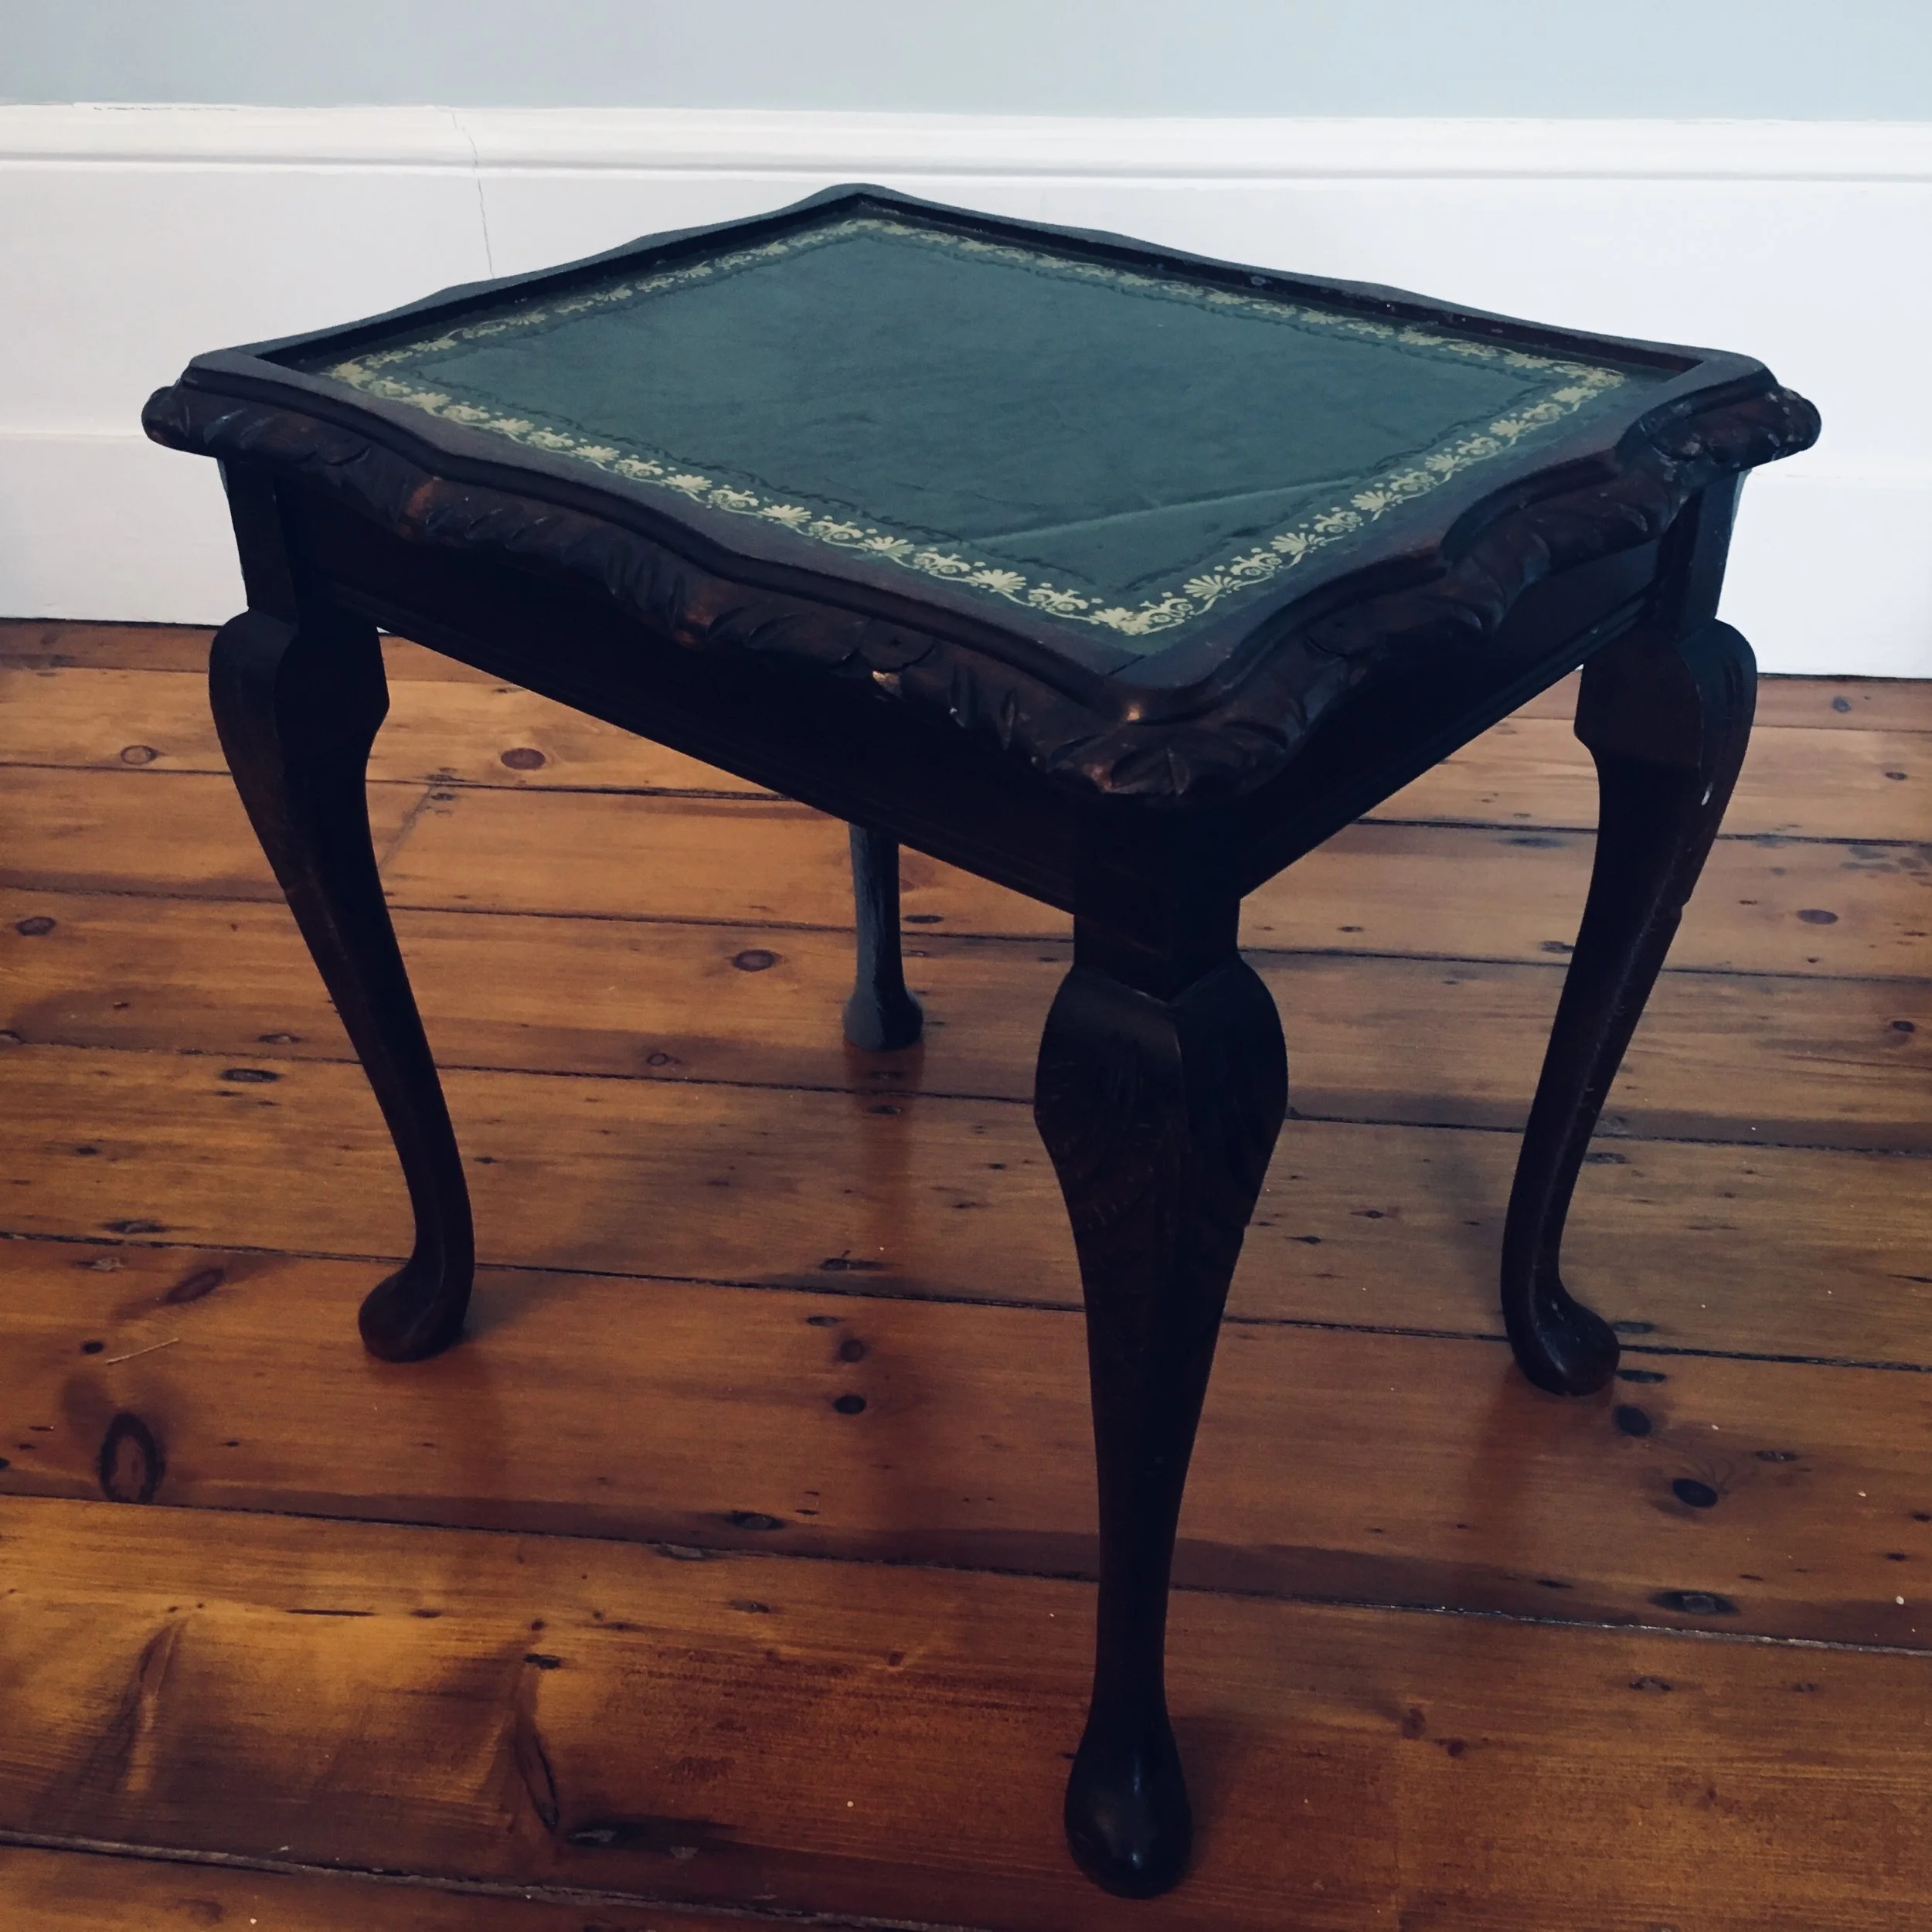
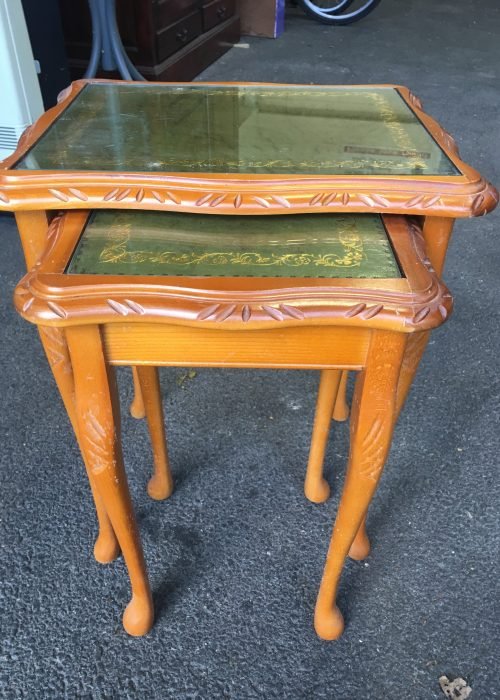
Well let's see for this nest table shall we?! These are all over the place and I'm sure many have contributed to landfill, but they come up beautifully and are next to no effort.
In fact a nest table was the very first item I ever upcycled with chalk paint, so I know it's a good place to start.
Step 1
You can get a bit of a key with sandpaper (a flexible sanding pad is the best). You can also clean with sugar soap.
These efforts may help with longevity, but if you speak even to some professional upcyclers they will say don't bother as the chalk paint adheres so well you don't need to. You will probably be bored of it in a few year's time anyway and will want to re-upcycle so it doesn't matter anyway.
I would definitely say if the prep time puts you off then skip it and go forth and upcycle!
Step 2 (or Step 1 really!)
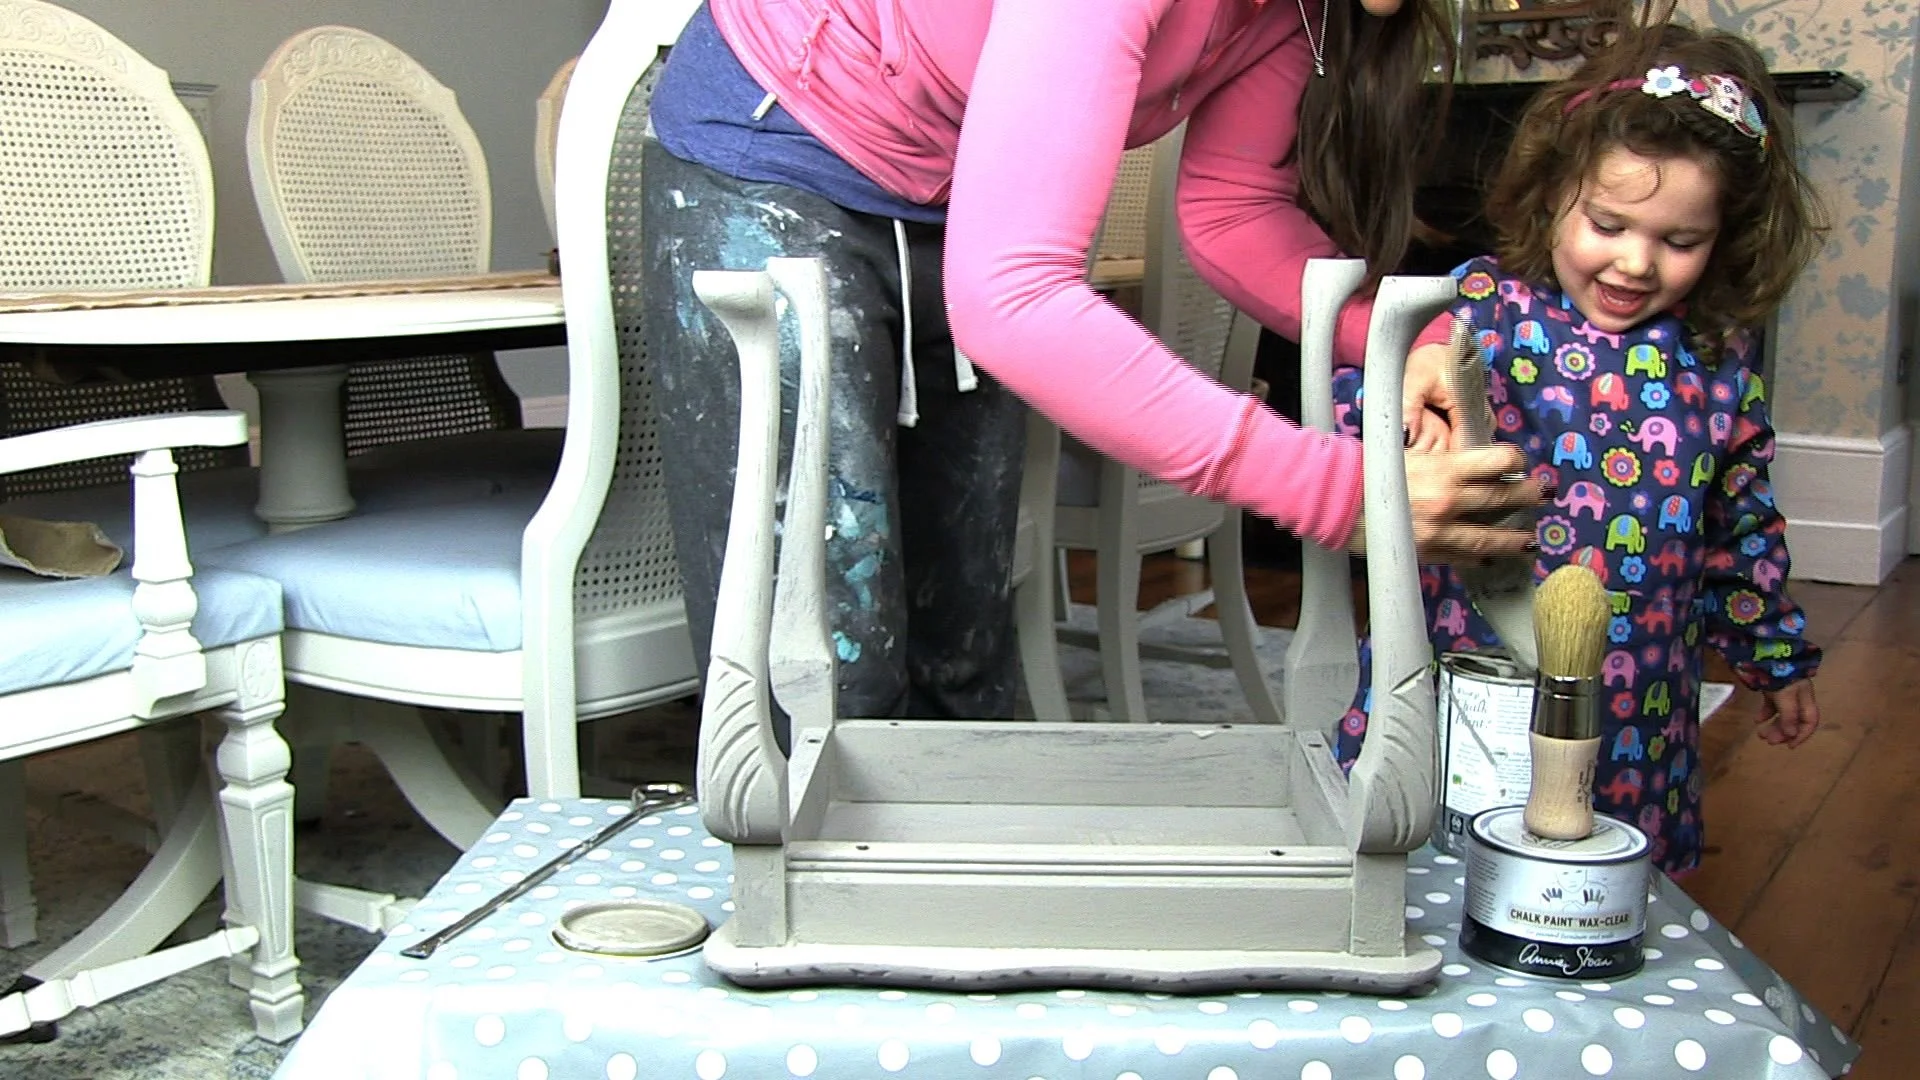
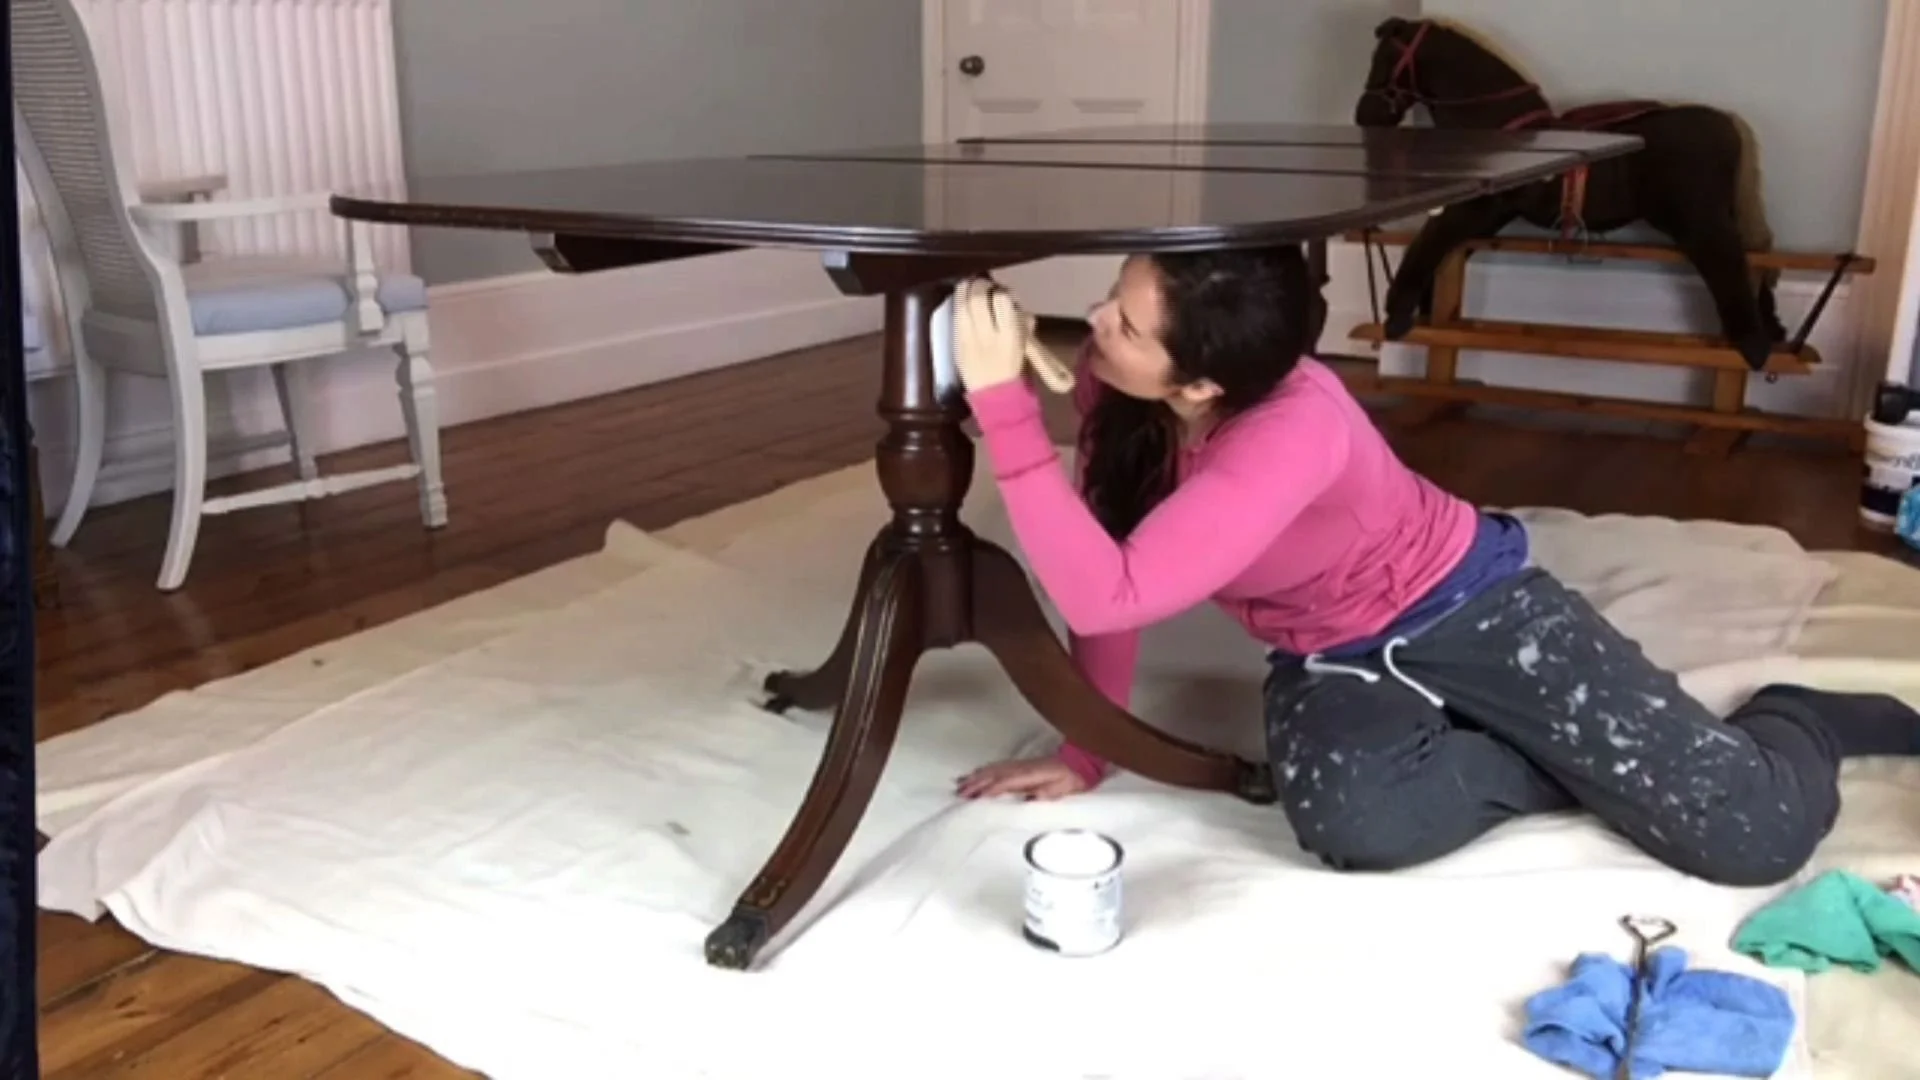
Slap it on! Seriously where Annie Sloan is concerned you can really just go for it. I swear, my toddler can even help me with this. Well when I say 'help' erm...You want to work quite quickly and the bigger the brush the better.
If it claws at all you can either water it down or dip your brush in water before the paint. If you leave the paint open to air for too long it will get thicker so it's worth watering down.
The great thing is that if you go wrong before you have waxed you can just use a damp cloth to remove your mistake! If you go wrong after you've waxed you just chalk paint over the top!Wait for the paint to be touch dry before you do the second coat, but this takes under an hour.
One, two, three coats - up to you - see how it looks at each stage! I've never needed more than two with Annie Sloan. If you go for a pure white though you will probably find you need a shellac base coat to reduce bleeding from the wood or stain underneath. Give me a shout if you need more advice on this.Each coat takes about 10 minutes on a table this size.
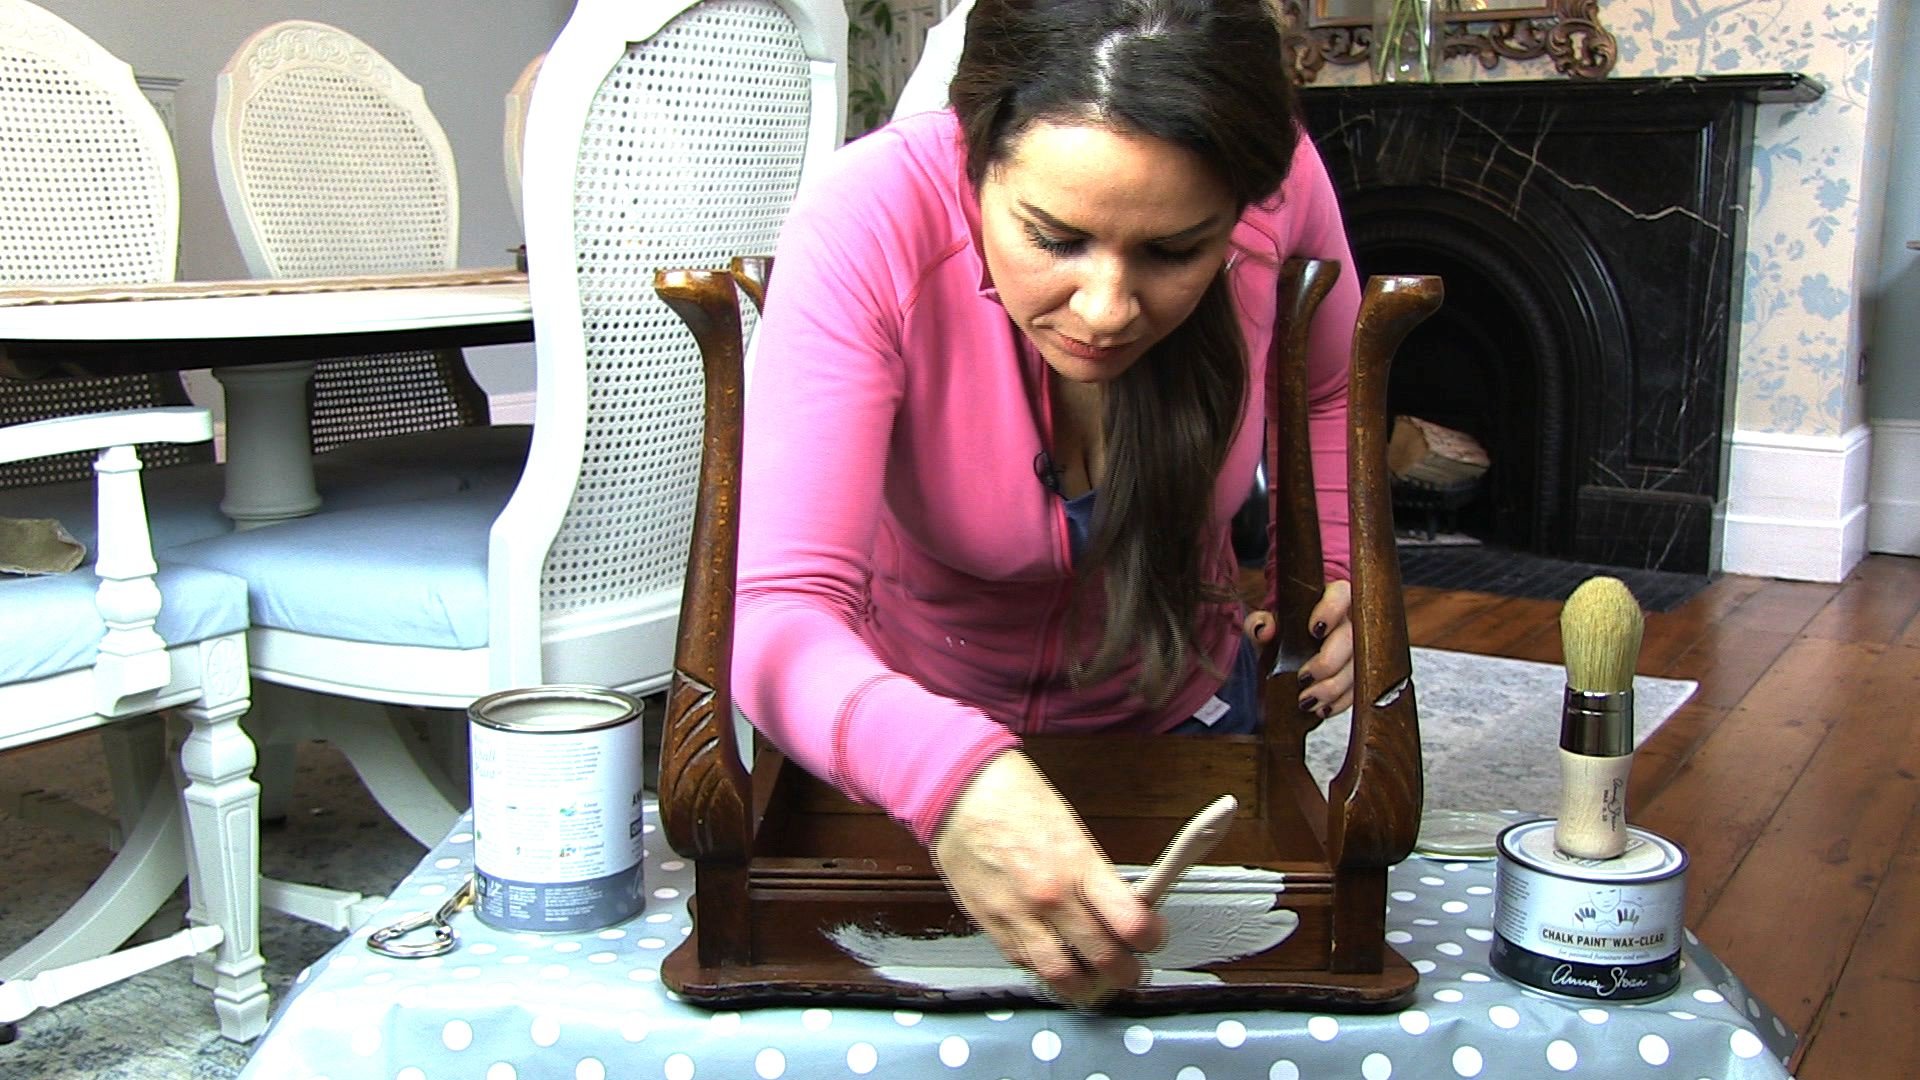
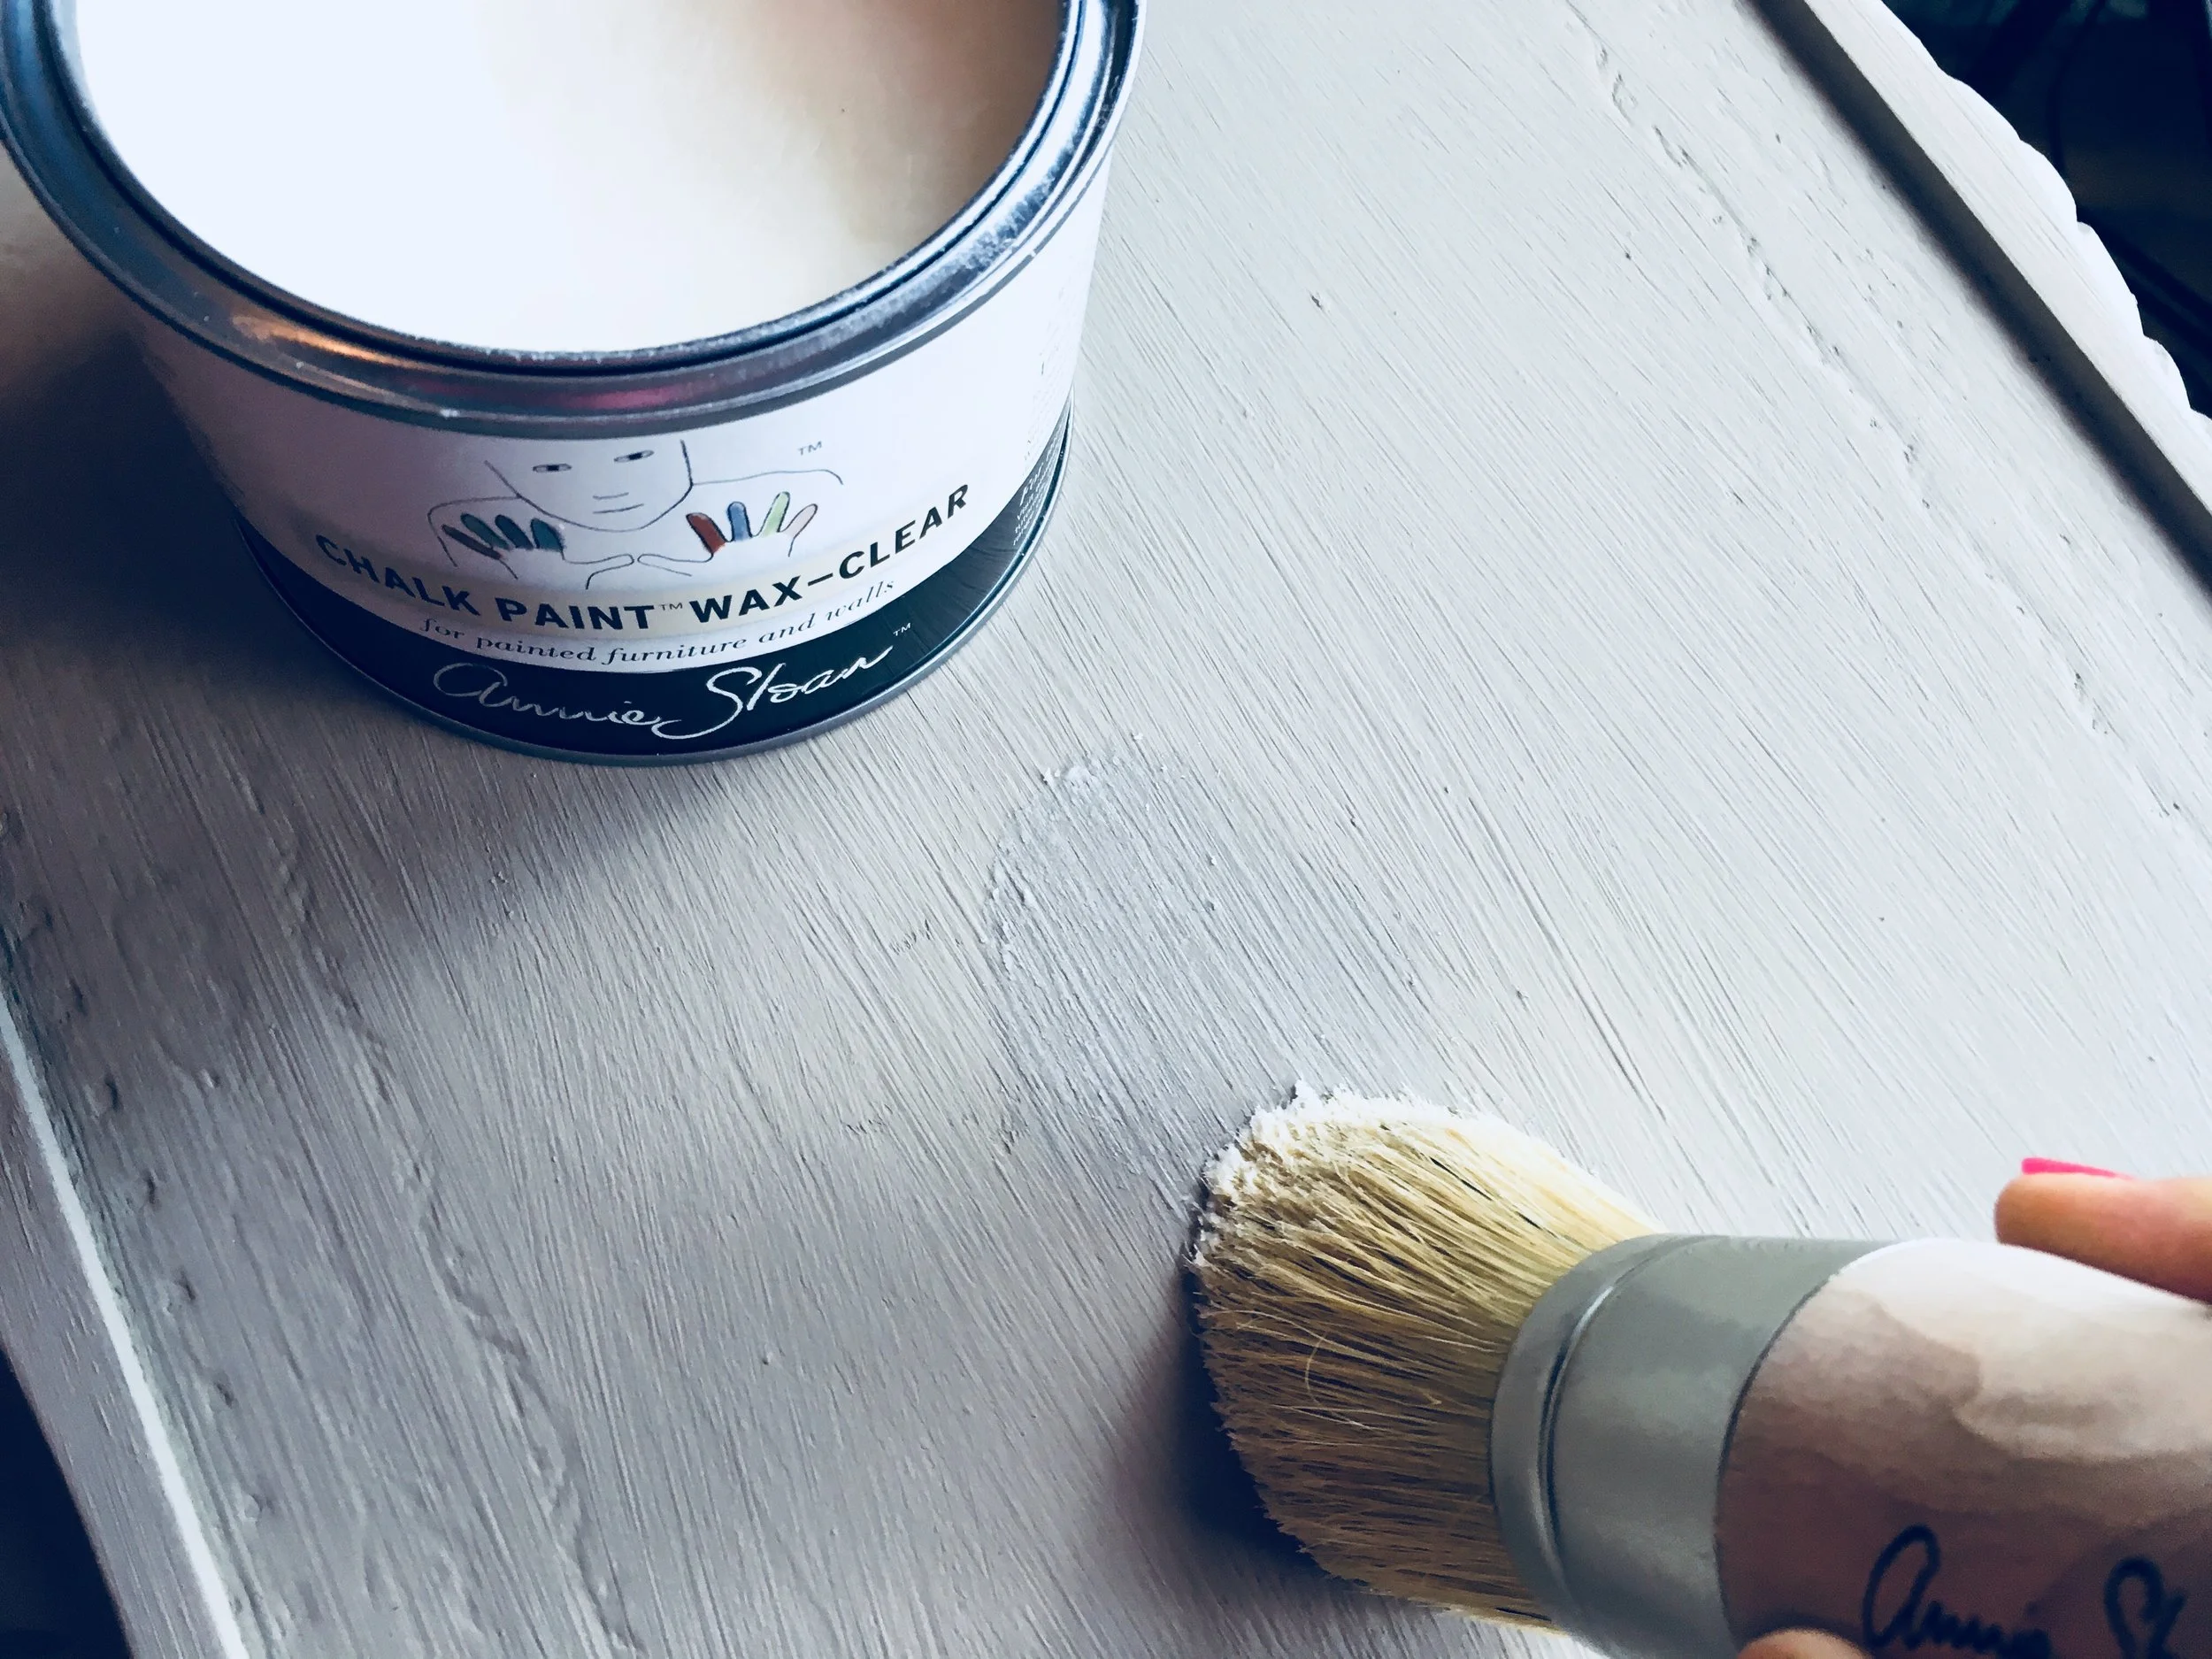
Step 3
The chalky finish is divine and on items like picture frames I just leave it at that. But furniture that will have more traffic (and sticky fingers in particular) will need a wax finish.
Brushing this on is the easiest way, but I have used a rag before. Straight after you need to go over with a cloth to remove any excess, particularly in crevices. If you want a shine you can buff it.This stage took me about 5 minutes.
Make sure little people and pets are out of the way when you're waxing and then keep away for several days in a ventilated room to allow the toxins to evaporate.
And that's it!
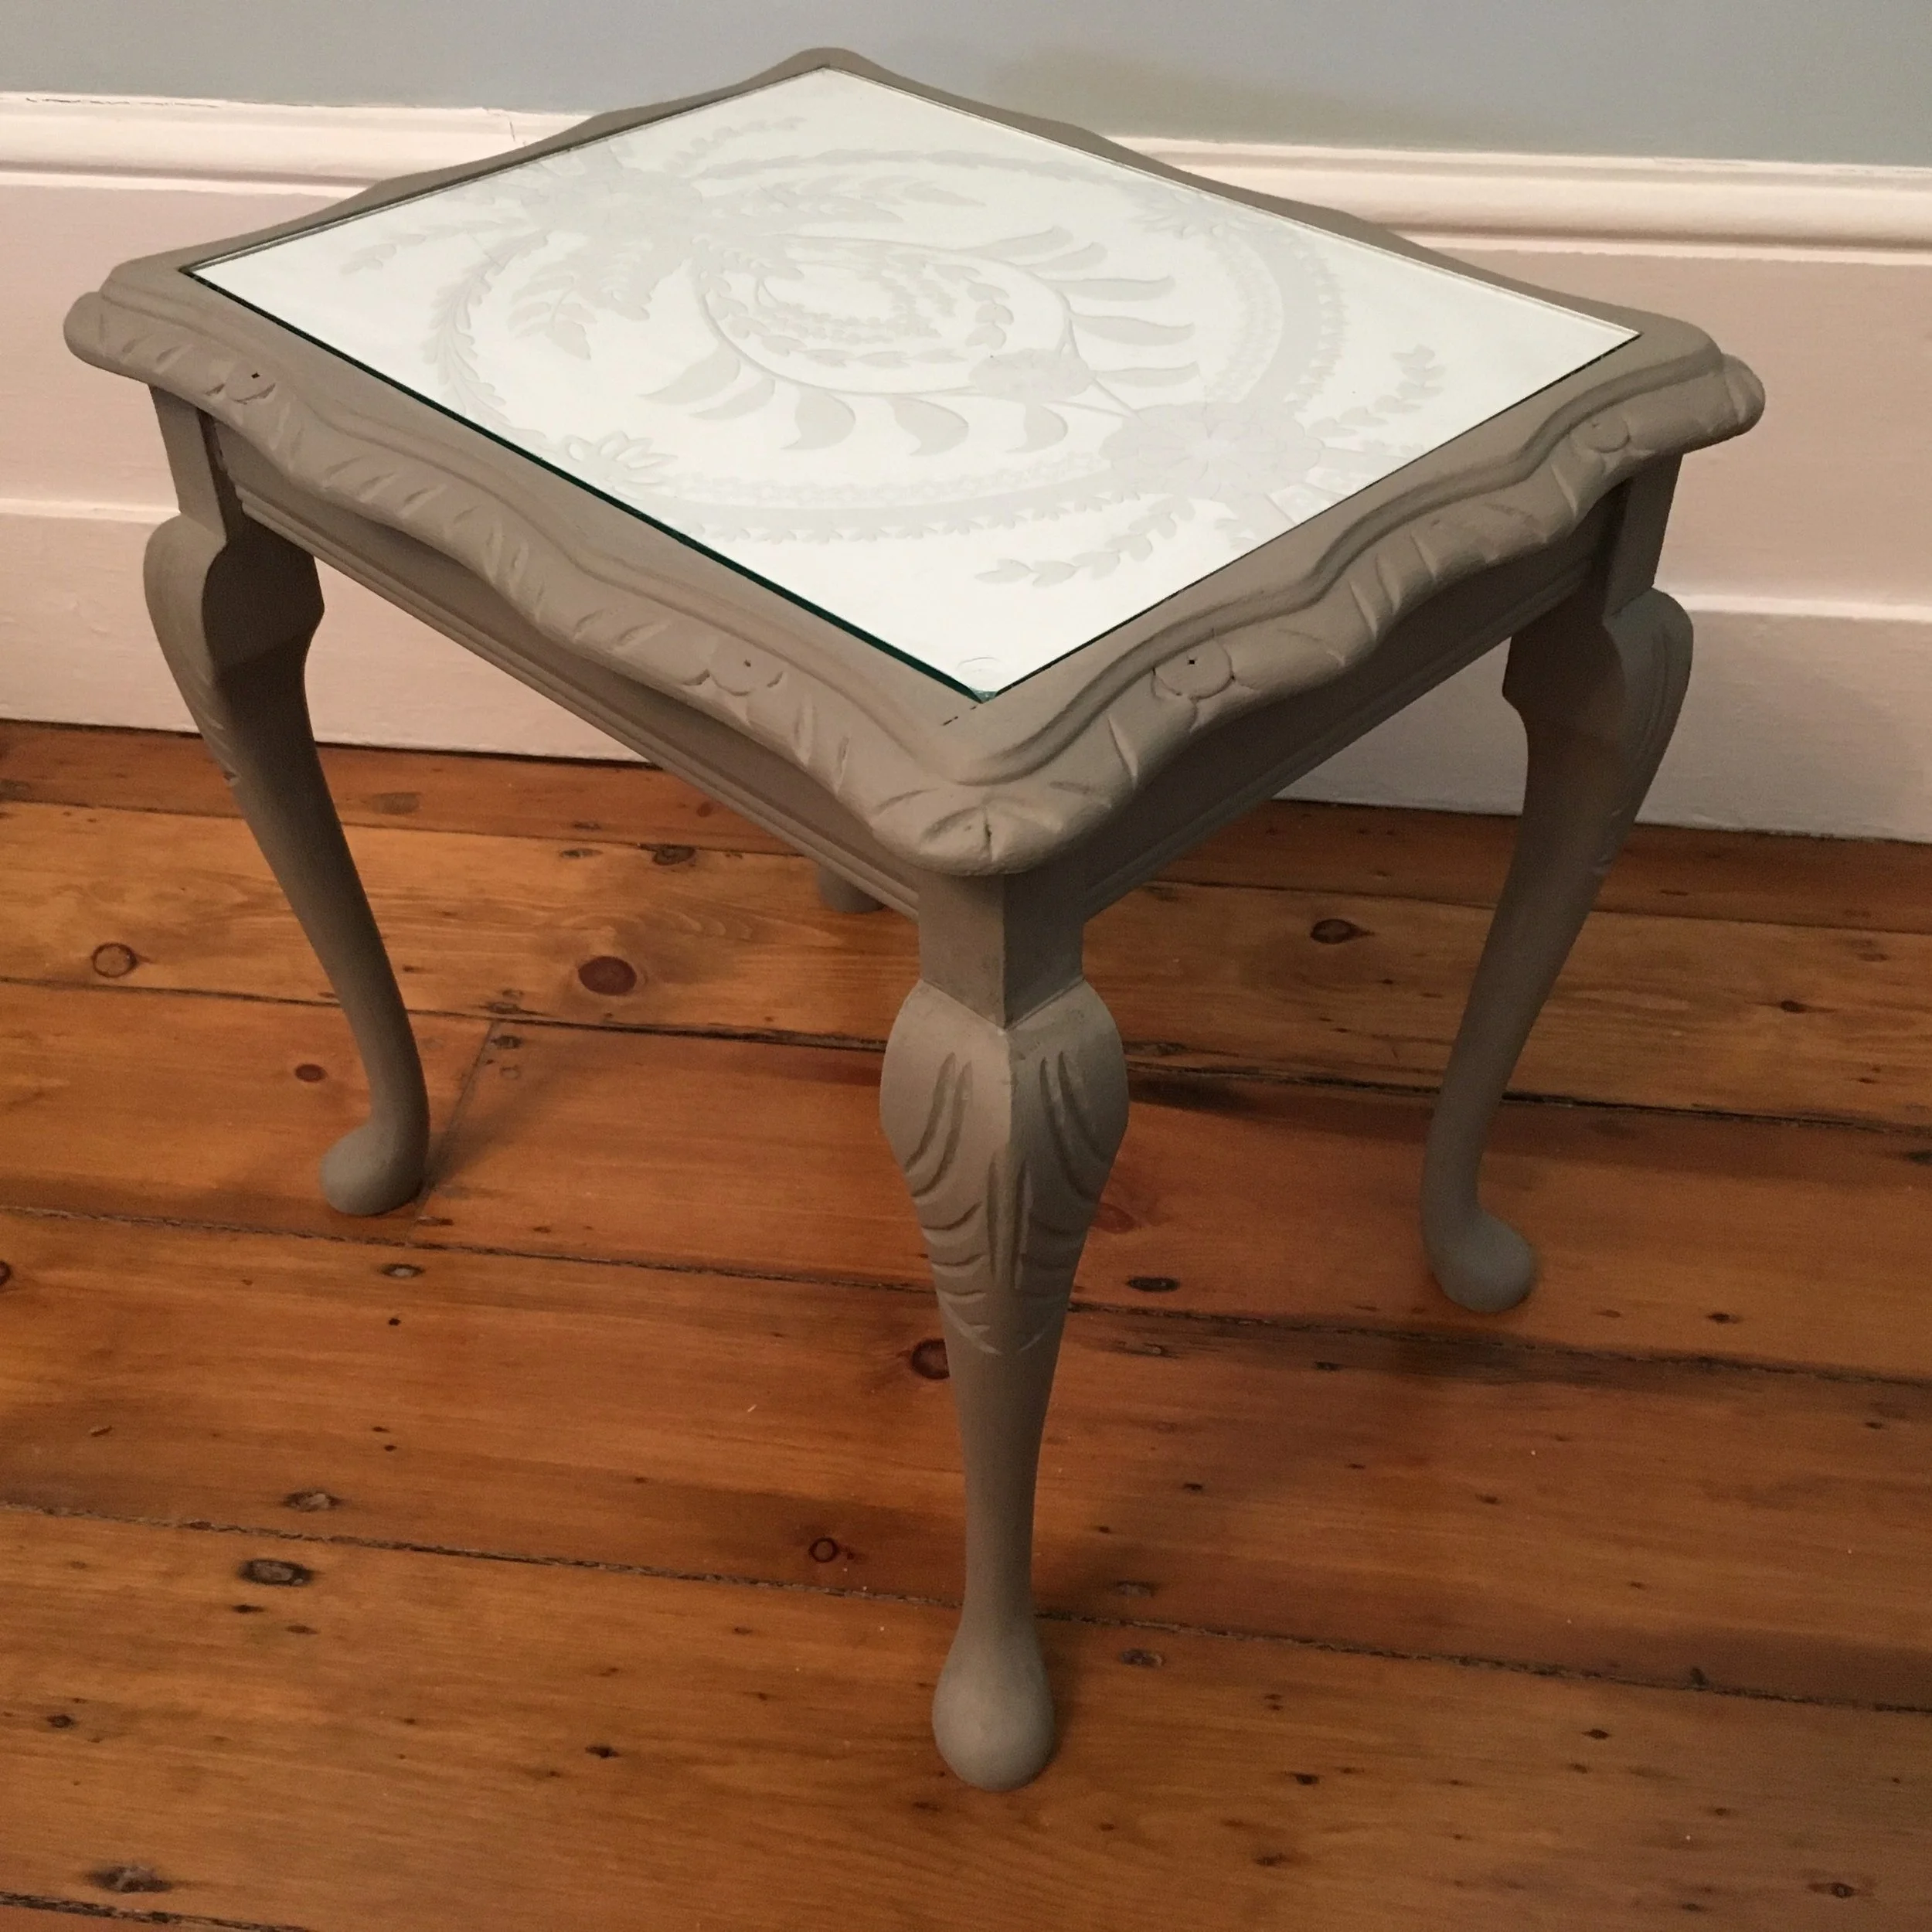
So that table took under 30 minutes and cost under a tenner to finish. Why WOULDN'T you upcycle items rather than throw them away?!
This one had a glass top intact so I added a piece of leftover wallpaper to give it some character.
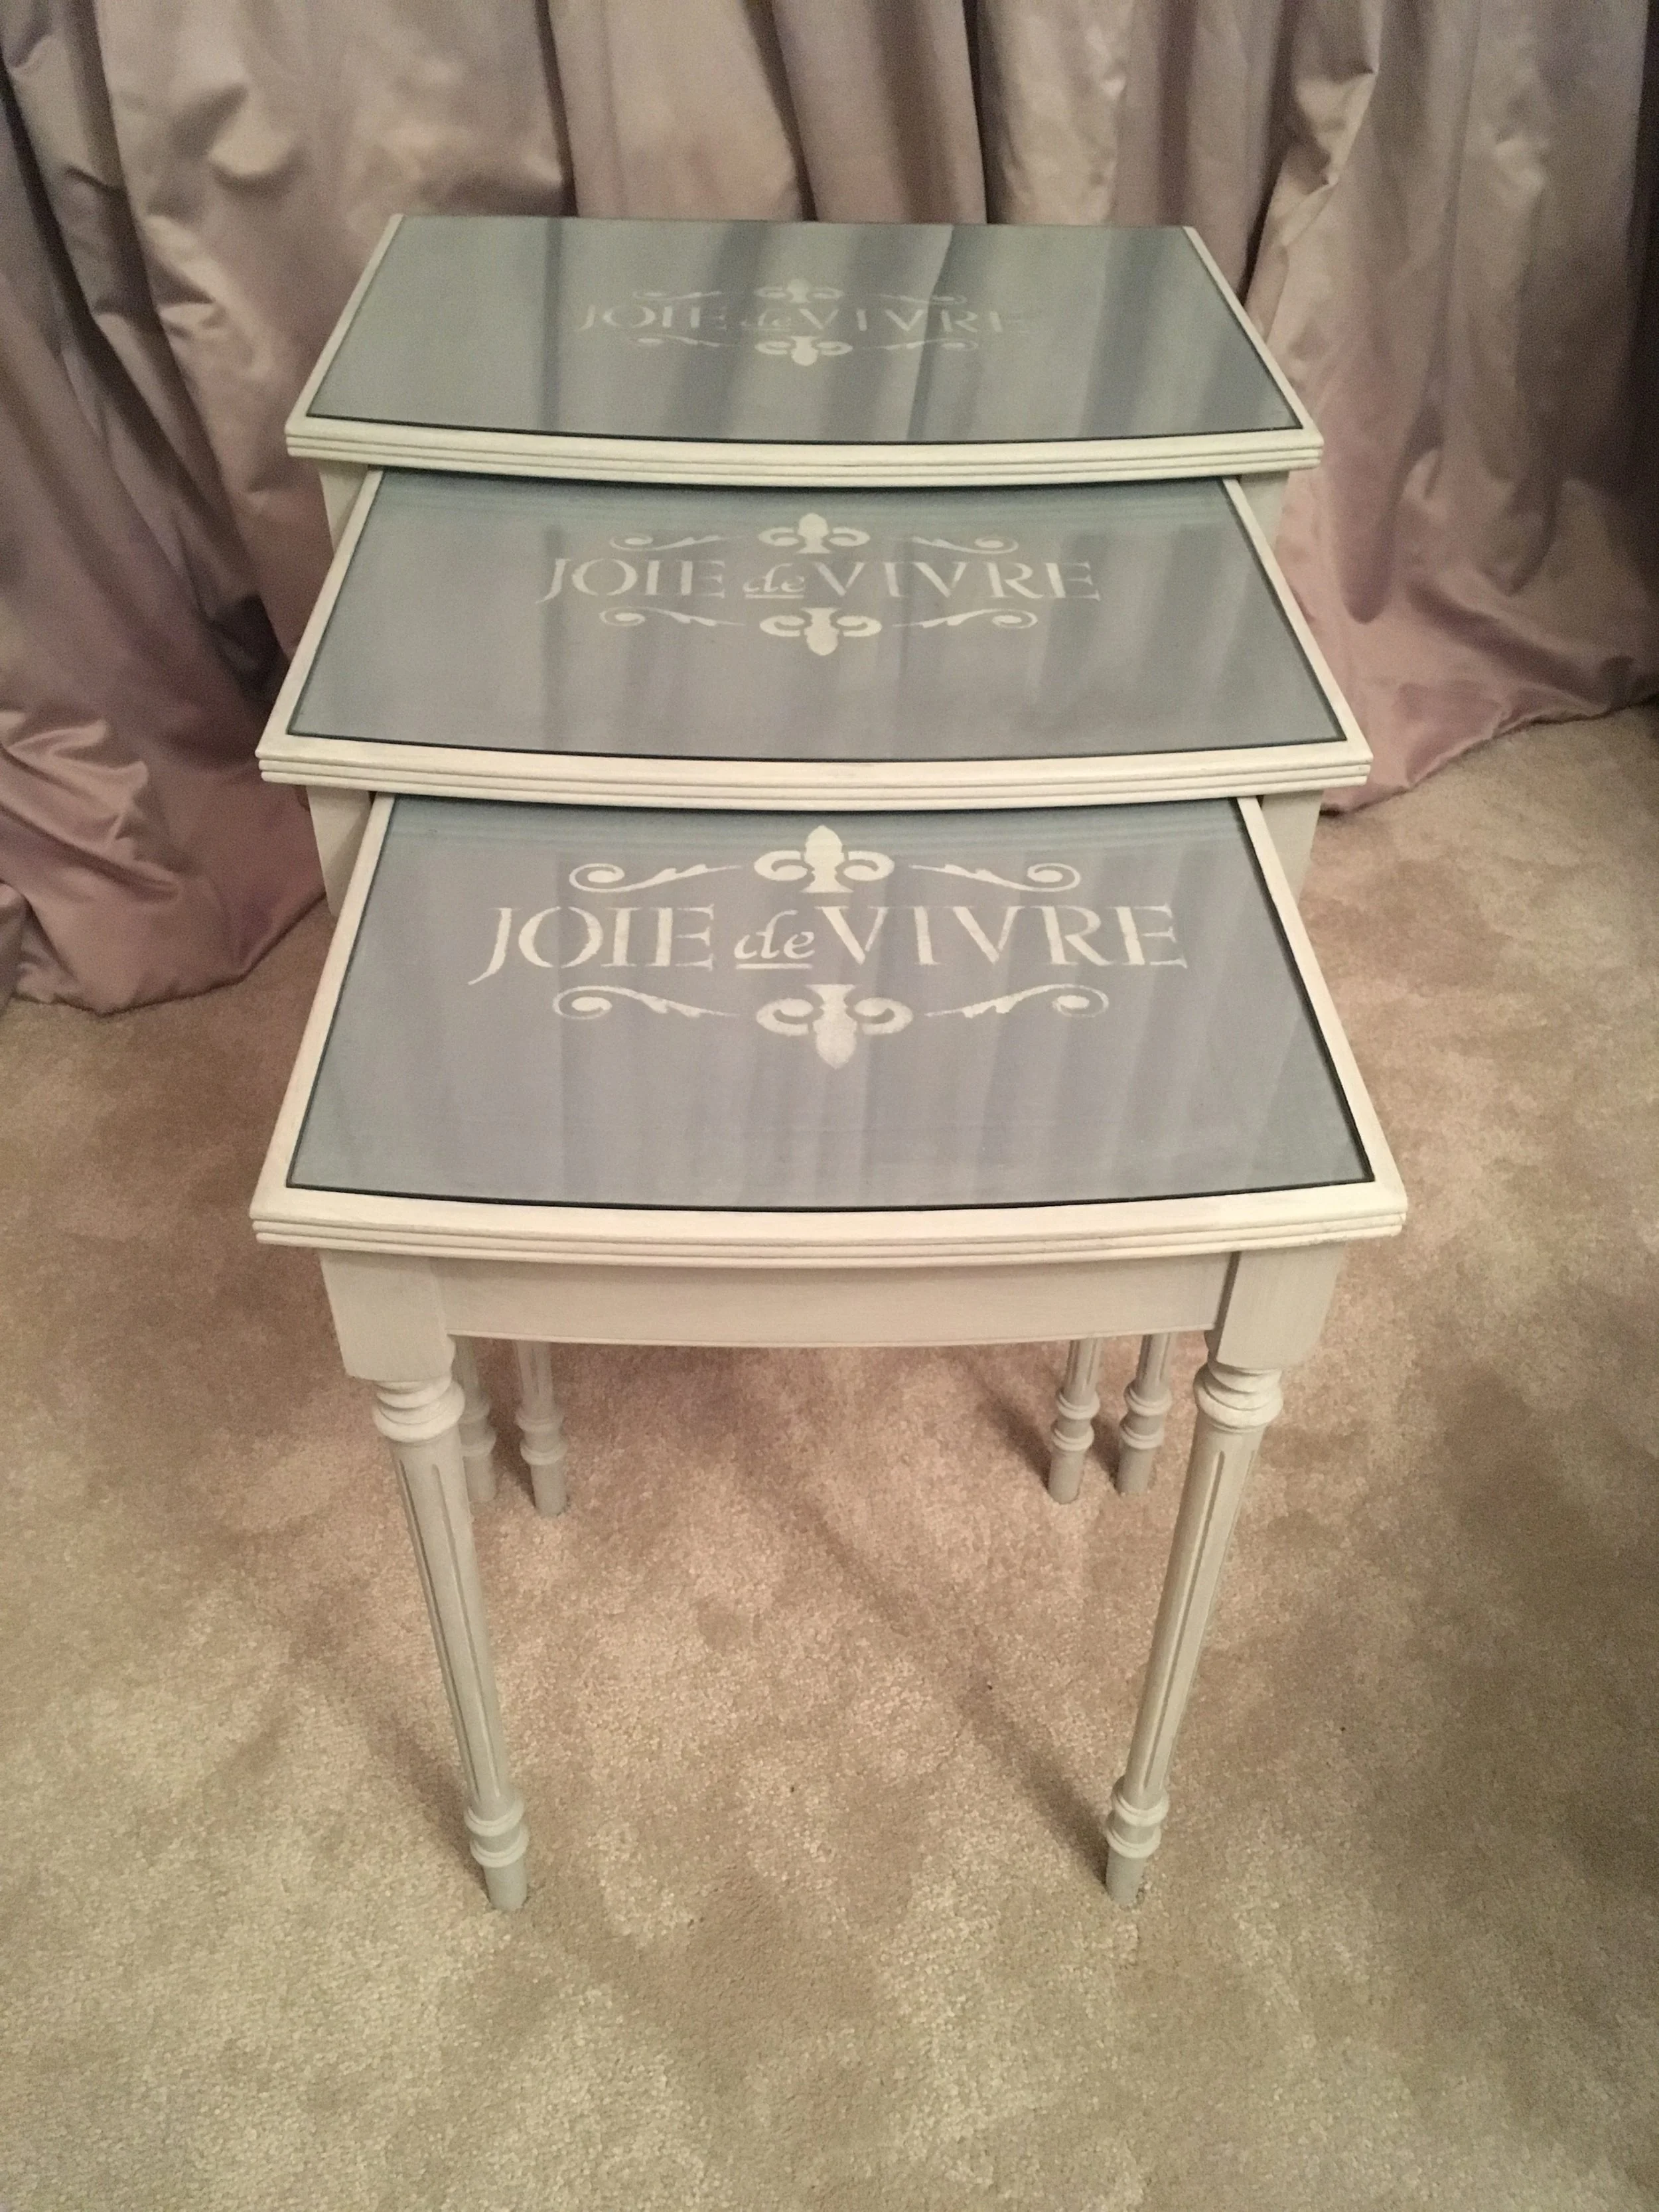
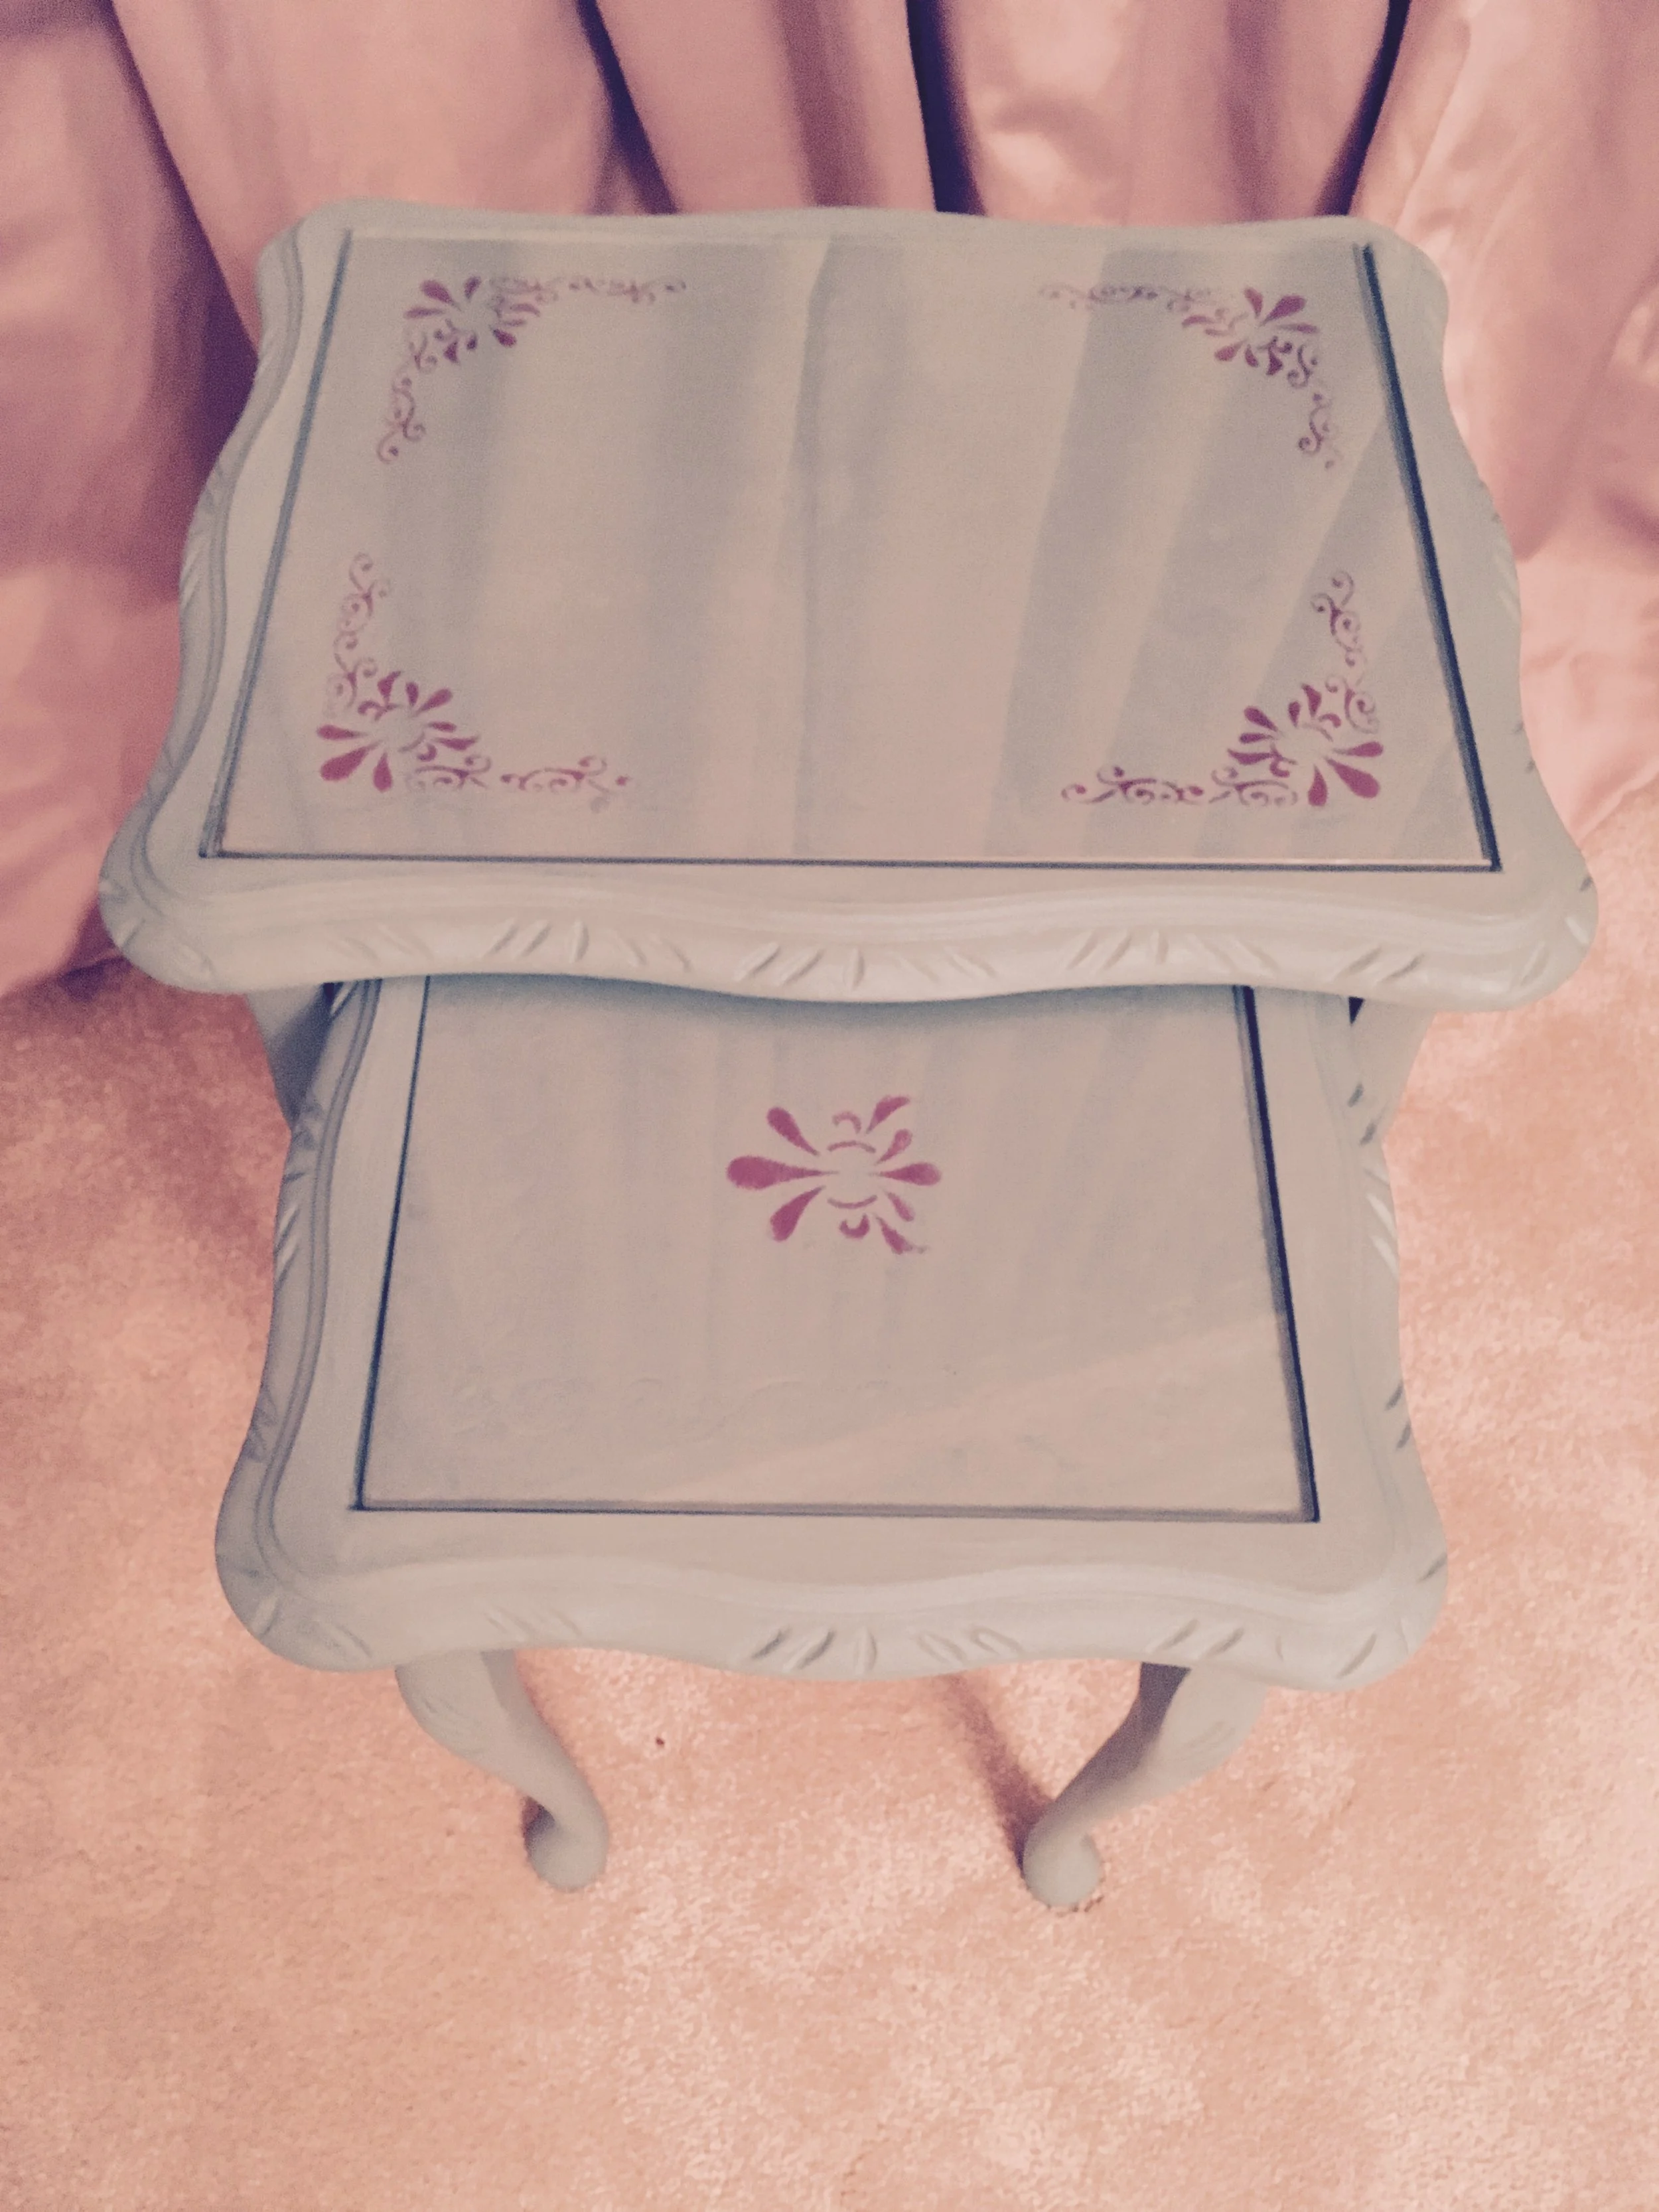
This is the bit where you can personalise it with fabric, stencilling, decoupage... OK one step at a time!
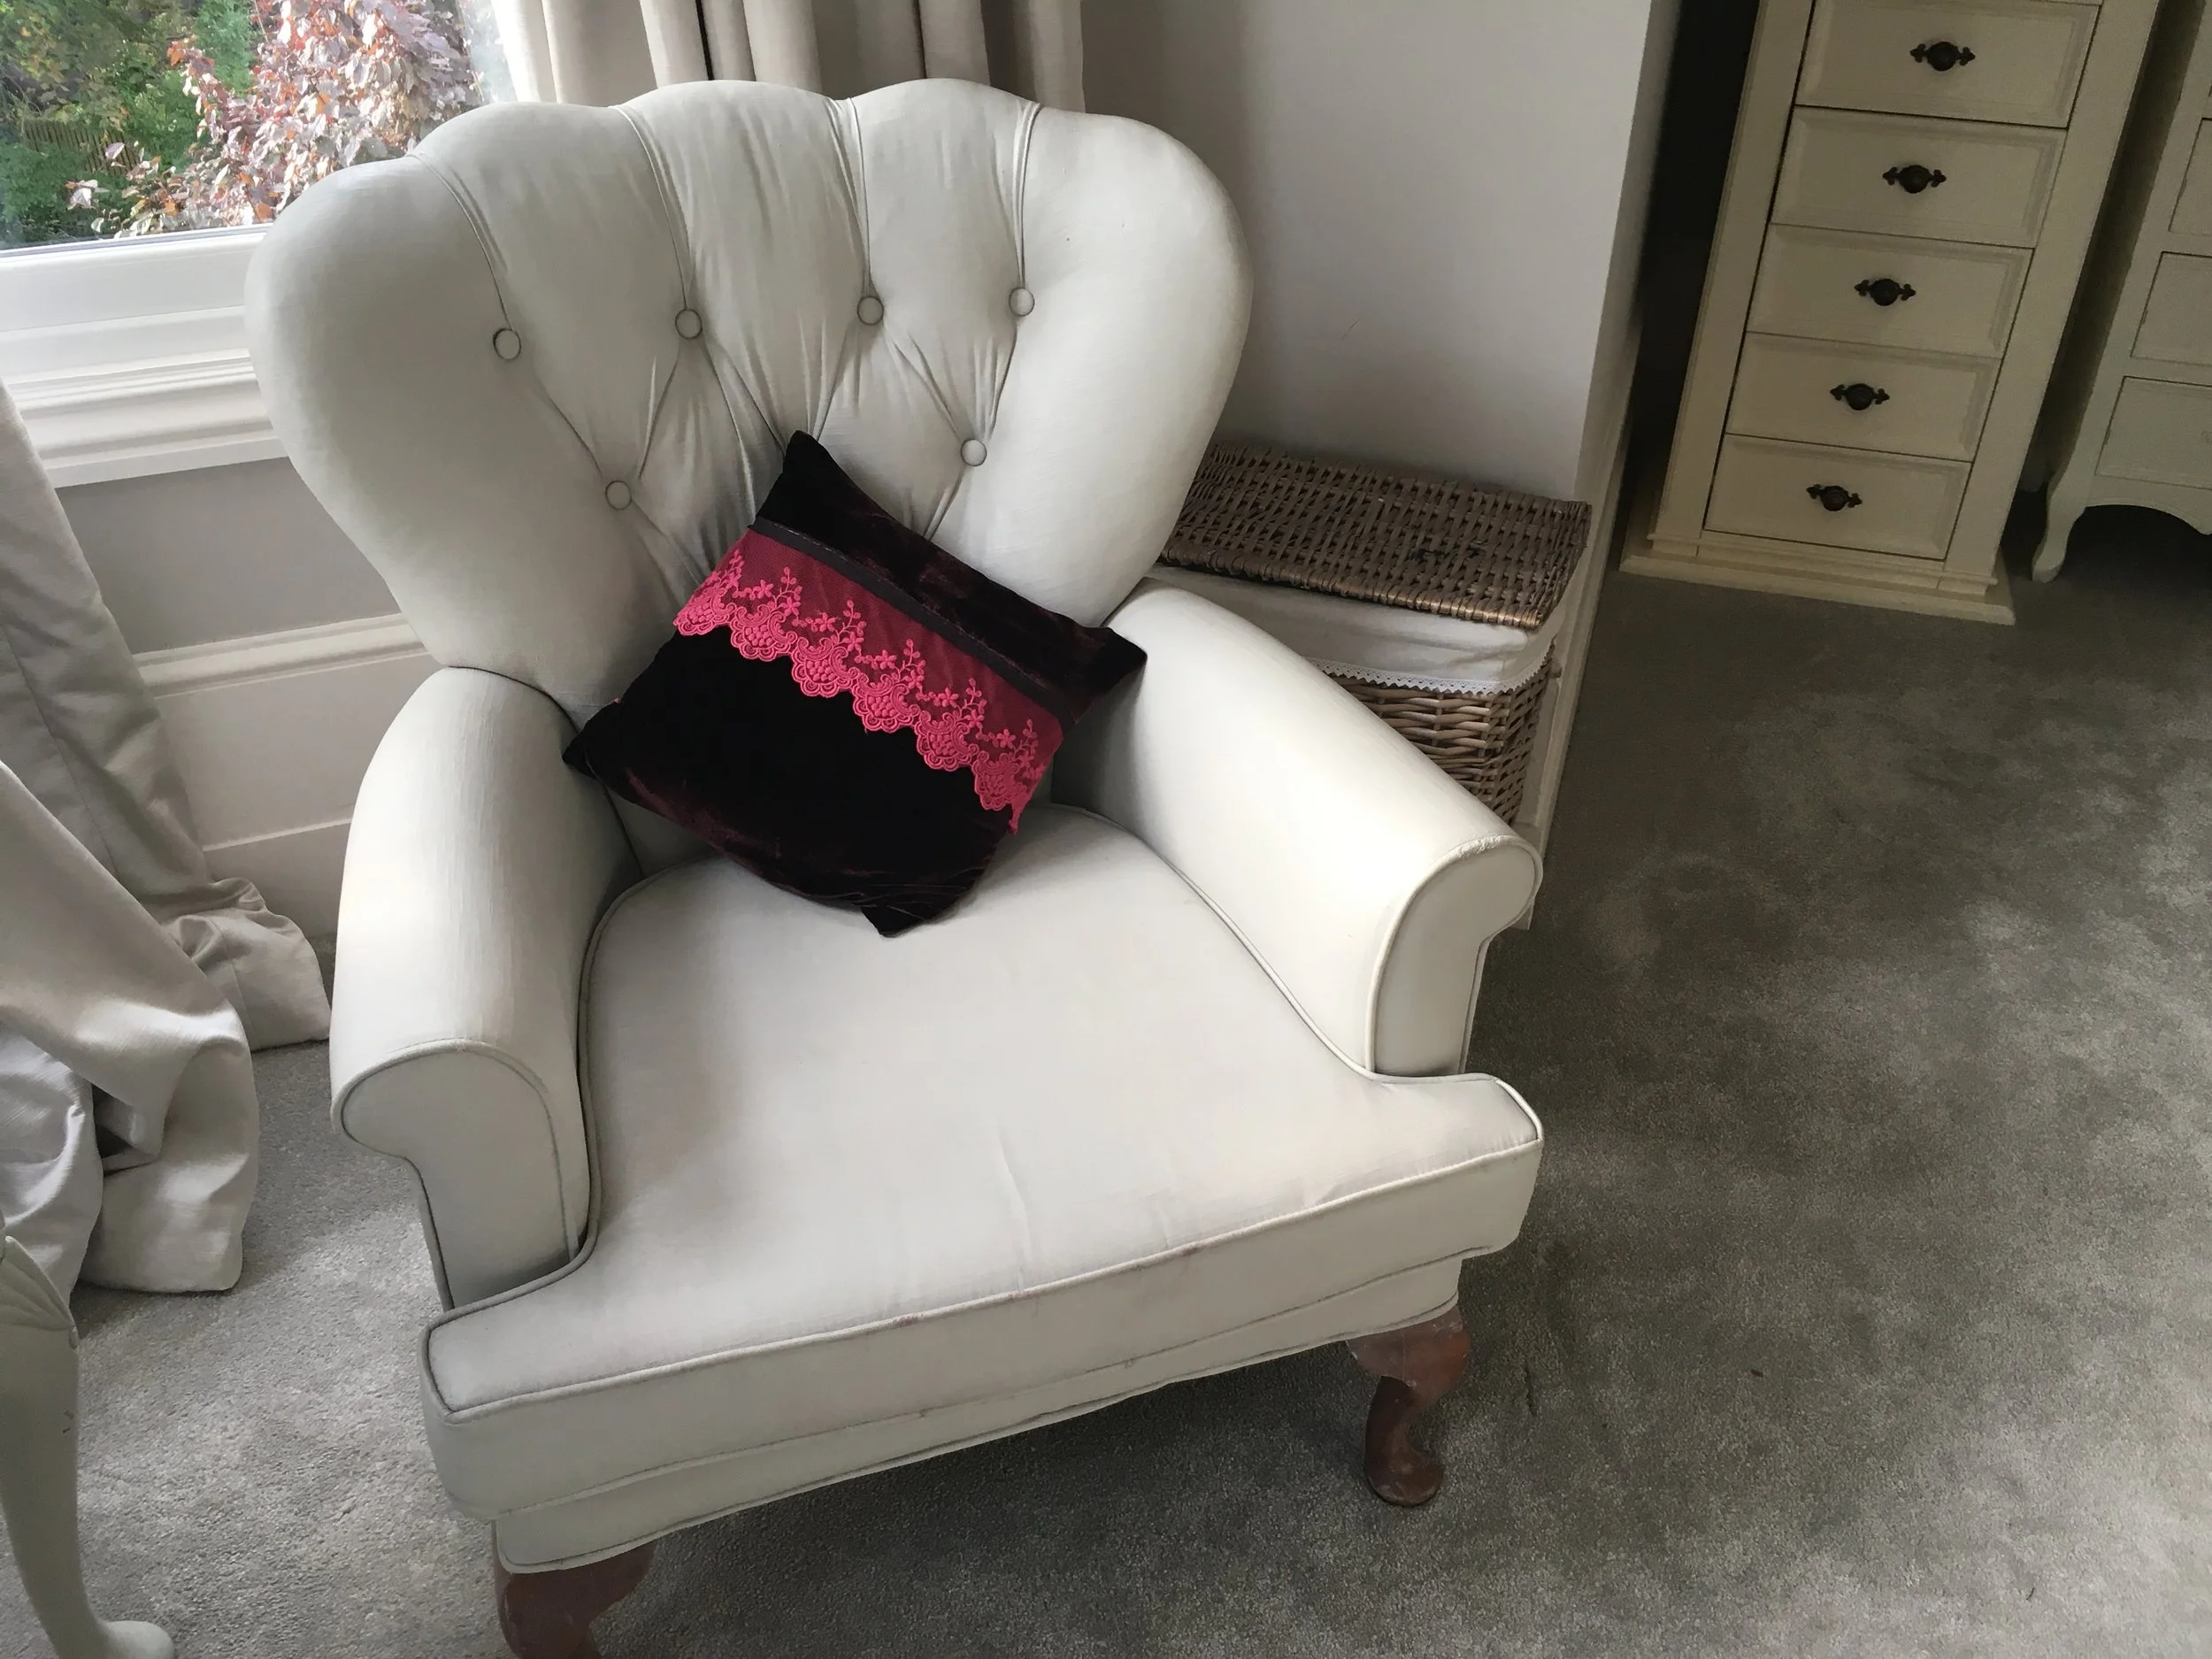
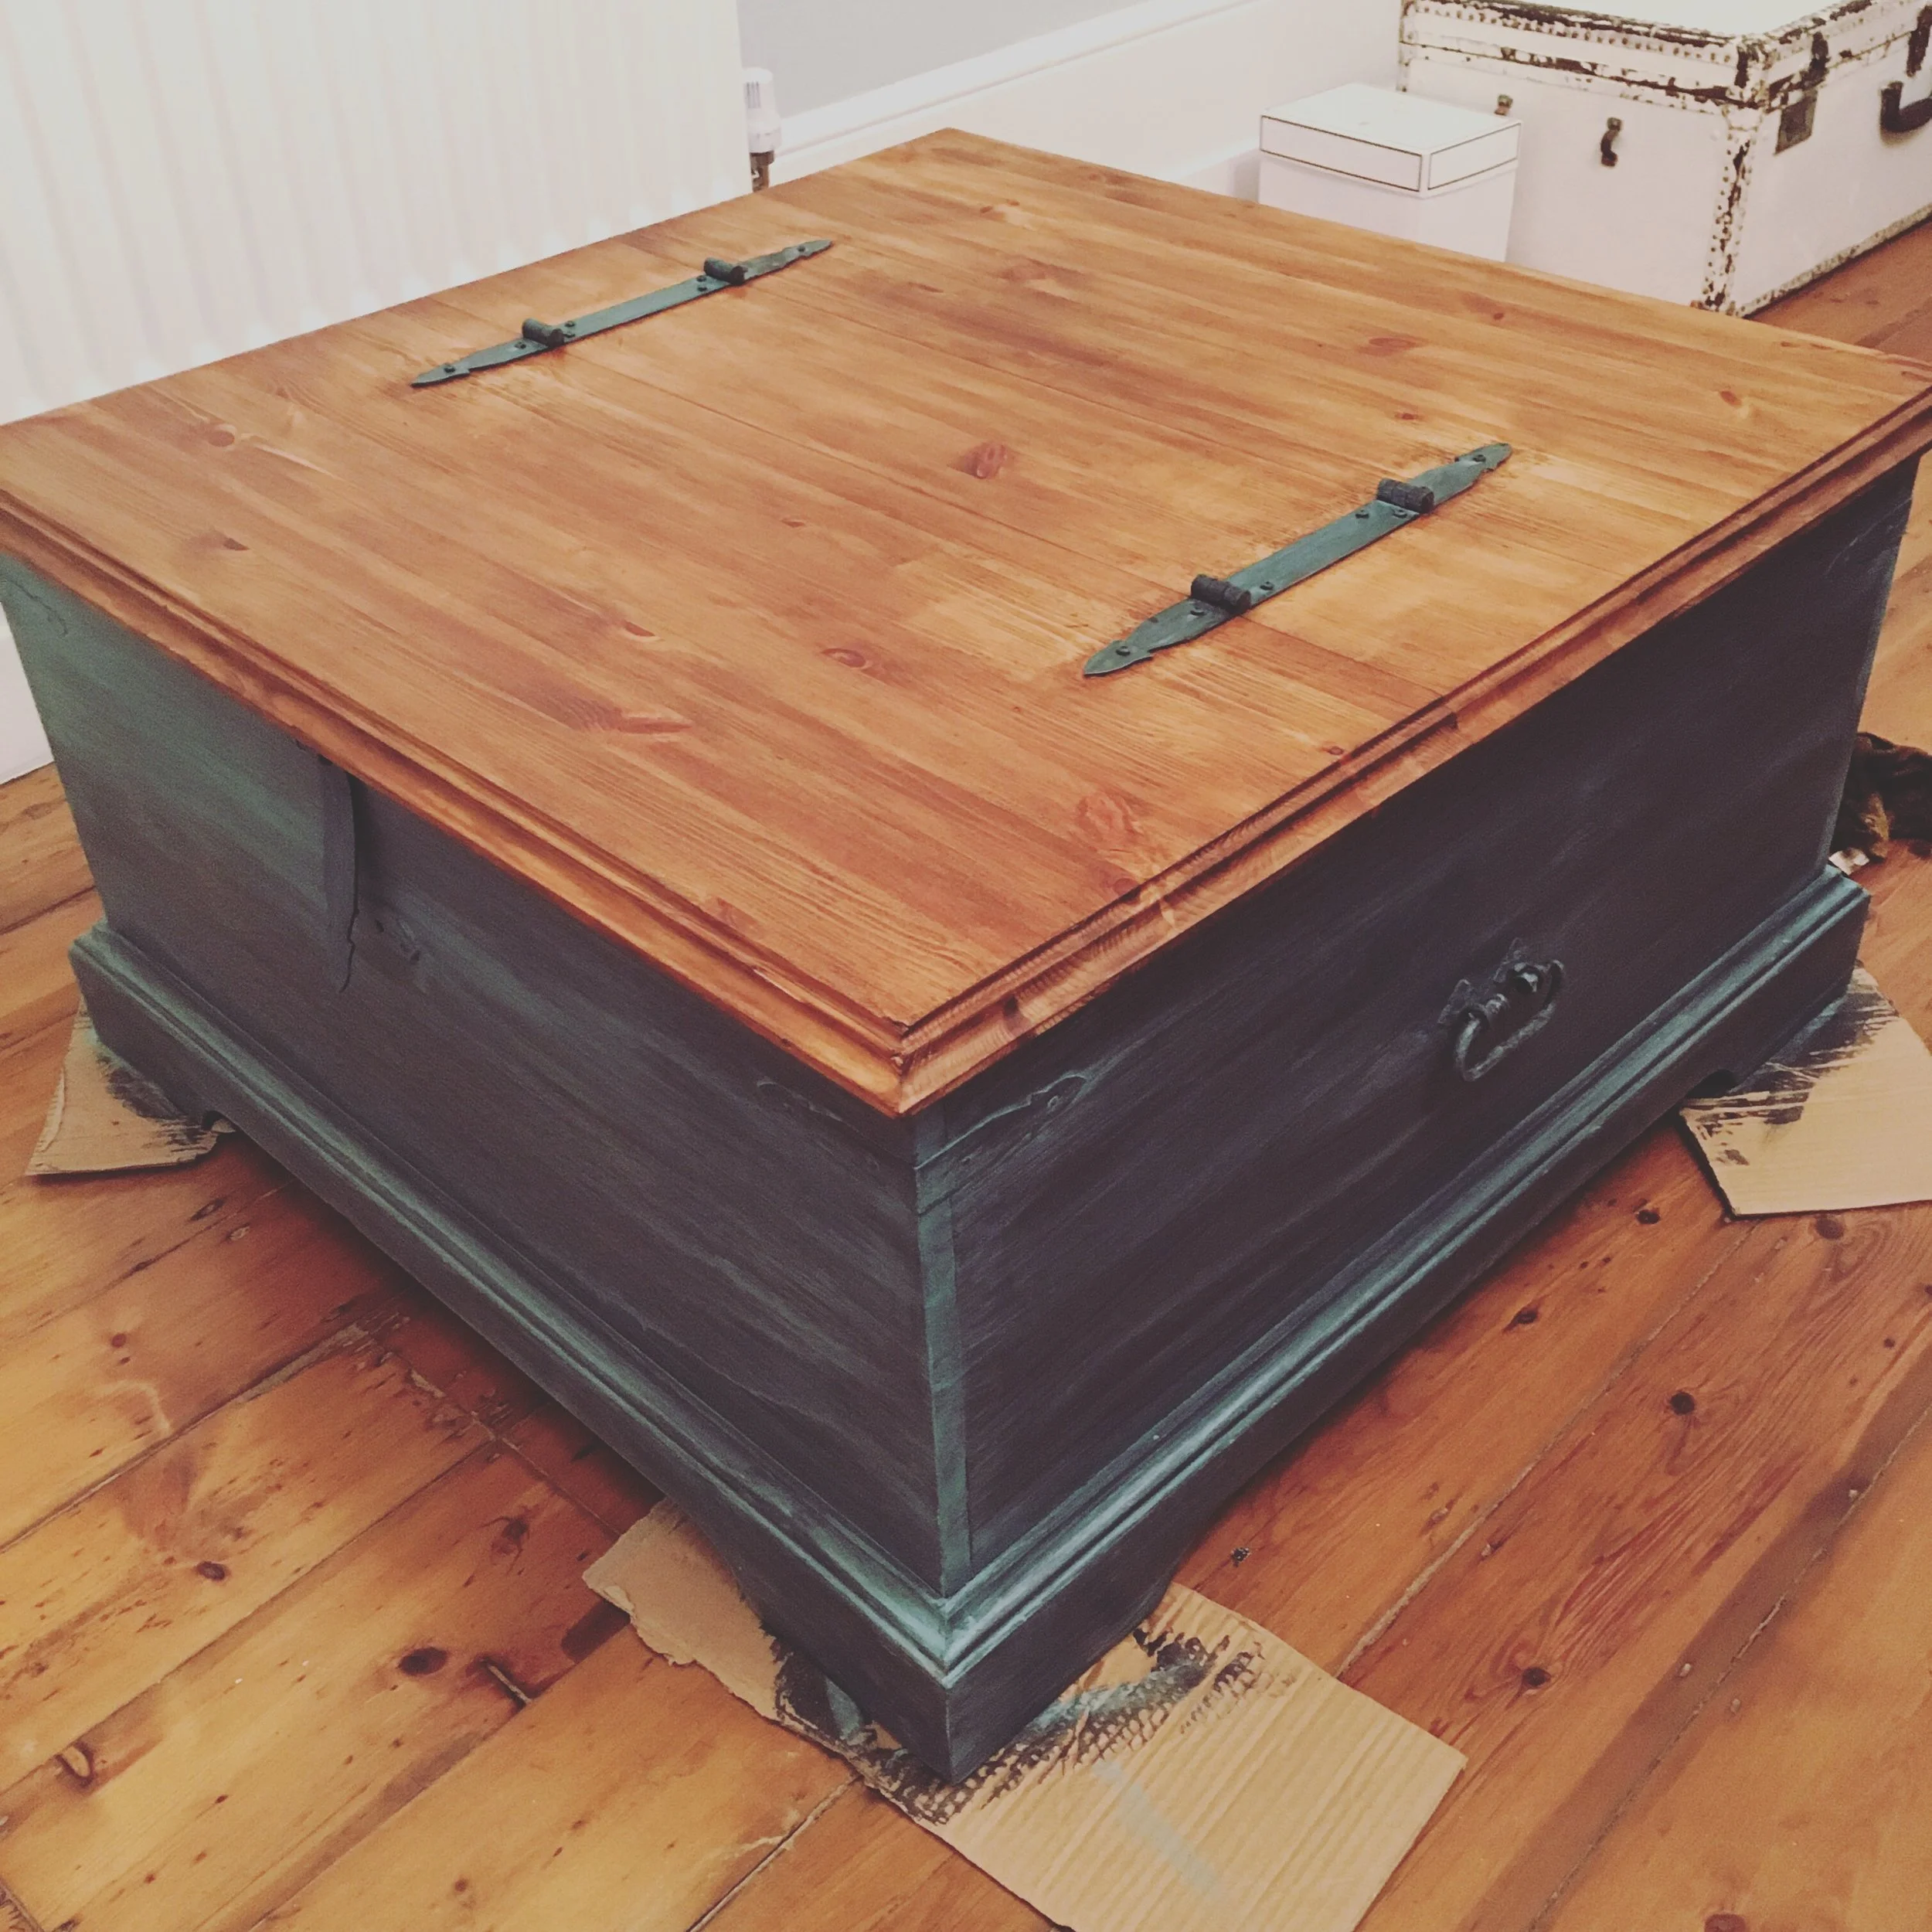
Obviously the further you go the more you can experiment with looks, like distressing to get a shabby chic look. This is easier than you could imagine by the way! You can also chalk paint fabric - this video has had well over 100k views!
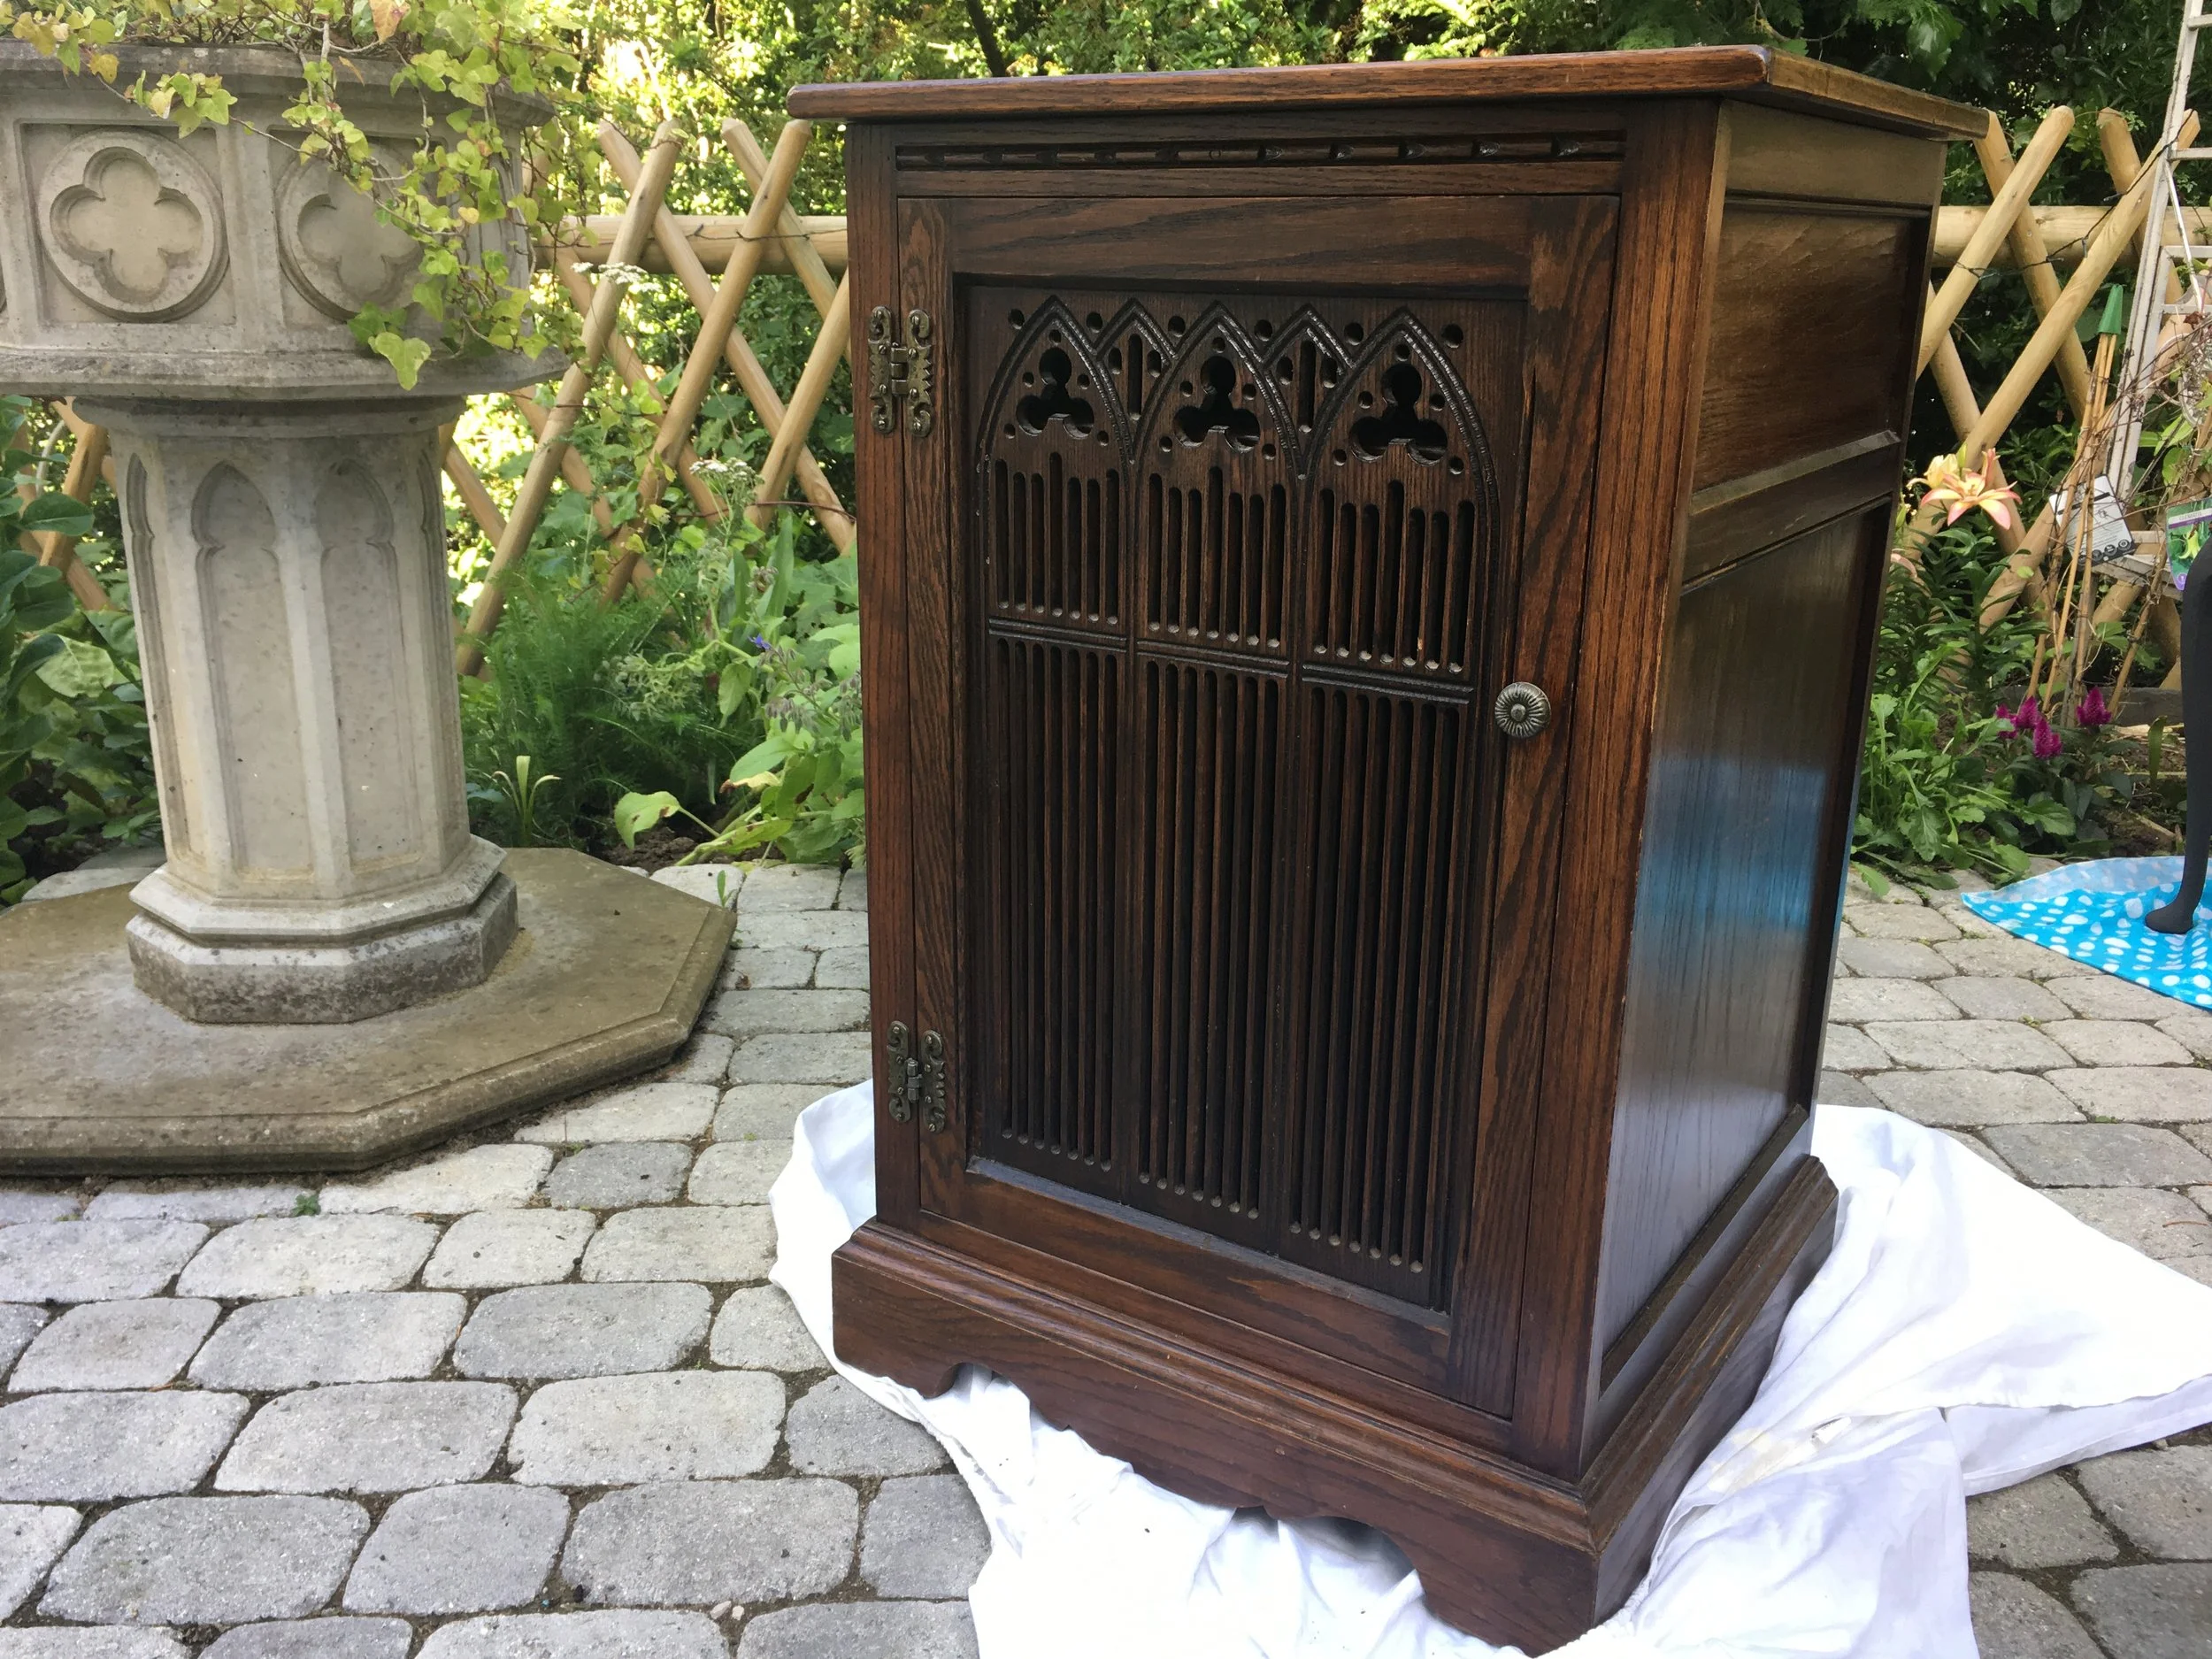
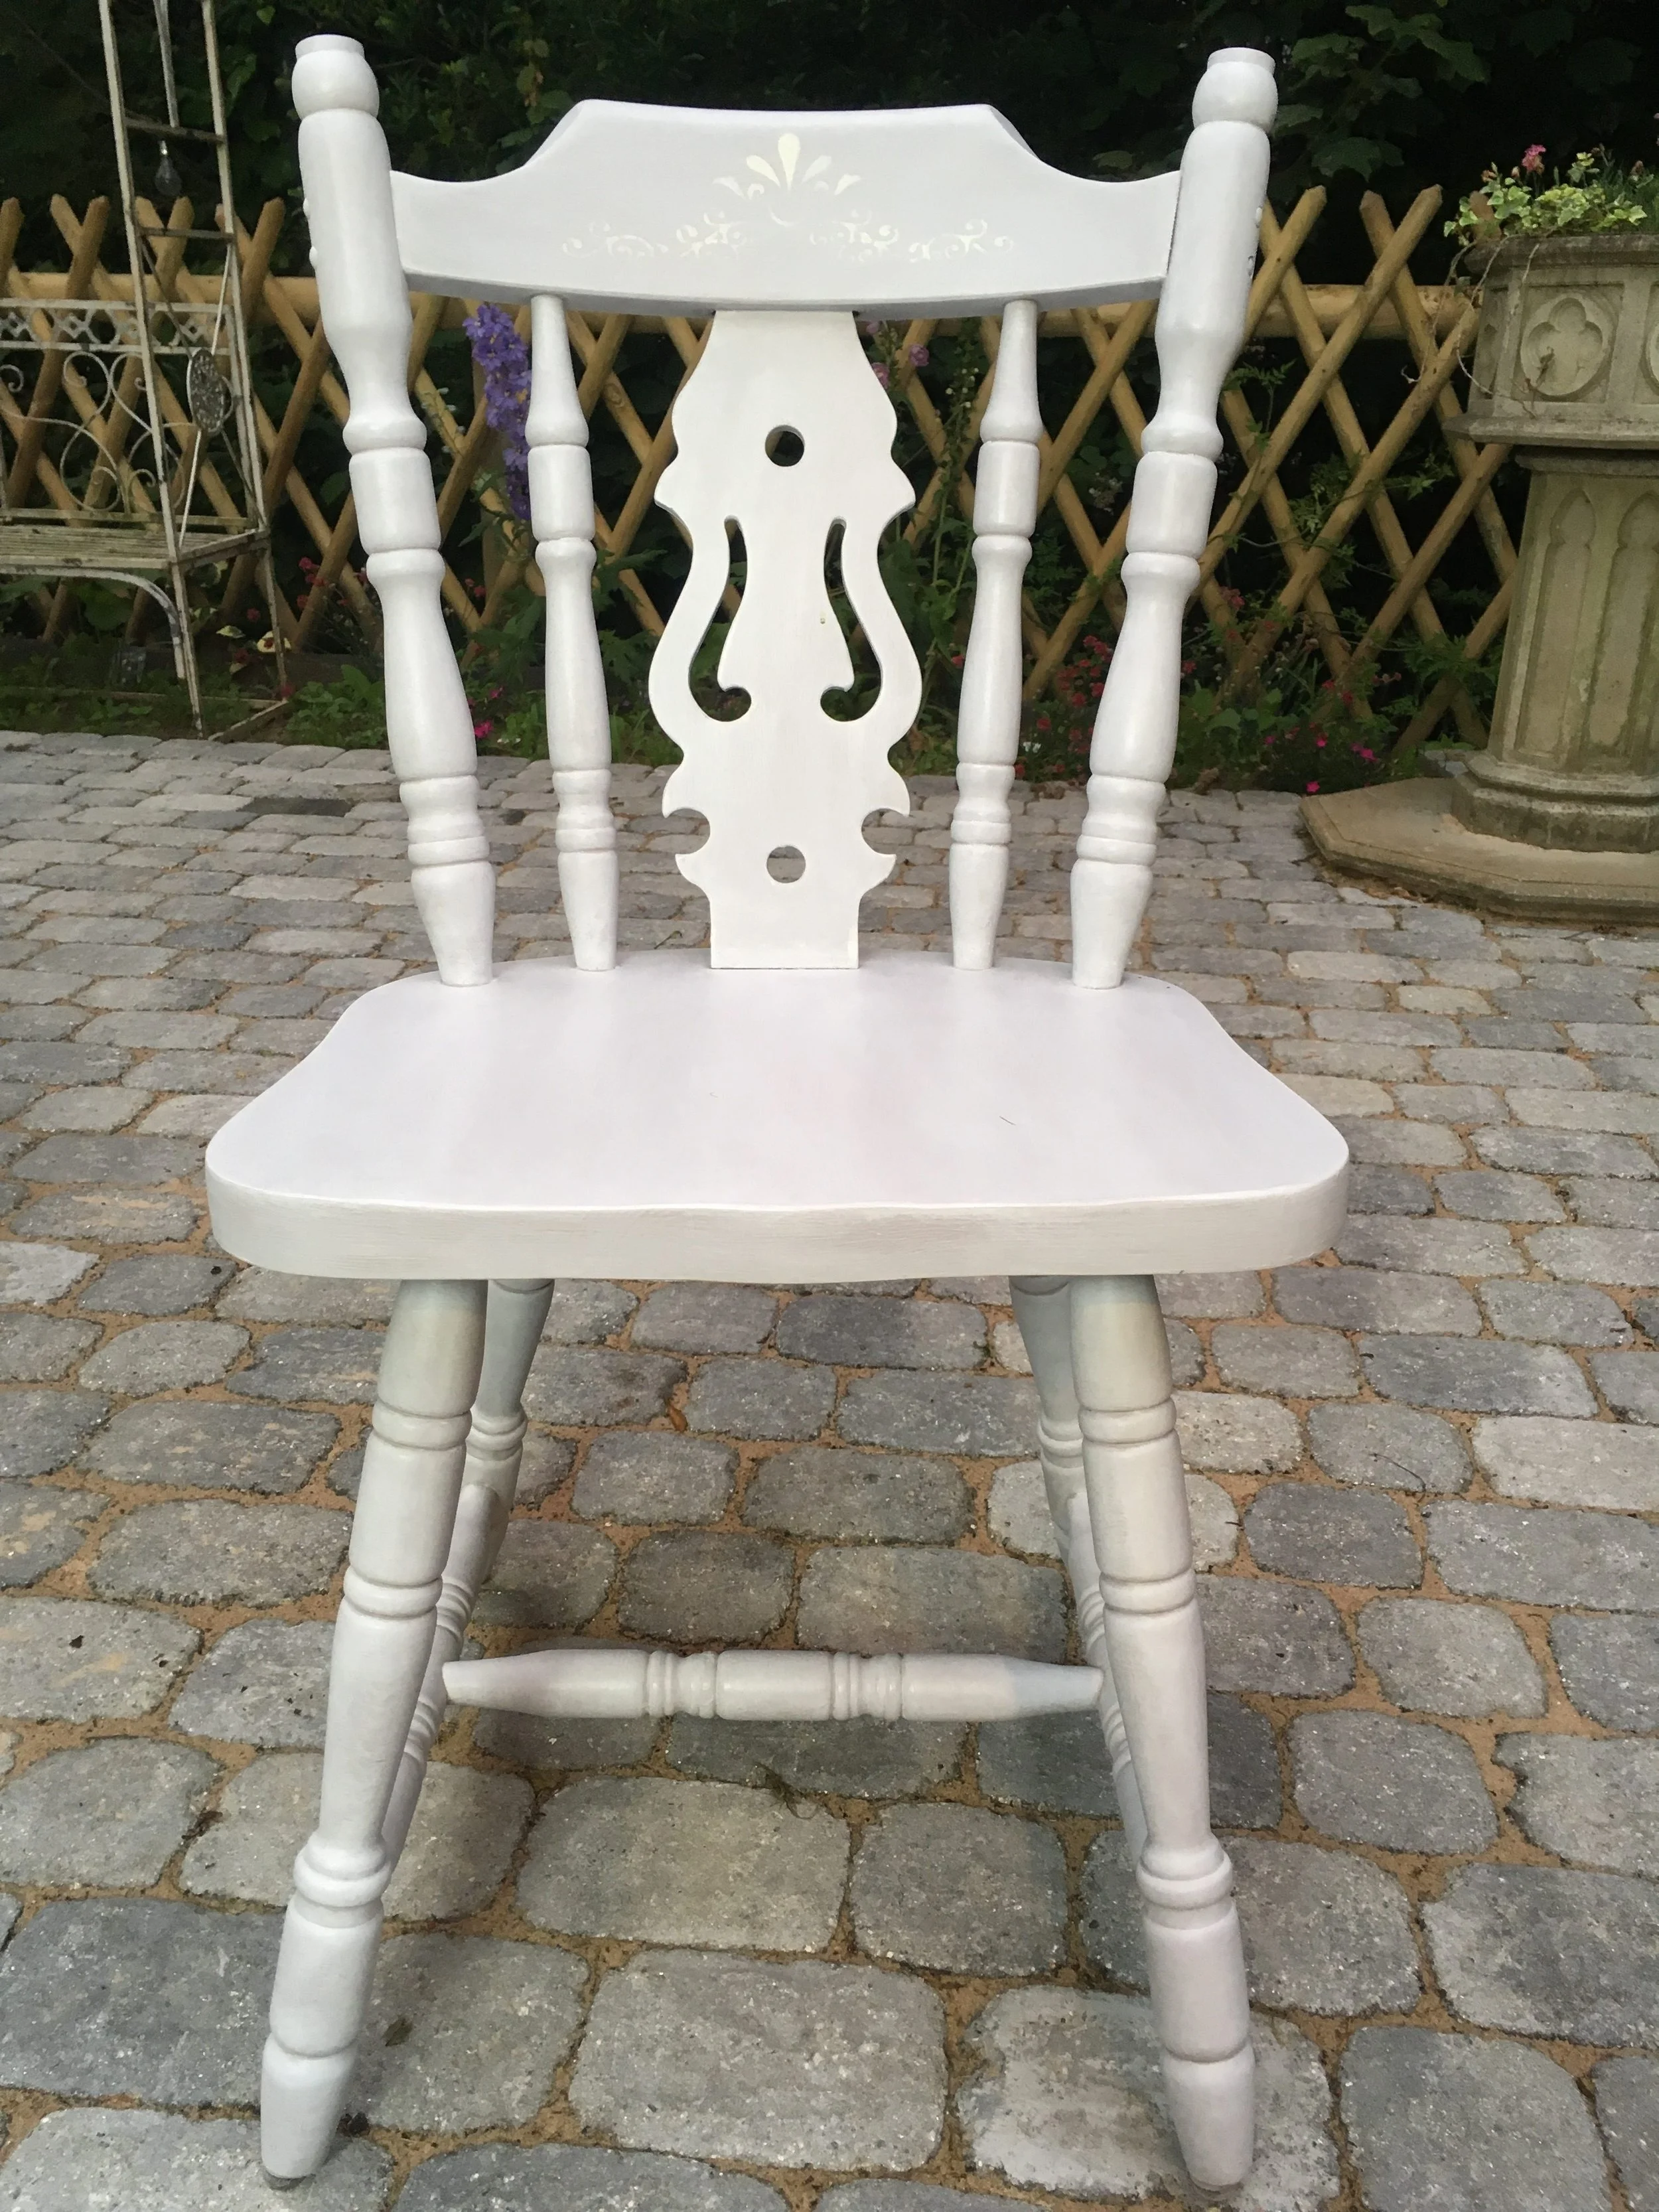
Here's one I did earlier...
Here are a couple of slideshows of items I've upcycled to really whet your appetite.


I'd love to hear your thoughts in the comments section below.
Do me a favour and send me photos of your efforts and if you get stuck don't hesitate to contact me here in the comments section or via Twitter, Instagram, Facebook or Linkedin - I've saved many a project this way and would rather help you than you throw the item away and give up on upcycling forever!
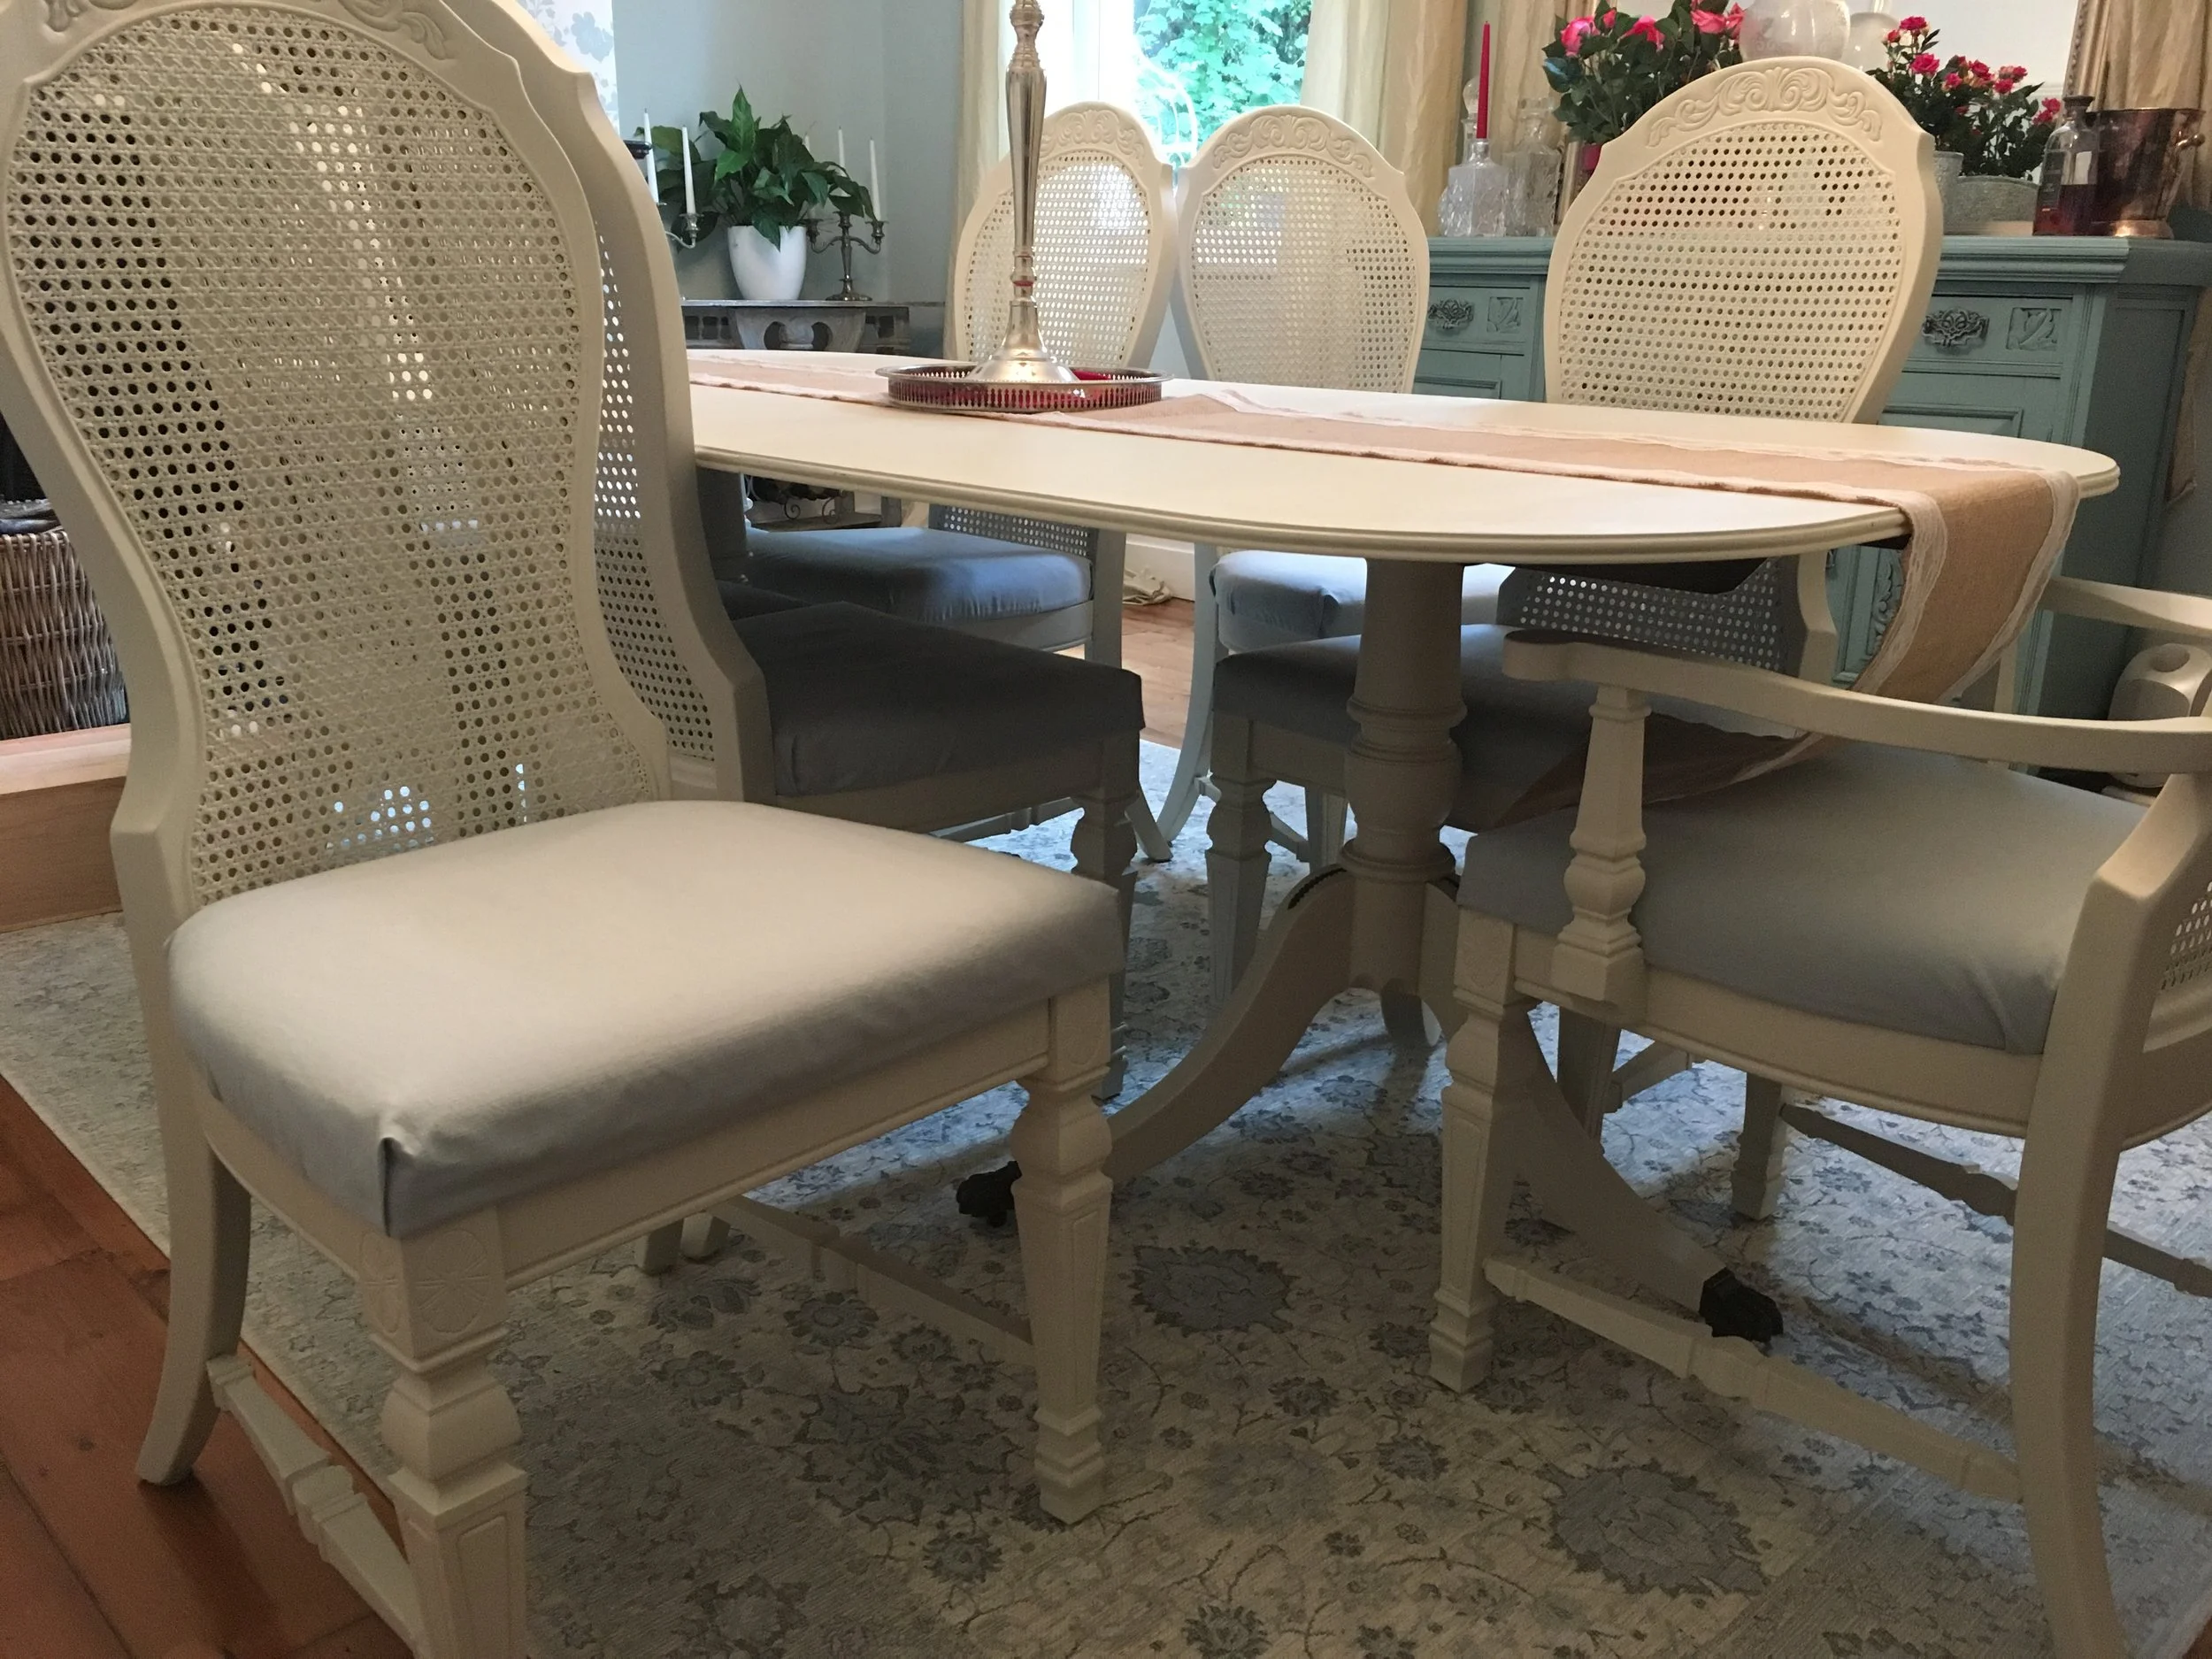
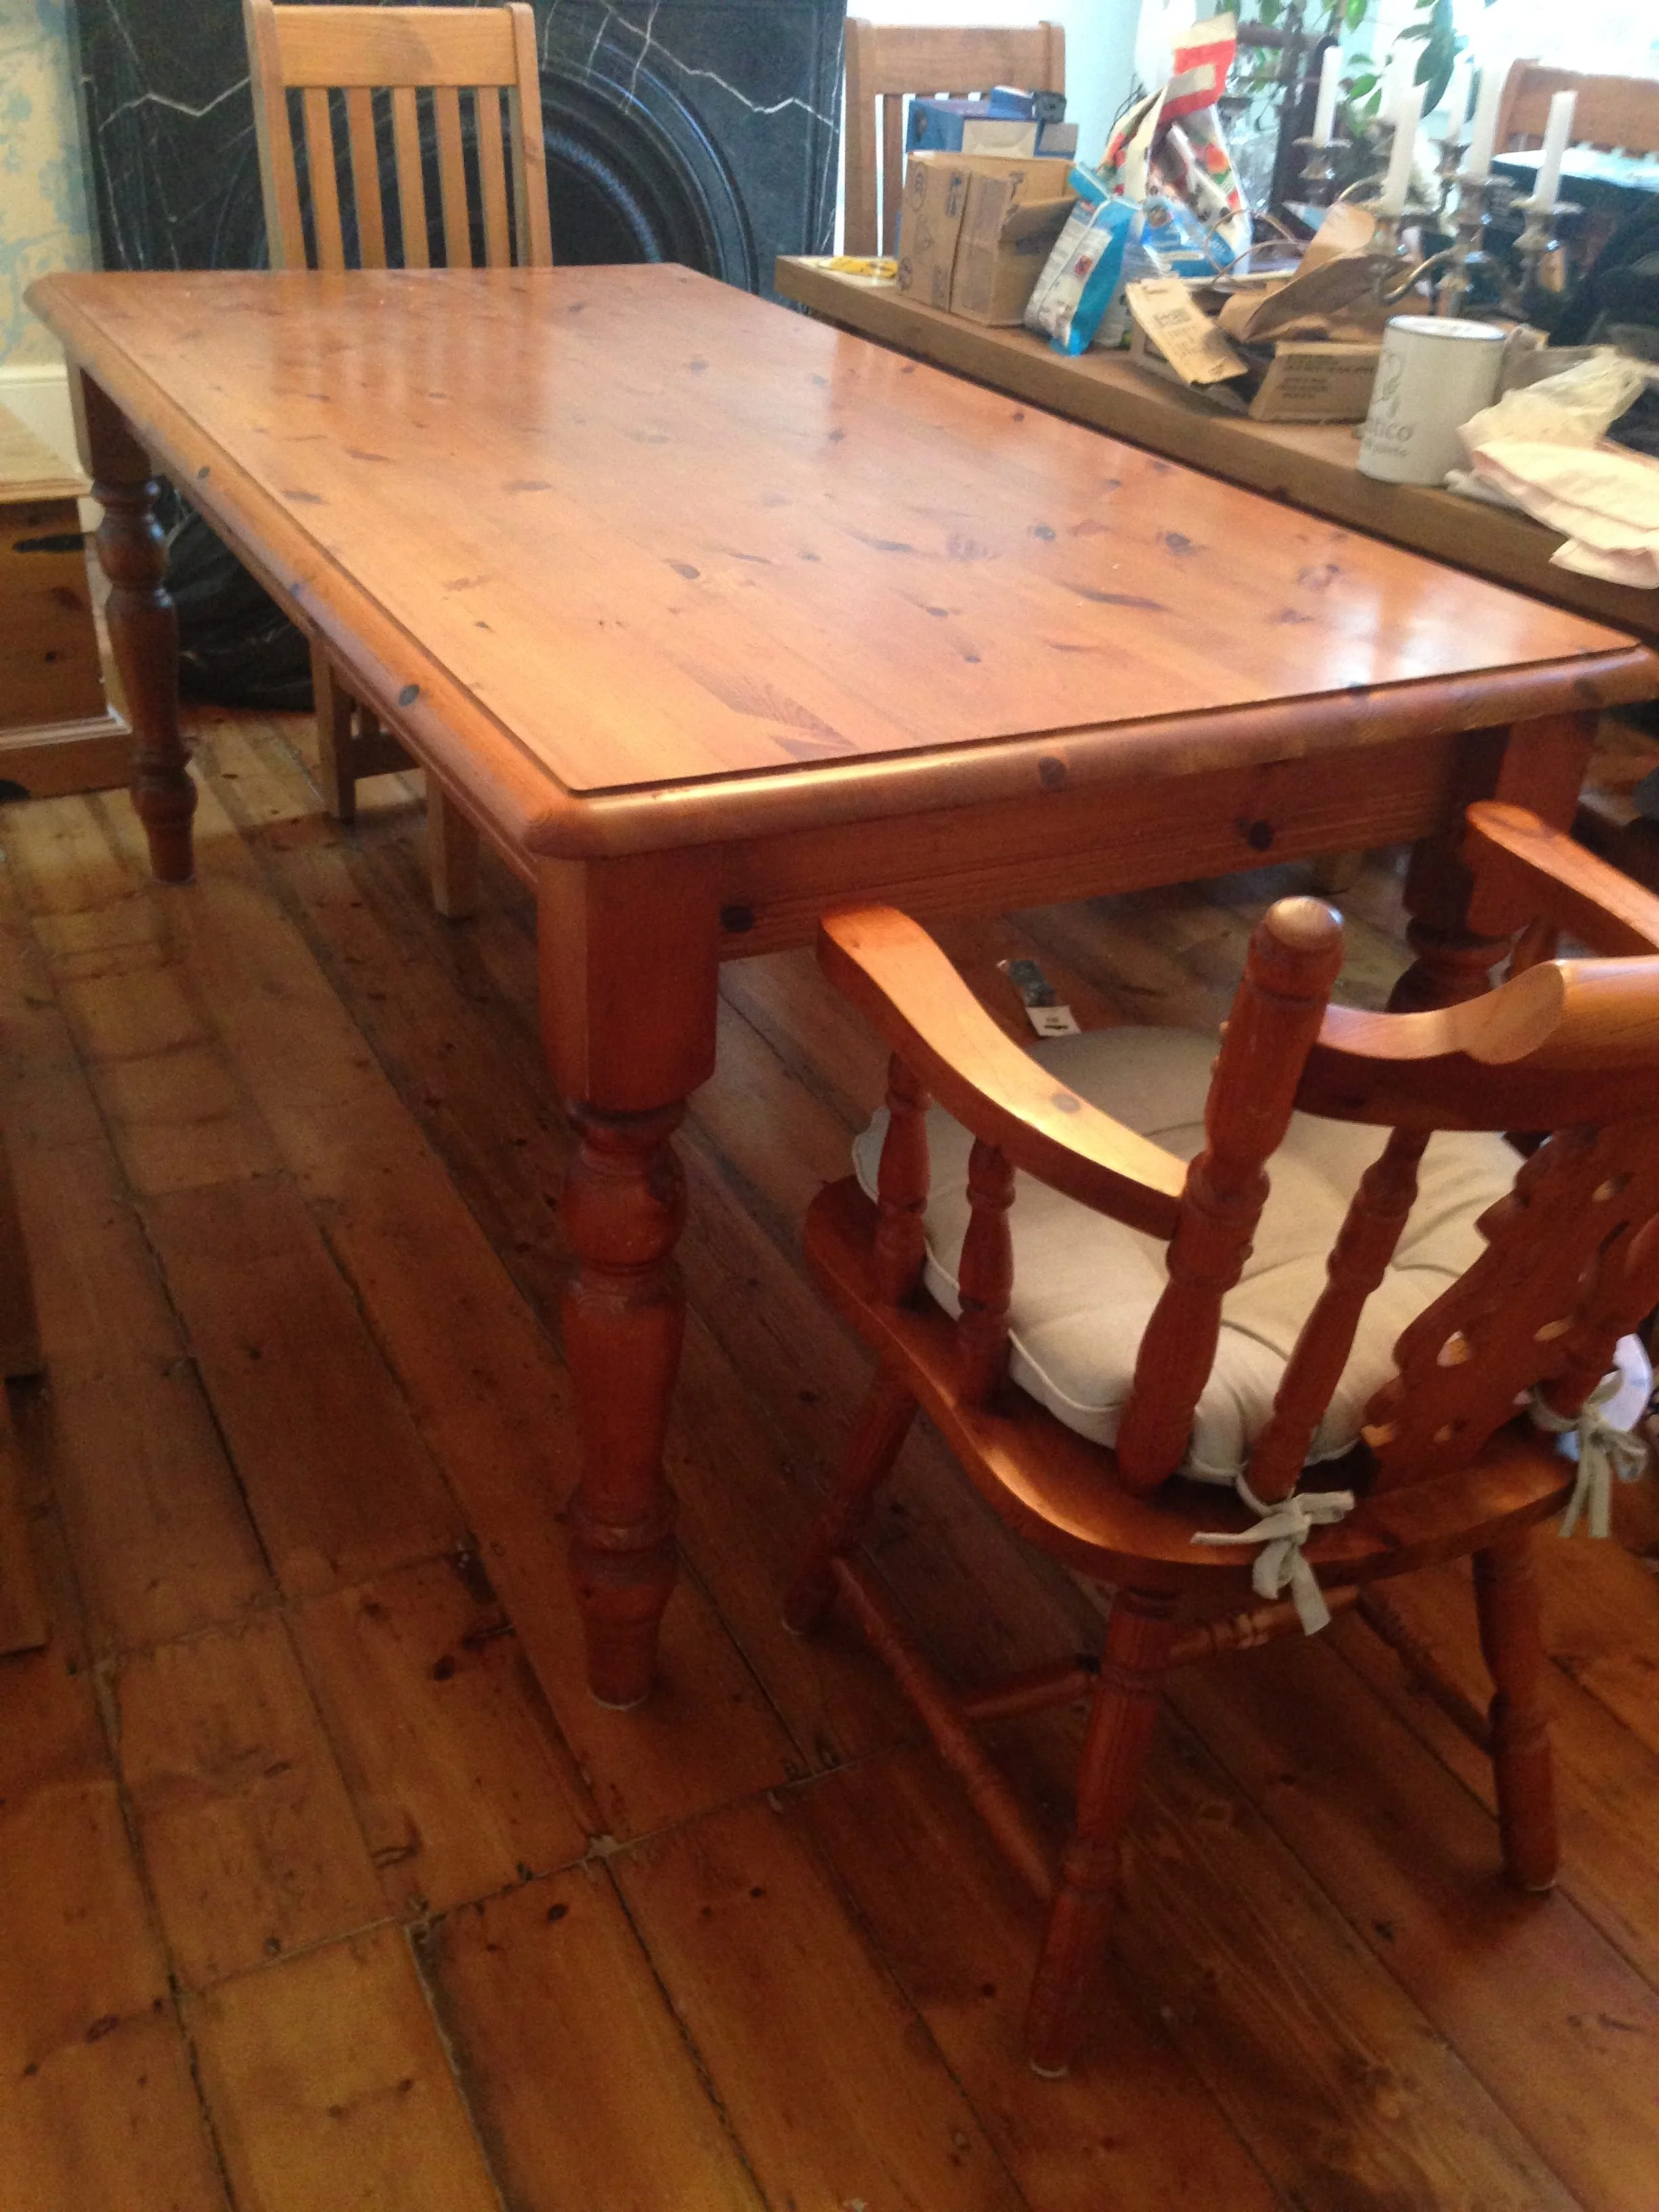
Here are some items I've done in the past:
Pine kitchen table and chairs (learn from my mistakes on these!)
Dining table and chairs
Picture frame out of old architrave
Also check out Groundwork's London Upcycling Show for some awesome ideas.
Why not subscribe for free so you never miss a post or video?
For daily posts and live demos come and chat with me on The Home Genie TV Facebook page.
Thank you to Dovetails Vintage for providing the Annie Sloan set for this project.